
Creating a Citrix XenDesktop 7.8 HDX 3D Pro Master Image with VMware and PVS 7.8.
This is a guide on how to create a new Windows 7 X64 master virtual machine for XenDesktop HDX 3D Pro. I’ll also go through the steps on how to use one vDisk master image that will work for all versions of your graphics cards so you don’t need to create separate master images for each GPU profile.
Creating a base Windows 7 x64 virtual machine.
Login to VMware
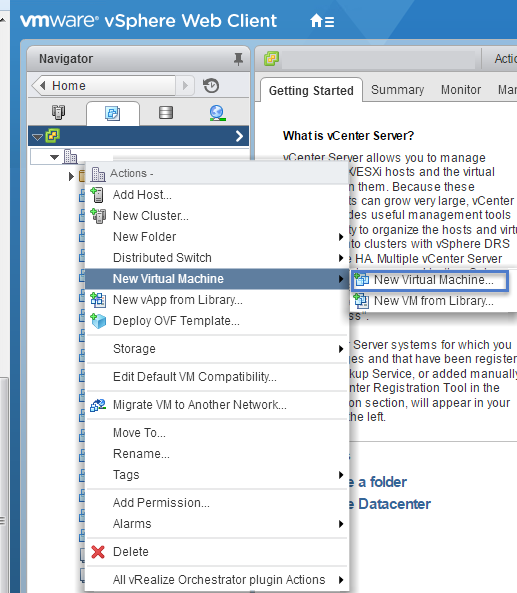
Right click and Select New Virtual Machine > New Virtual Machine.
From the menu choose Create a new virtual machine.

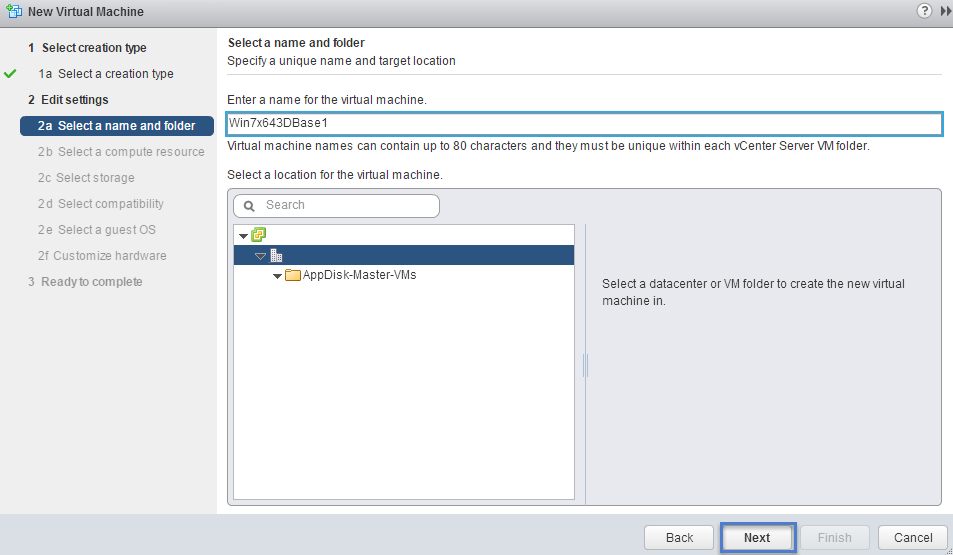
Type in a name for the virtual machine and select the location.
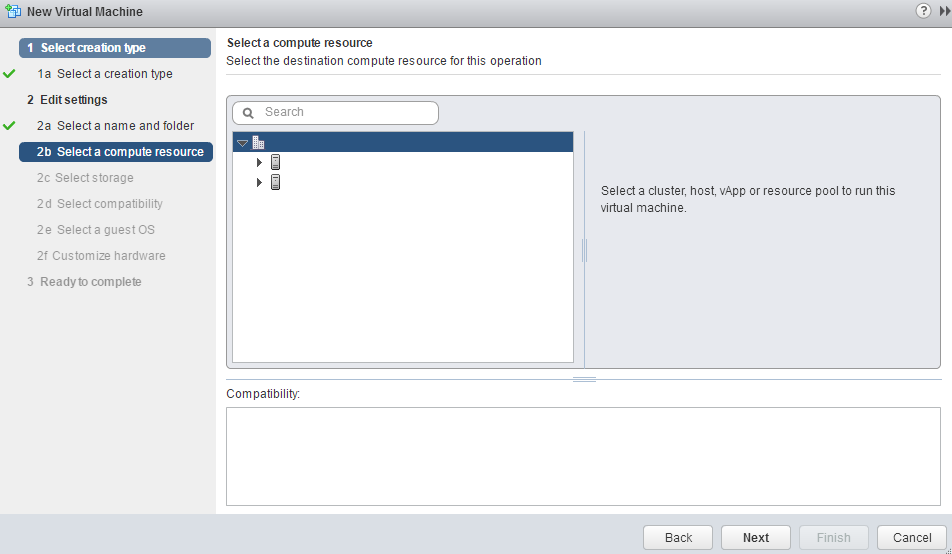
Select a compute resource
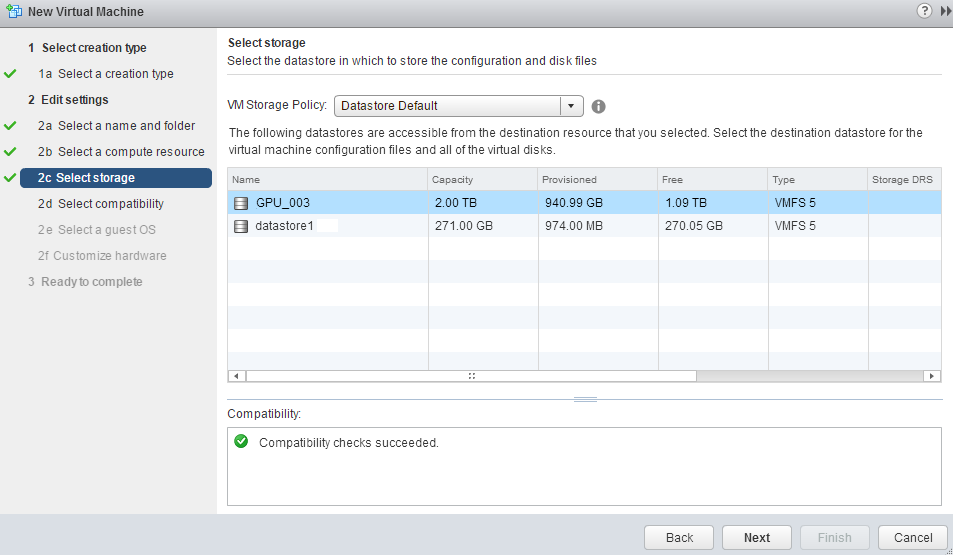
Select a Datastore to create your virtual machine on.
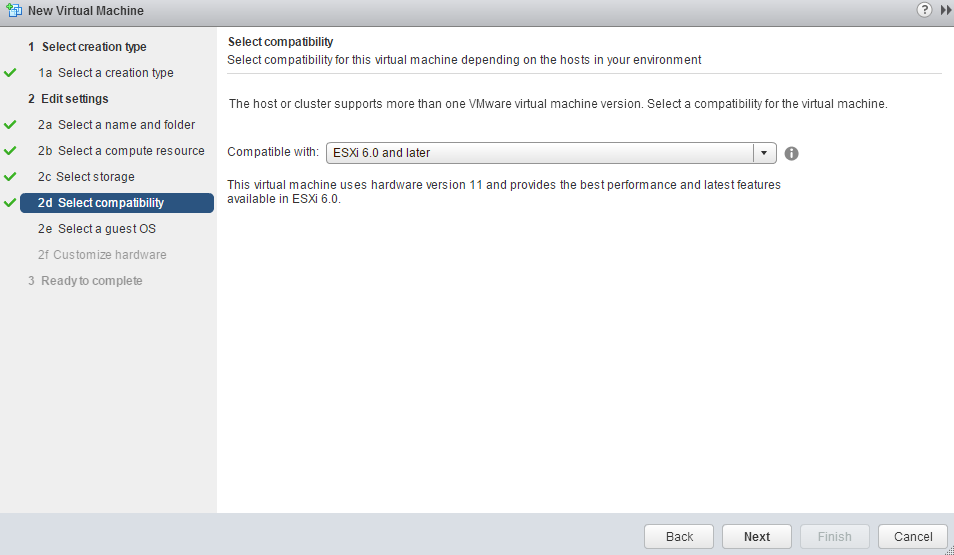
Select Compatibility: ESXi 6.0 or later for my environment.
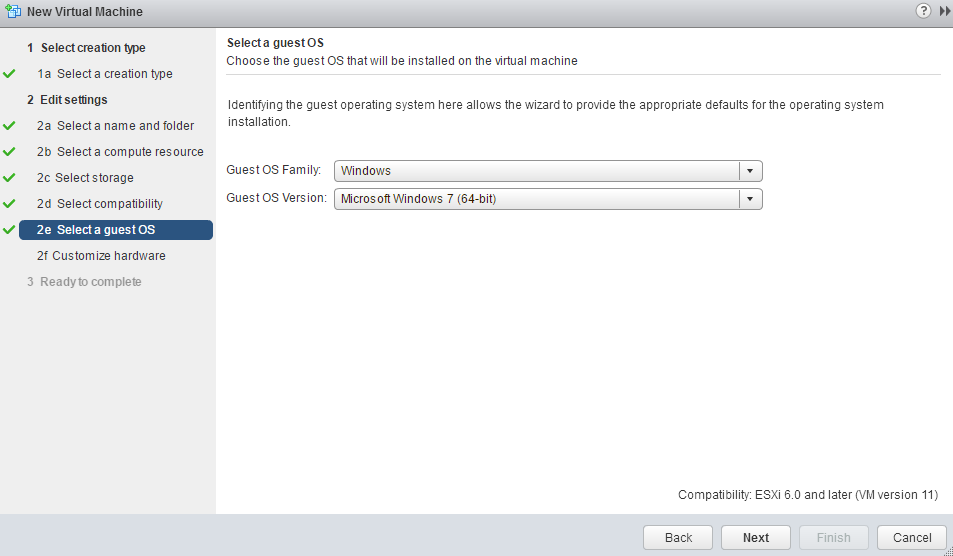
Guest OS- Select the Guest OS Family and Guest OS Version.
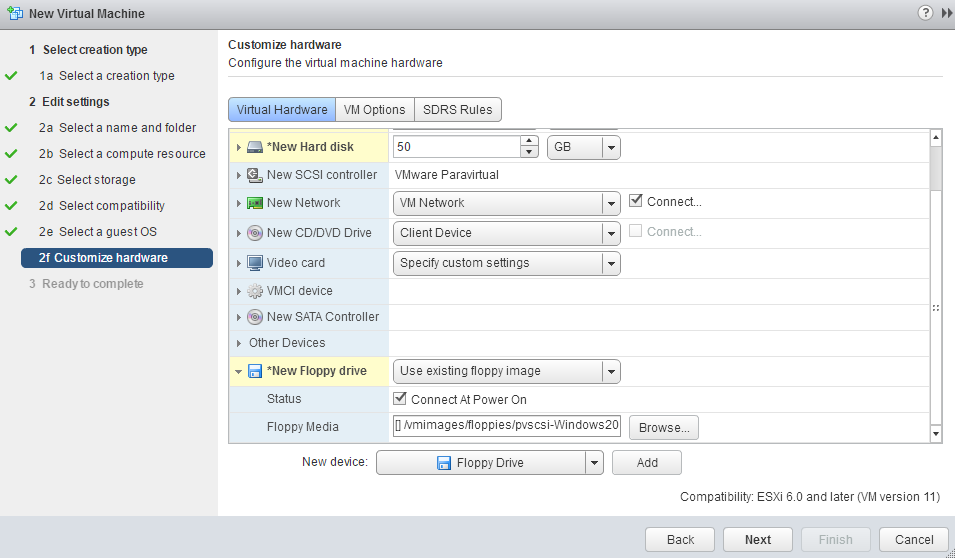
Customize the Hardware.
I changed the disk size, CPUS, Memory, Network, added a floppy, and PCI Shared Device.
Assign a GPU profile.
I added a floppy drive so I can install the VM Paravirtual drivers right away during the Windows 7 installation.
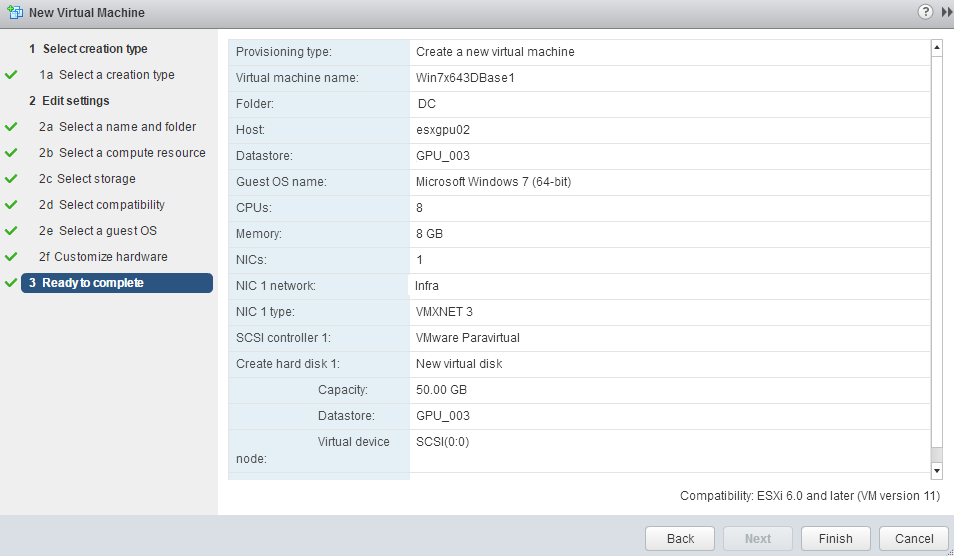
Ready to Complete-
Click Finish to start creating your new virtual machine.
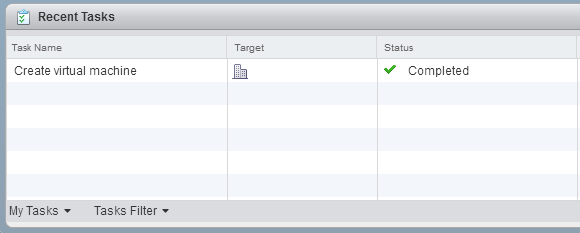
Verify the virtual machine creation completed.
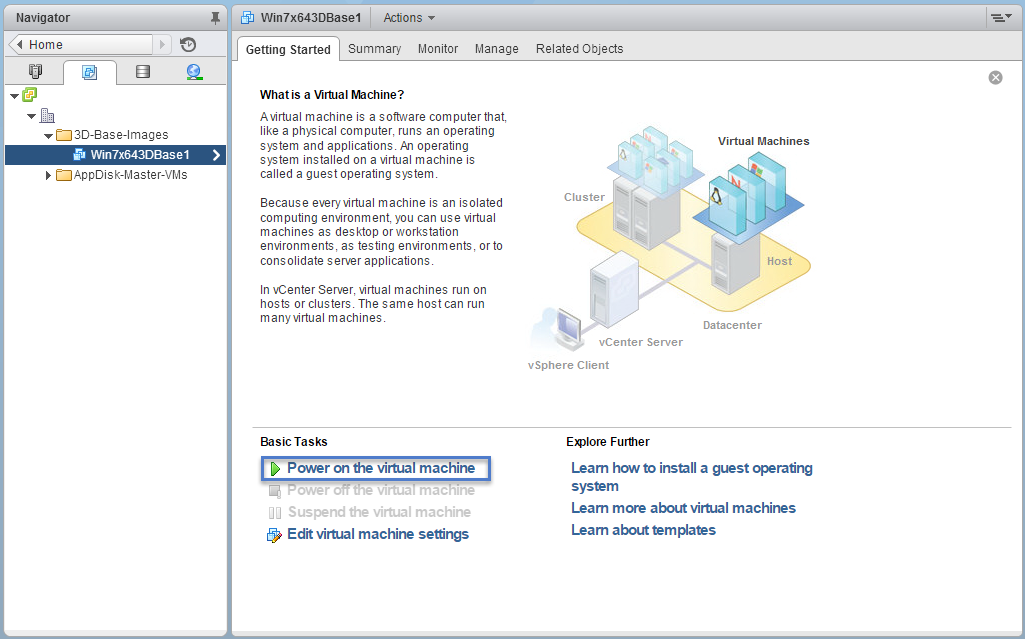
Power on the new virtual machine.
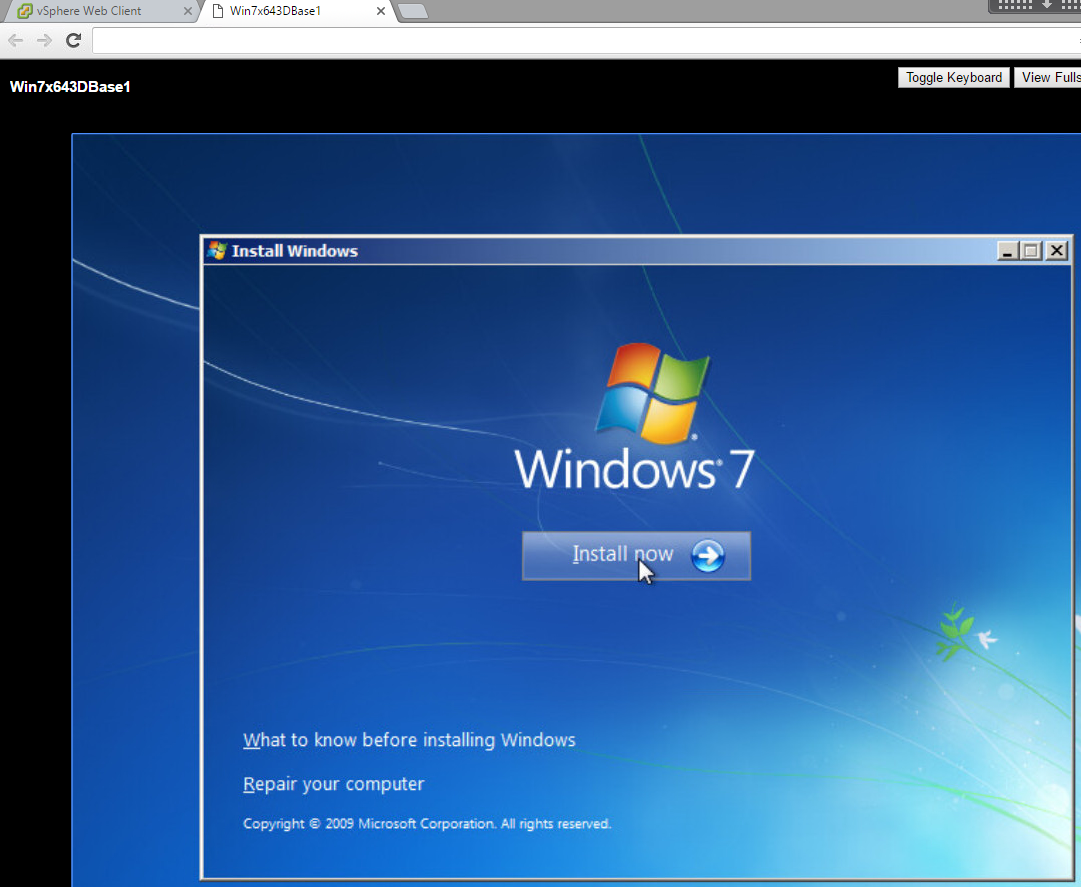
Click Install Now.
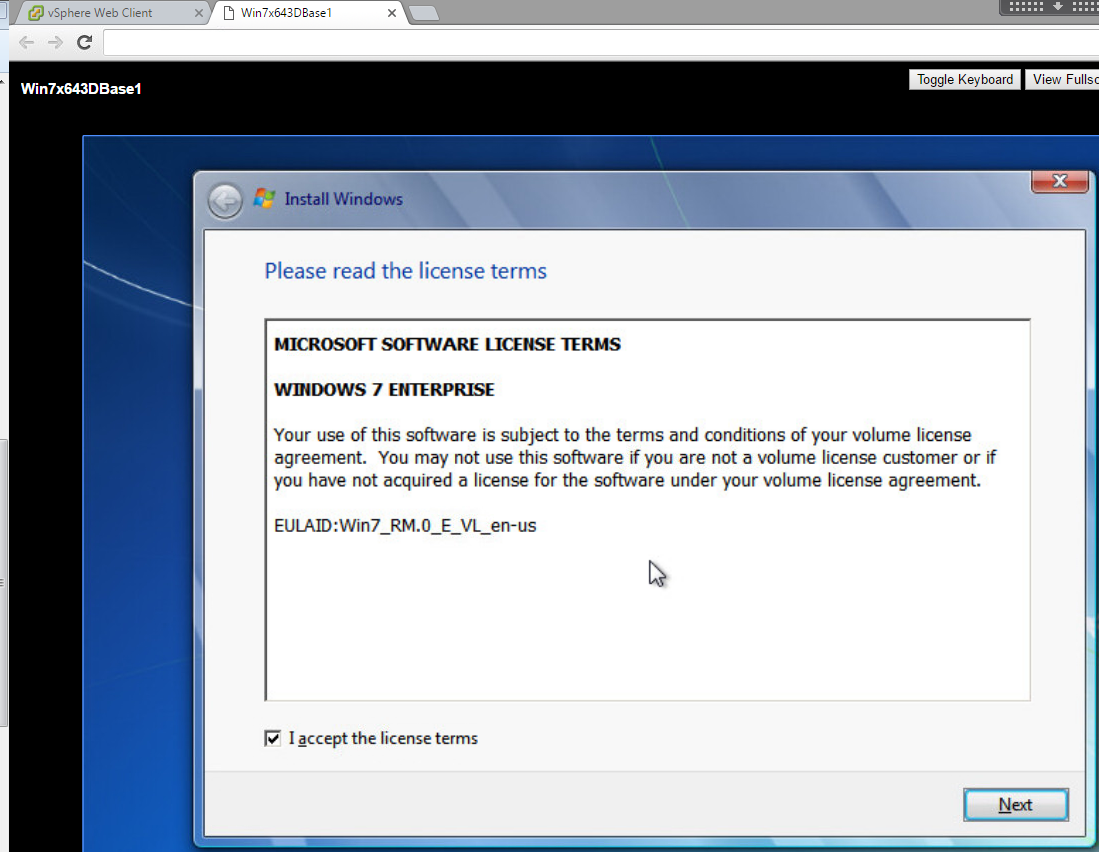
Accept the Microsoft Software License Terms, click Next.
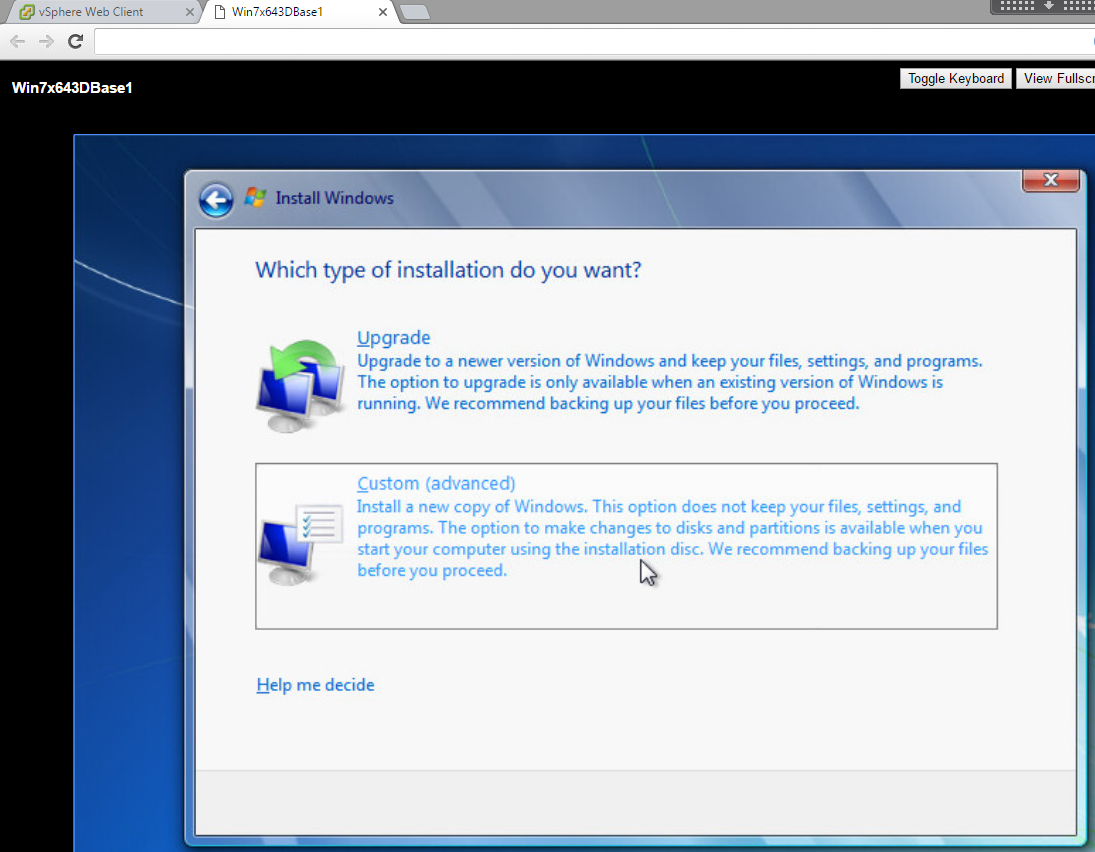
 Choose custom so you can load the PVScsi drivers.
 Load the drivers for PVSCSI.
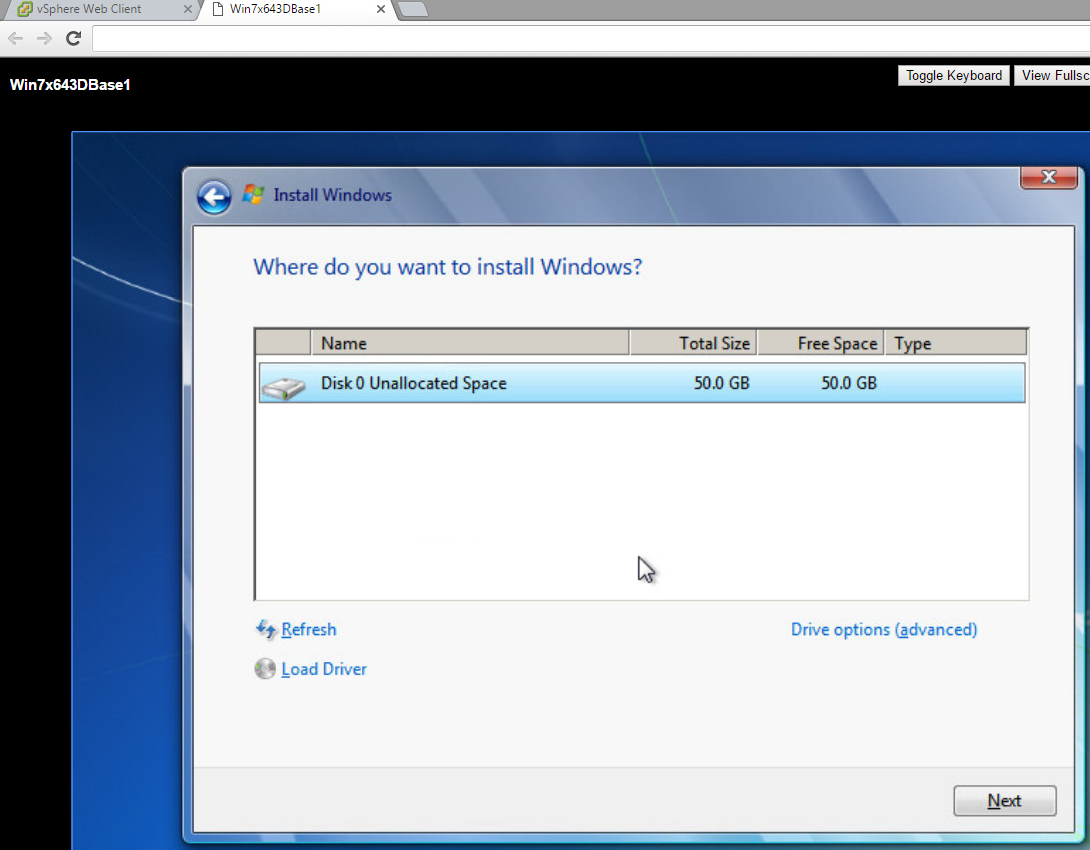
 Select the Disk and click Next.
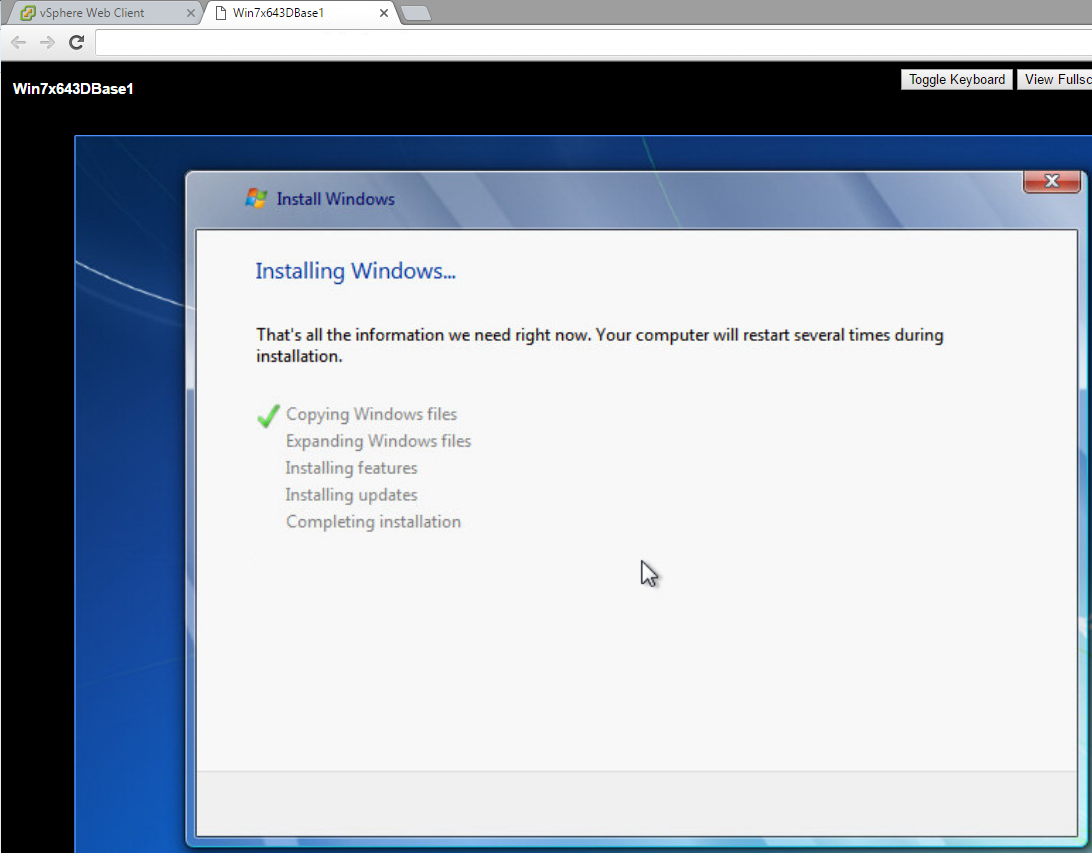
 Wait for Windows to finish installing.
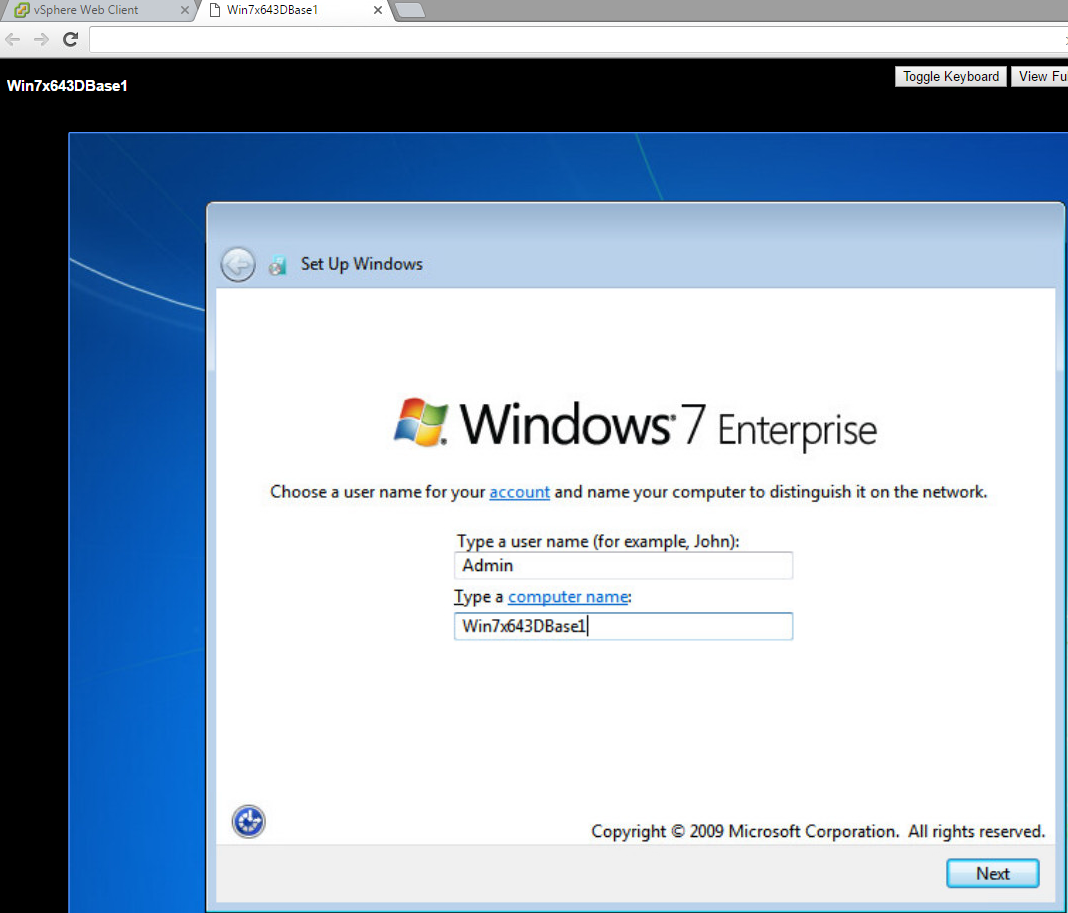
 Type in a username for a local Administrator account and computer name.
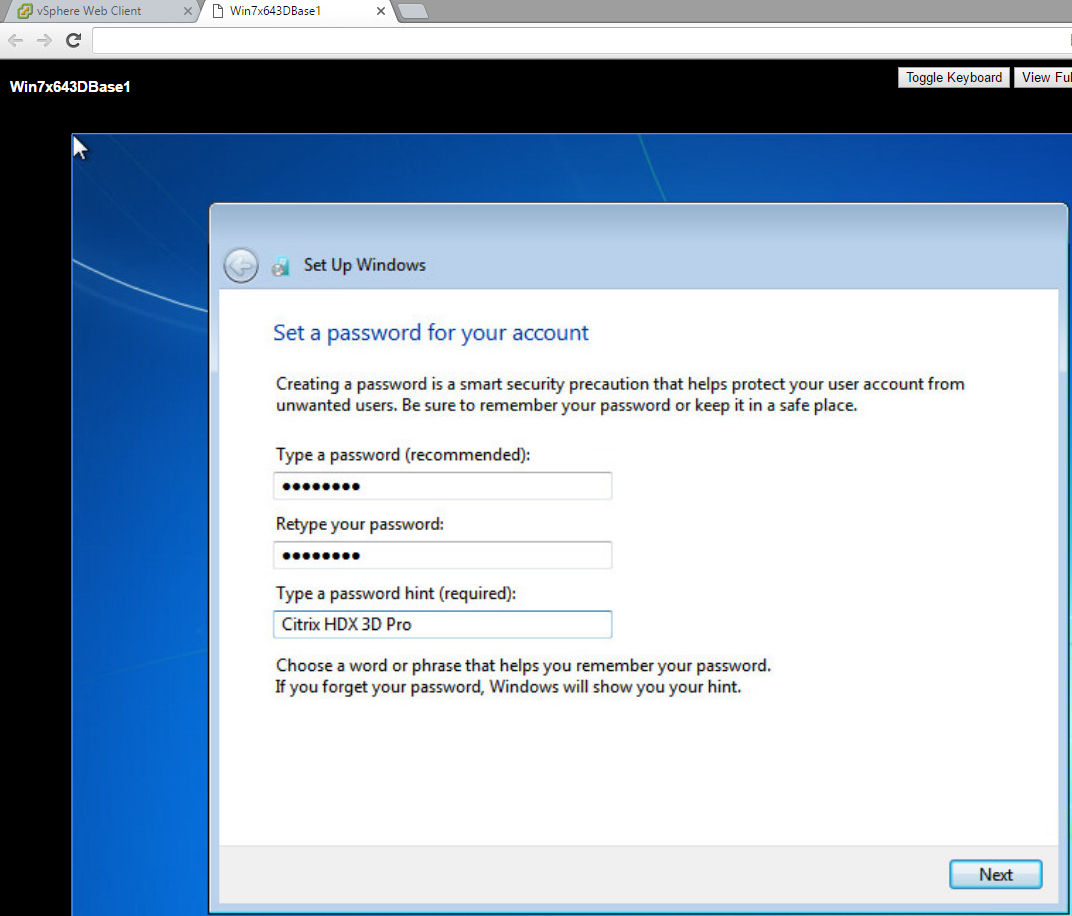
 Set a password and password hint.
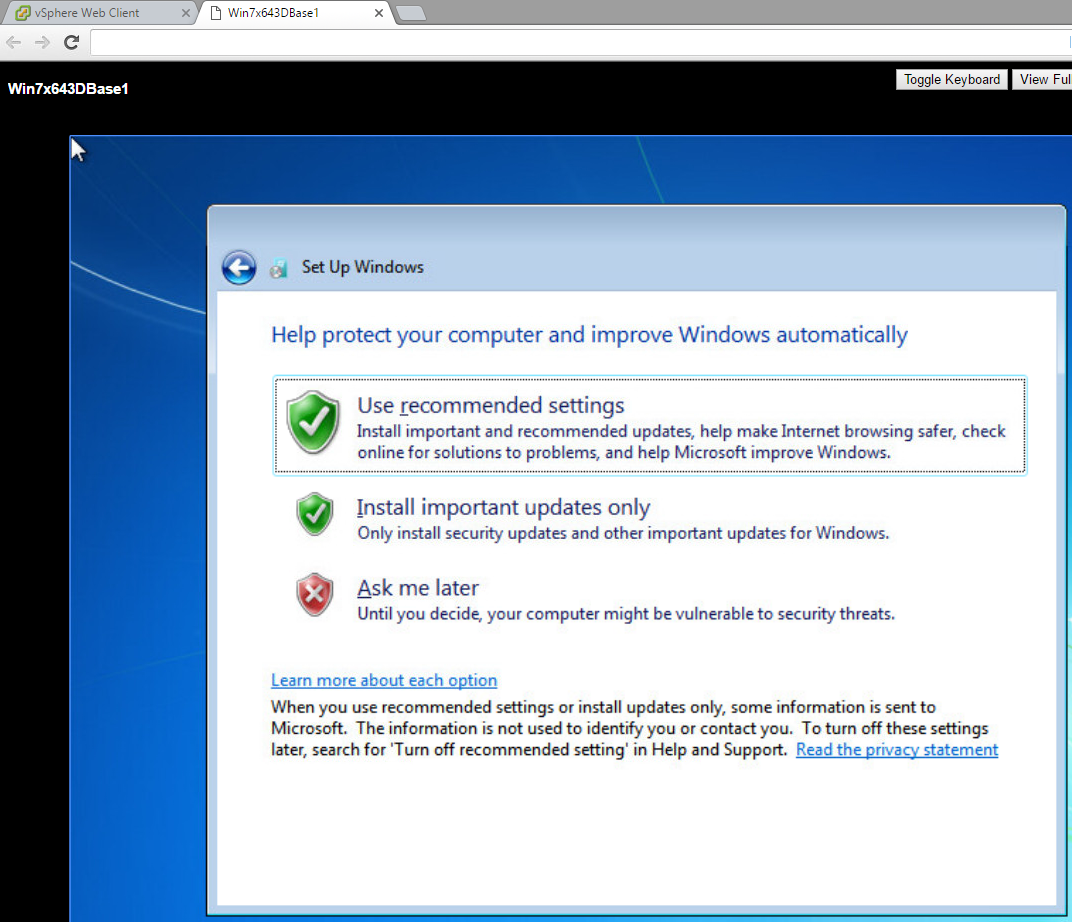
Use Recommended Settings or click Install Important Updates Only.
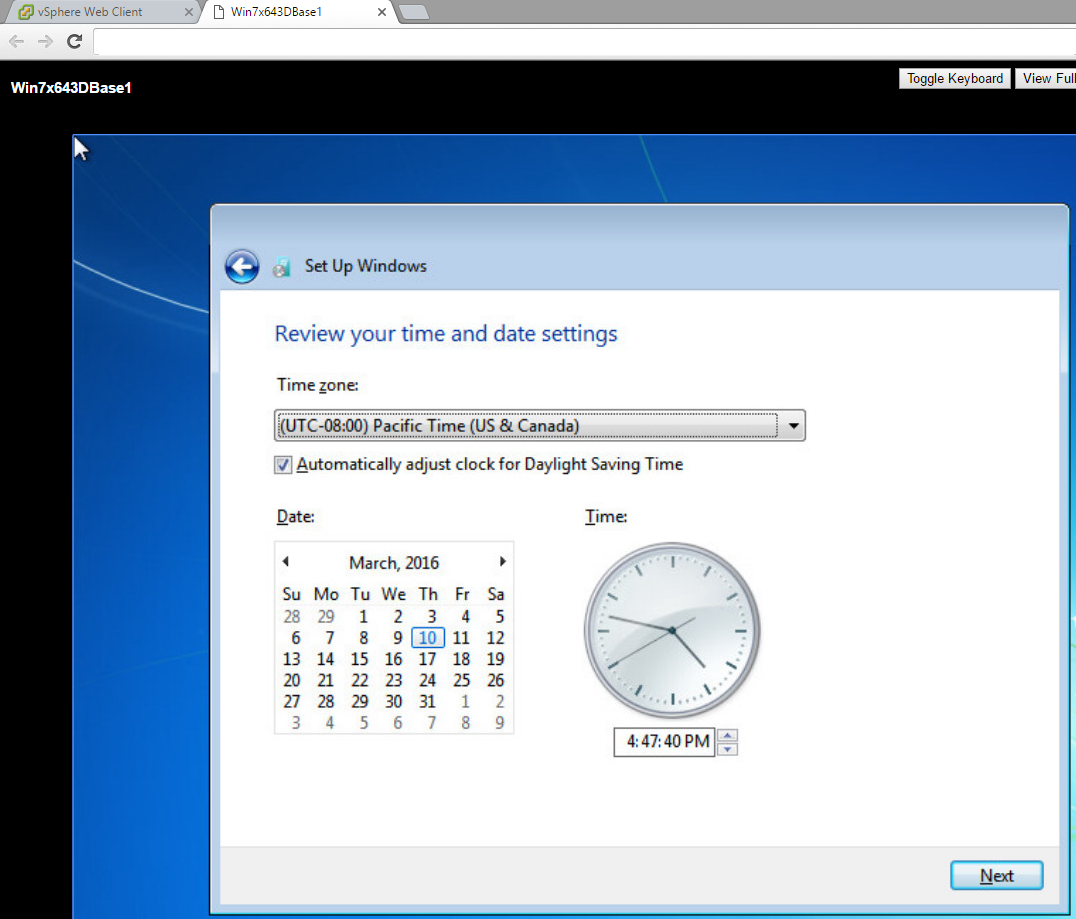
Set Time Zone and Date.
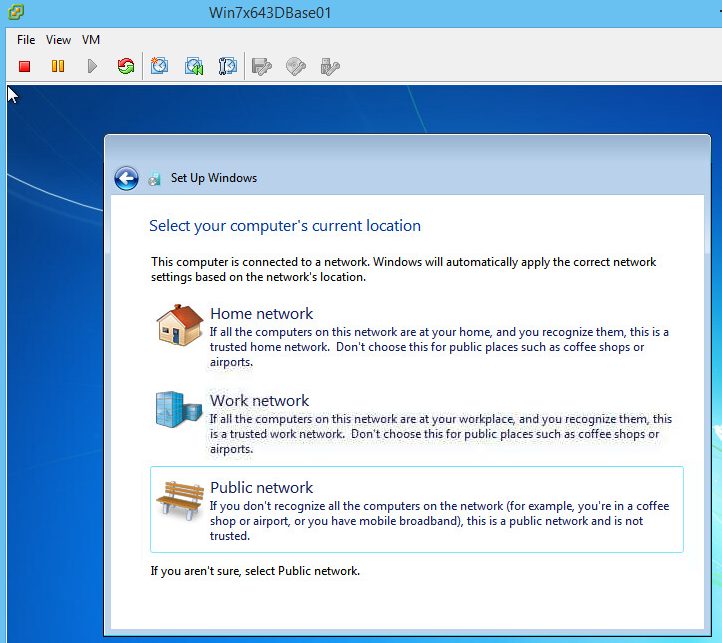
 Select Work Network to continue.

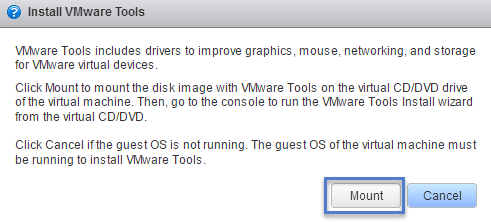
After Windows 7 initial configurations are completed, mount the VMware tools ISO.
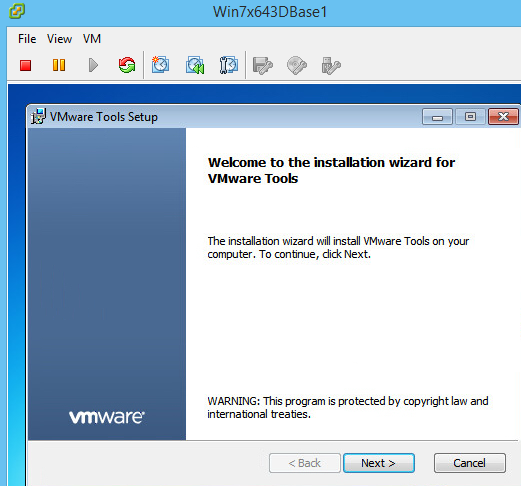
Installing VMware tools on your Master Image
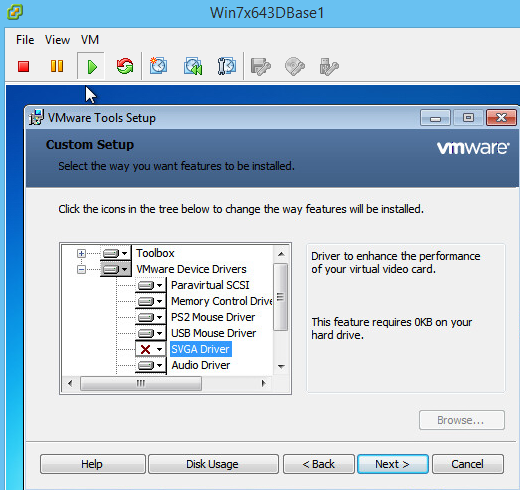
Select Custom Set up Type.
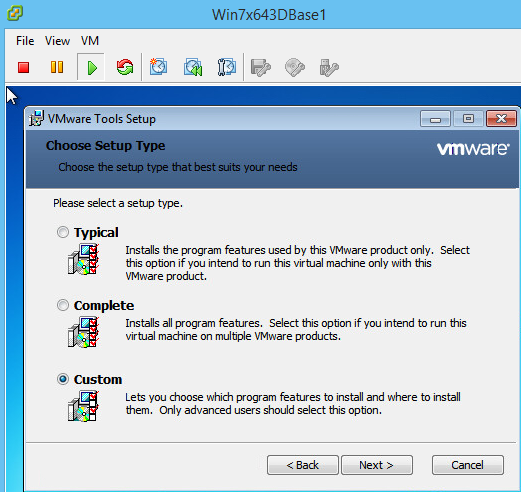
On the custom setup screen, click on SVGA and choose the option Do not install.
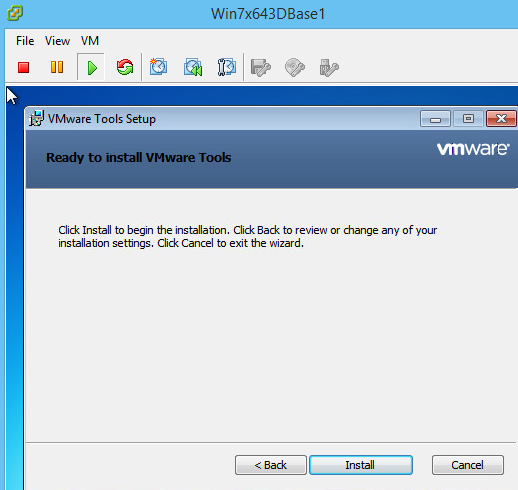
When ready click Install.
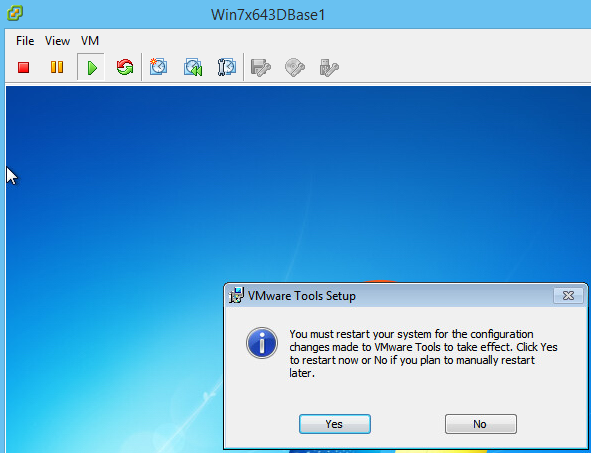
Click Yes to reboot the virtual machine.
After the virtual machine is rebooted, install all your standard Microsoft Windows updates.
Then install the Citrix Recommended Hotfixes for Windows 7/2008R2. Skip this if you want, but I usually always install the 10 plus Microsoft hotfixes after Win7 SP1 so I don’t have issues later and end up having to make an image update to correct a known issue.
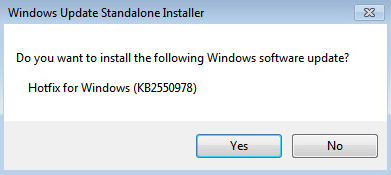
Next you will want to install the recommended PVS Hotfix KB2550978 right away so your target devices don’t blue screen when you create more virtual machines.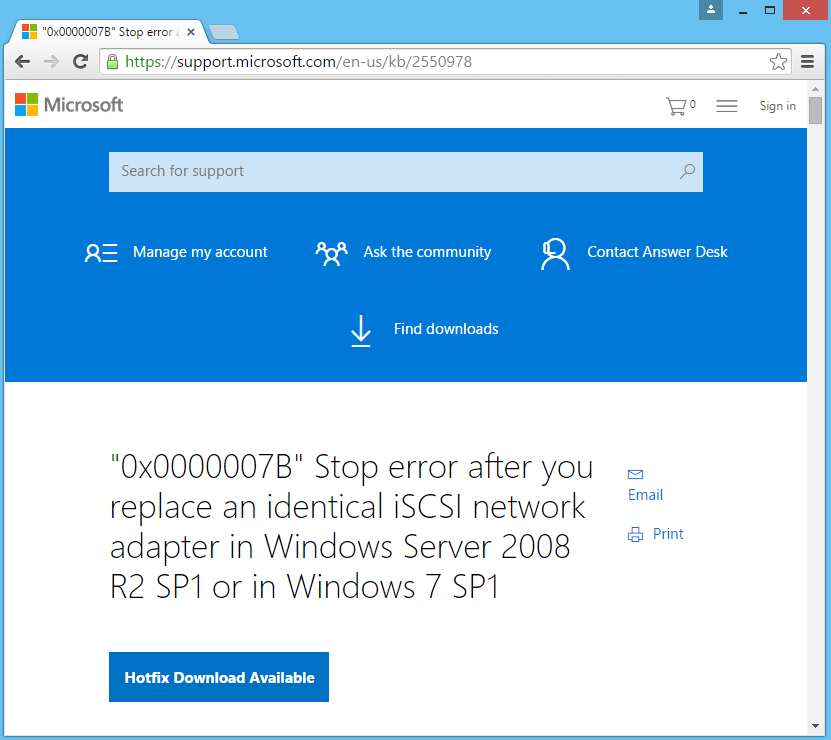 Select Yes to install KB2550978.
 Restart the virtual machine.

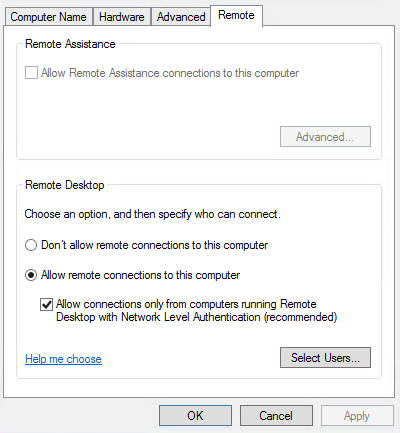
Before Installing the Nvidia Graphics Drivers and the XenDesktop VDA remember to enable Remote Desktop.
NVIDIA Graphics Driver Download and Installation
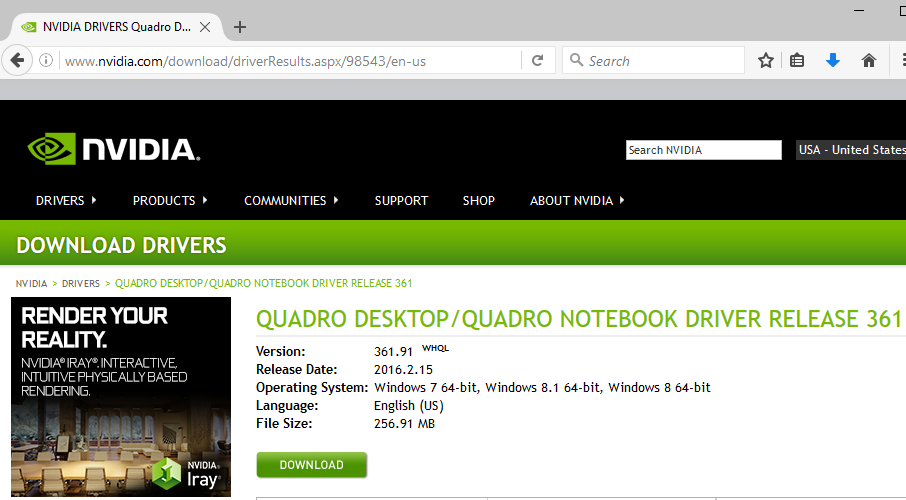
Download the Nvidia drivers. We have K2Install Nvidia Graphics Drivers.
Search for the drivers that match your specific graphics card.
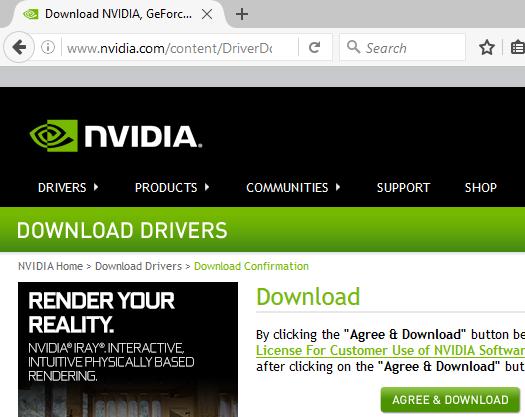
Click Agree & Download.
Save your the download file.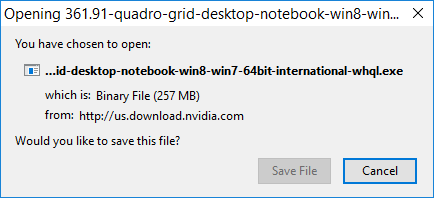
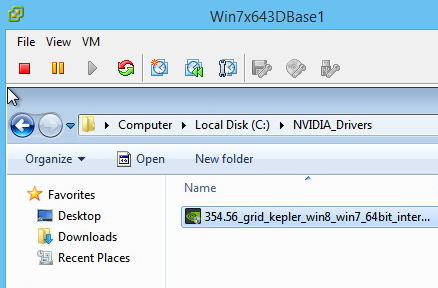
Right Click and Run as Administrator
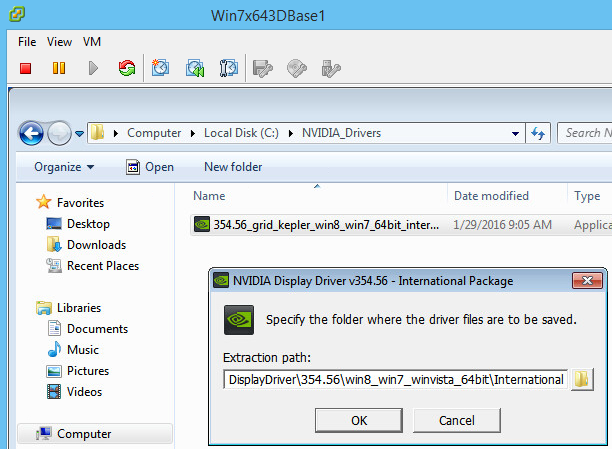
Leave the Default Path or change it if you want to. Click OK
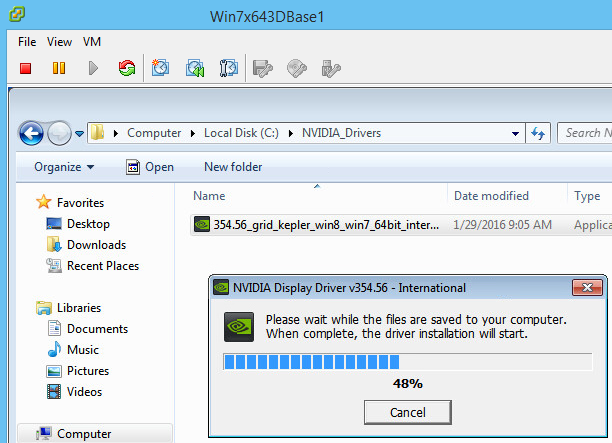
Wait for the the installation files to finish extracting.
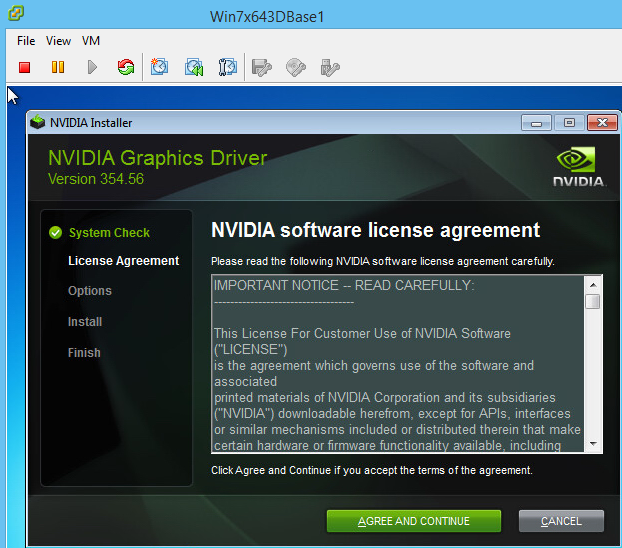
Click Agree and Continue.
Select Express (Recommended) Installation option. Next to start the installation.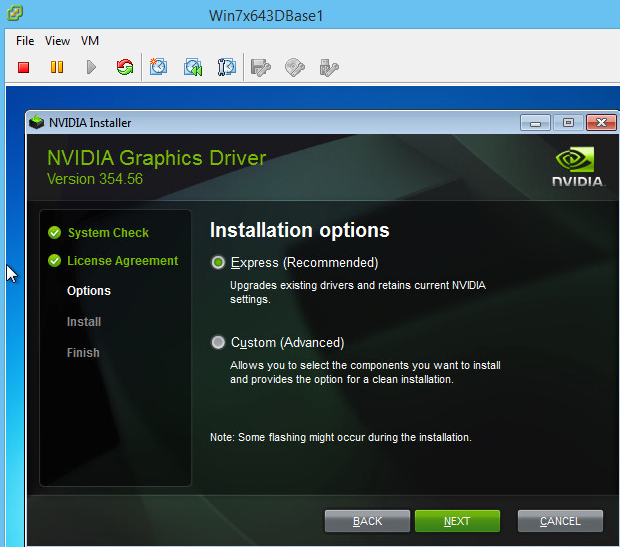
Click Yes to restart the virtual machine after the drivers have installed successfully.
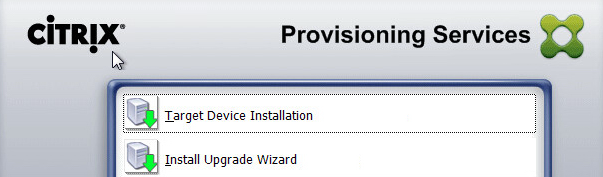
Install Citrix Provisioning Services Target Devices Software.
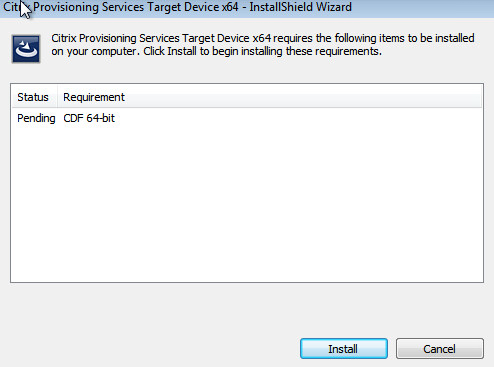
Install the CDF 64bit requirement.
 Acknowledge and click Next if you installed the hotfix above.
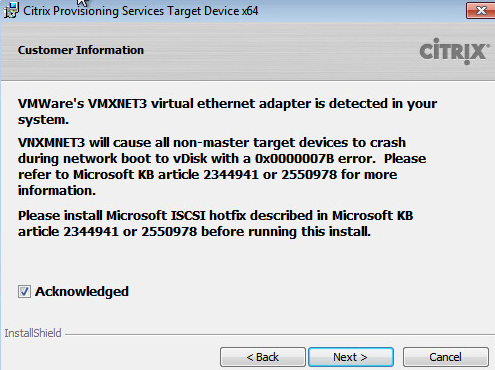 Select “I accept the terms”.
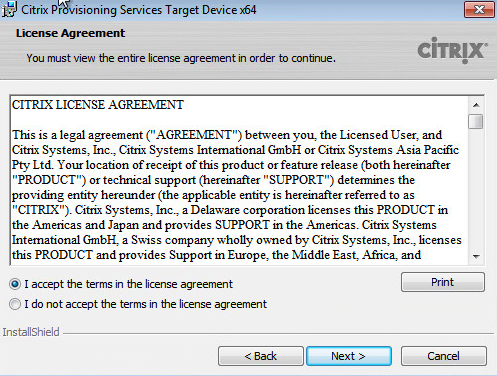
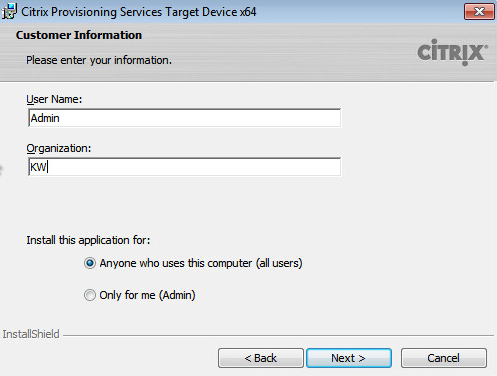
 Customer Information-
User Name and Organization. Install Application for Anyone who uses this computer (All Users)
Click Install to start the process.
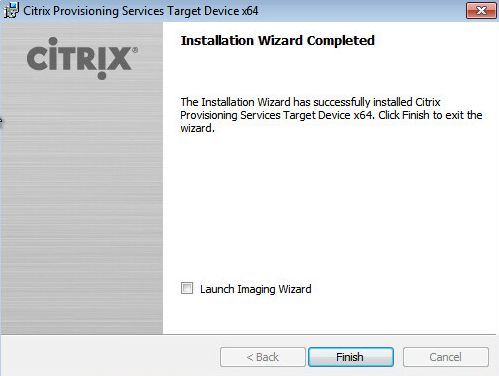
 Uncheck Launch Imaging Wizard and click finish.
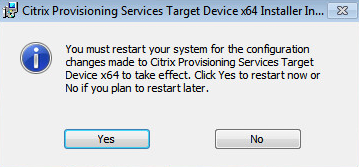
 Yes to Restart the virtual machine.
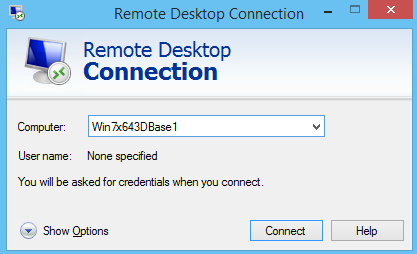
When the virtual machine starts up, connect and login to the the virtual machine using Remote Desktop Connection.
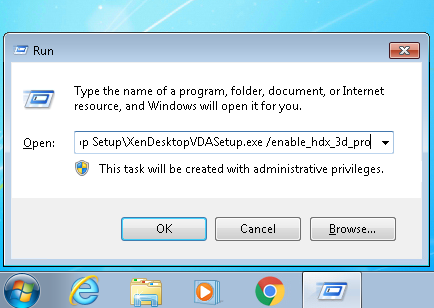
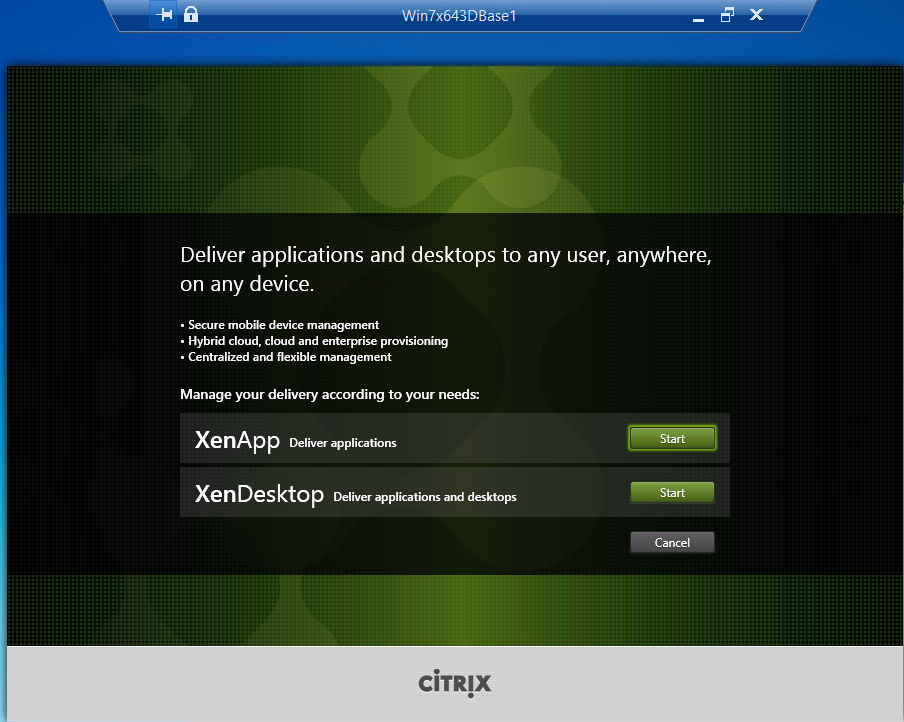
Install Citrix XenDesktop 7.8 HDX Pro VDA.
Mount the XenDesktop 7.8 ISO, then open a RUN prompt. Type in XenDesktopVDASetup.exe /enable_hdx_3d_pro to launch the VDA Setup.
Select XenDesktop – Delivery Applications and Desktops. Start.
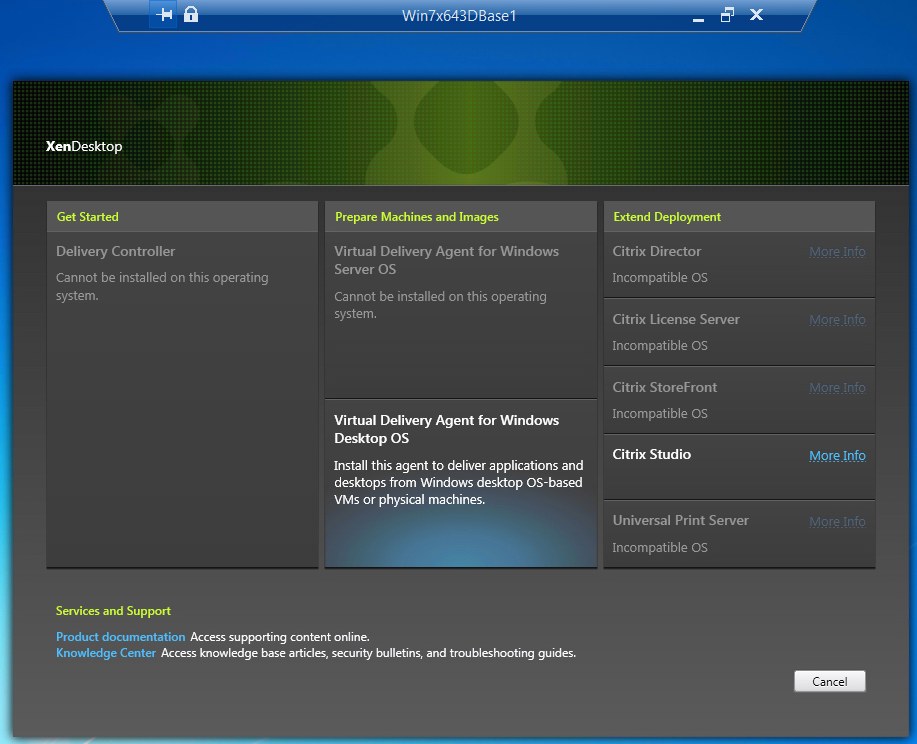
Choose Virtual Delivery Agent for Windows Desktop OS.
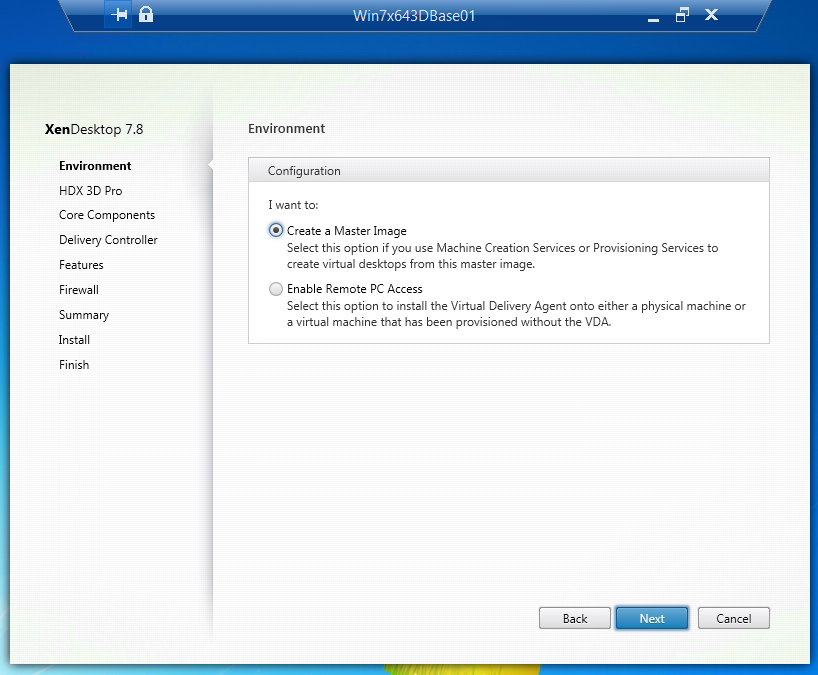
 Environment Configuration:
Create a new master image.
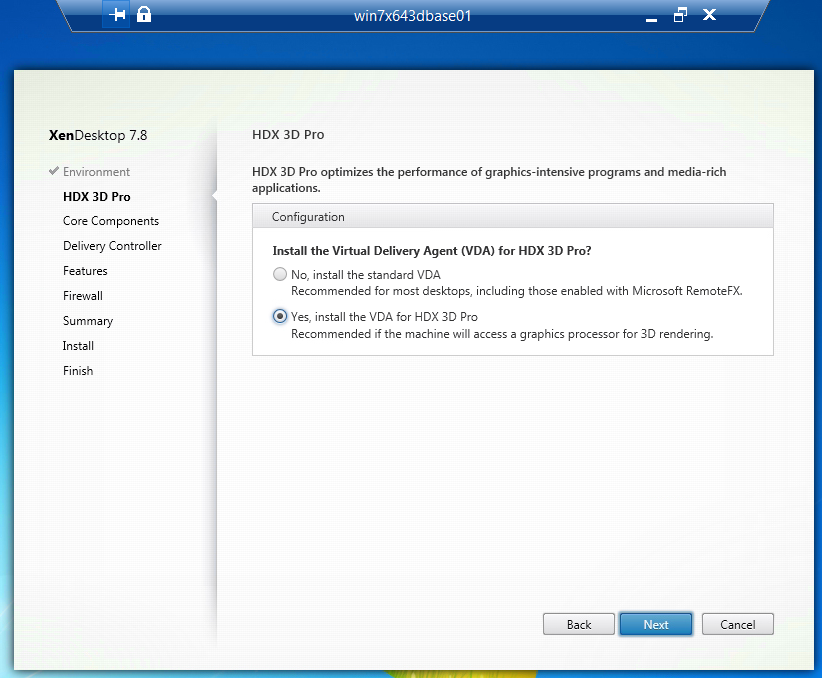
 HDX 3D Pro:
Select “Yes, Install the VDA for HDX 3D Pro”.
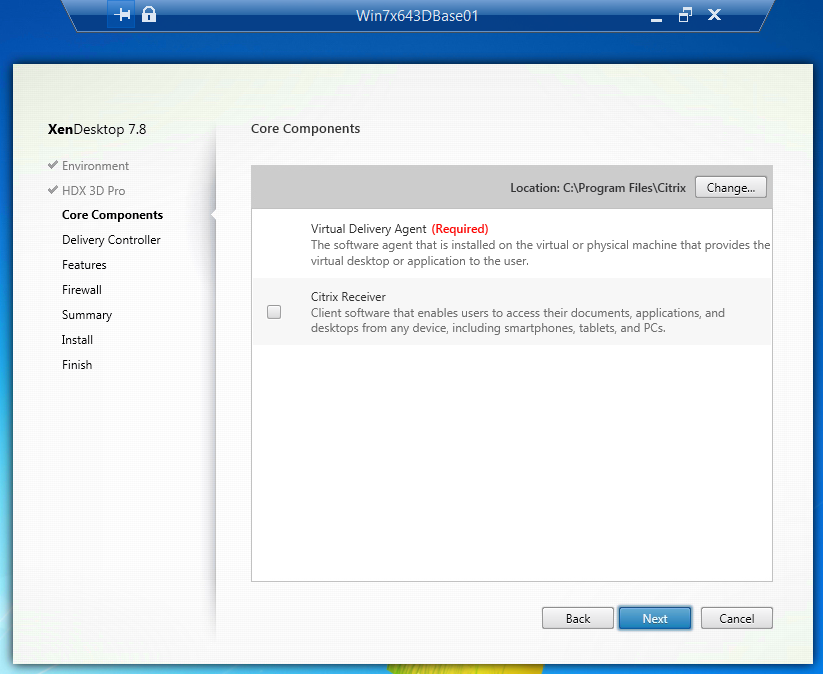
 Core Components:
Select Citrix Receiver or unselect if your users don’t need it installed.
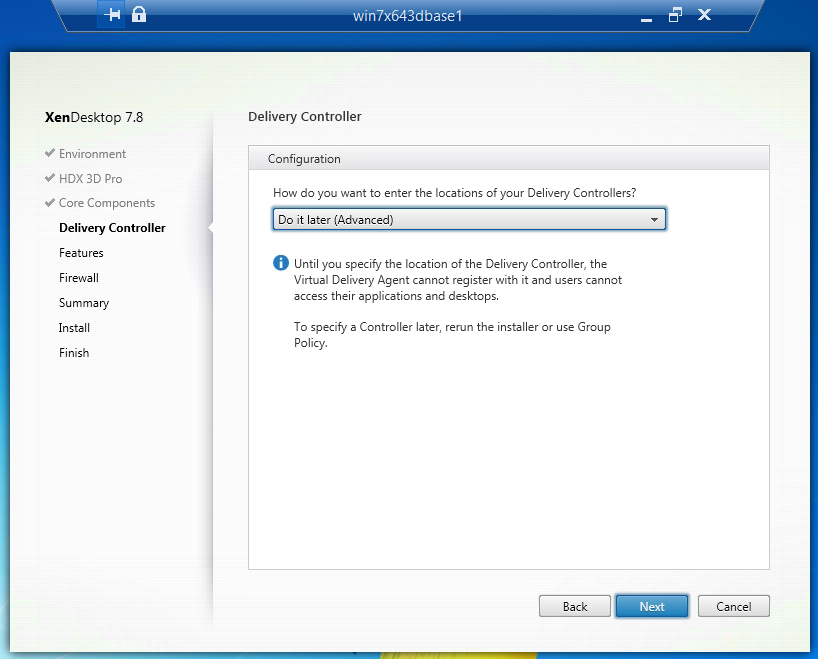
 Delivery Controller List:
We set the delivery controller list with Group policy Registry preferences so the XenDesktop vDisk images can be easily moved to another site if needed. You can either choose to do it later or click the drop down and specify the delivery controllers.
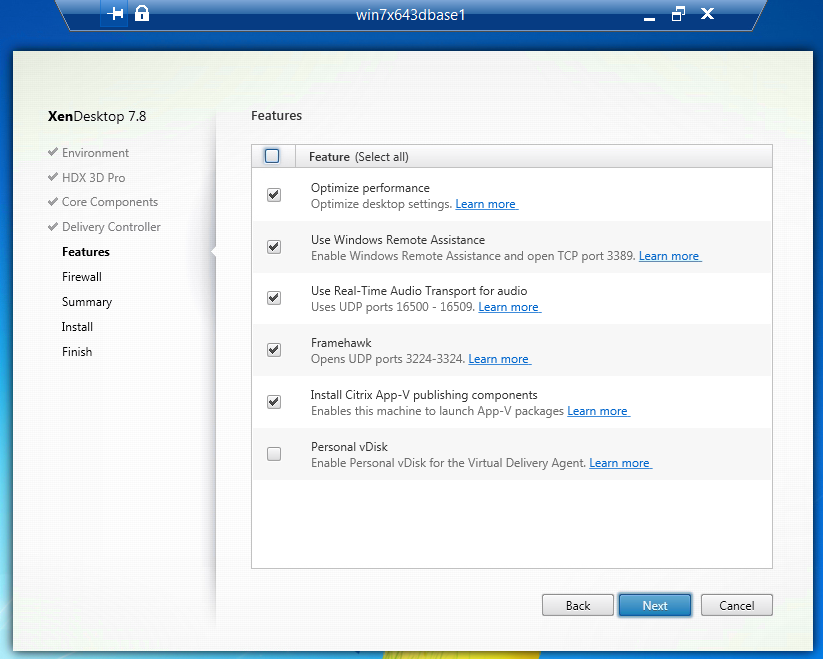
 XenDesktop Features:
Select or unselect any of the features that you want installed.
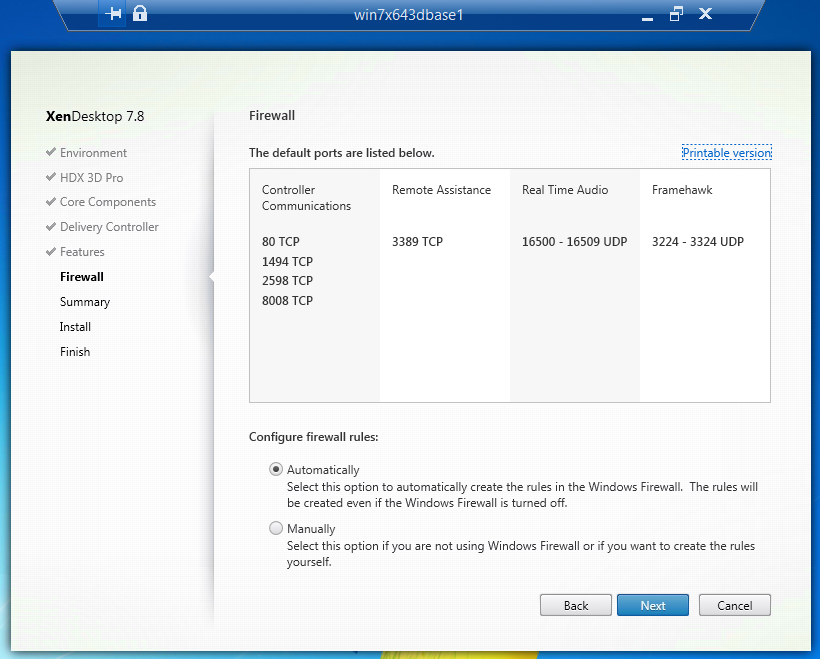
 Firewall:
Configure Firewall rules automatically.
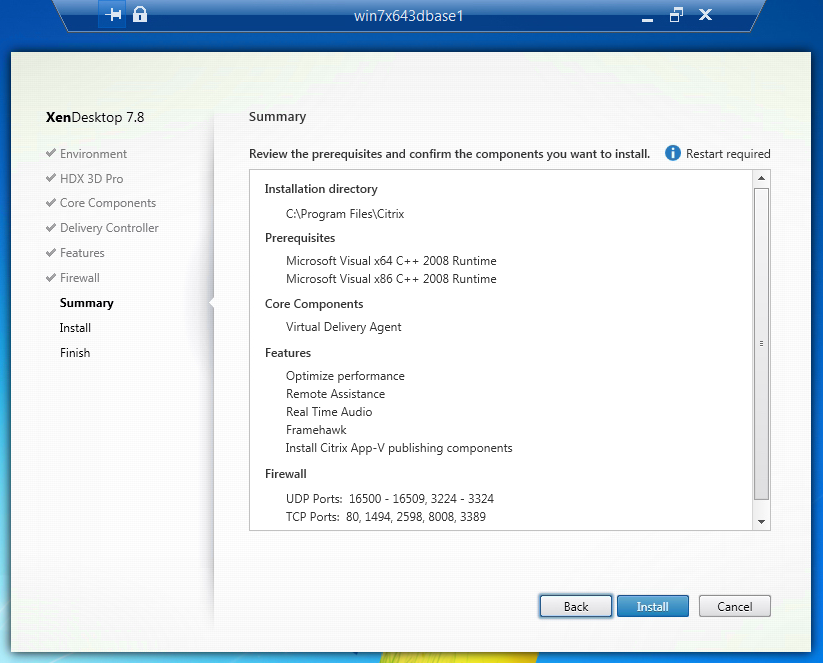
 Summary:
Review the Citrix XenDesktop 7.8 VDA prerequisites and components. Click install when ready.
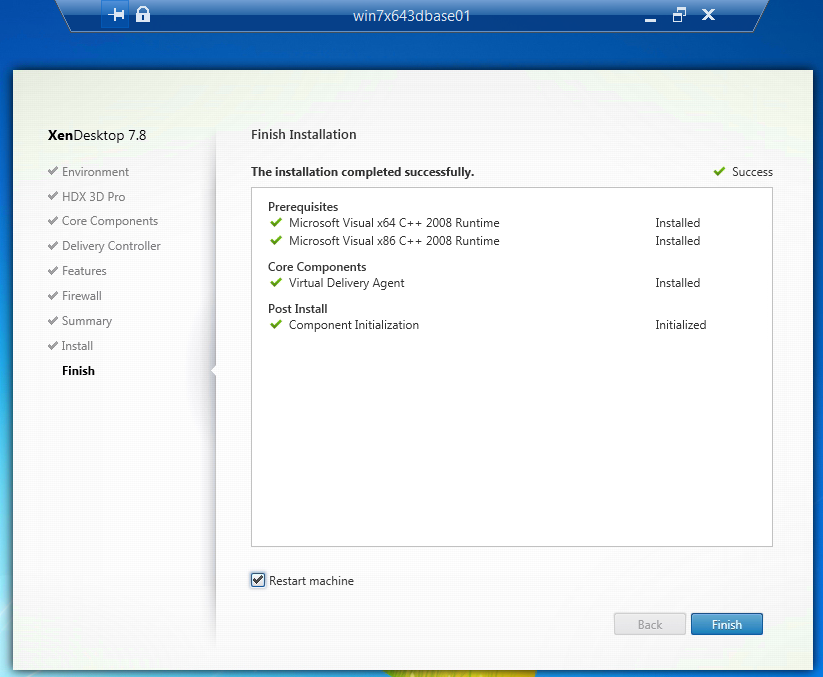
 Wait for the Installation to Finish. If the setup prompts for a restart, click yes and reboot then log back into the virtual machine to restart the installation process.
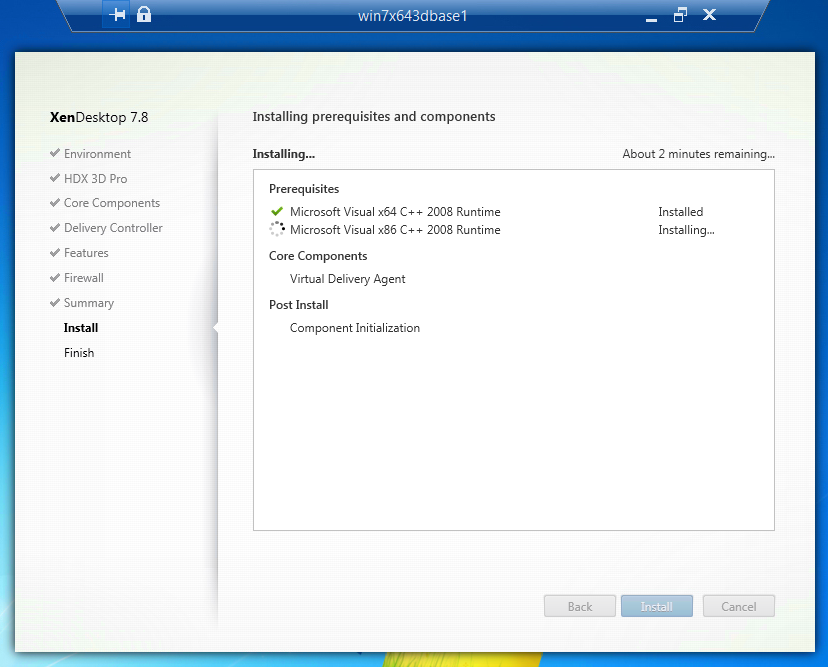 Click Finish and Restart the virtual machine.
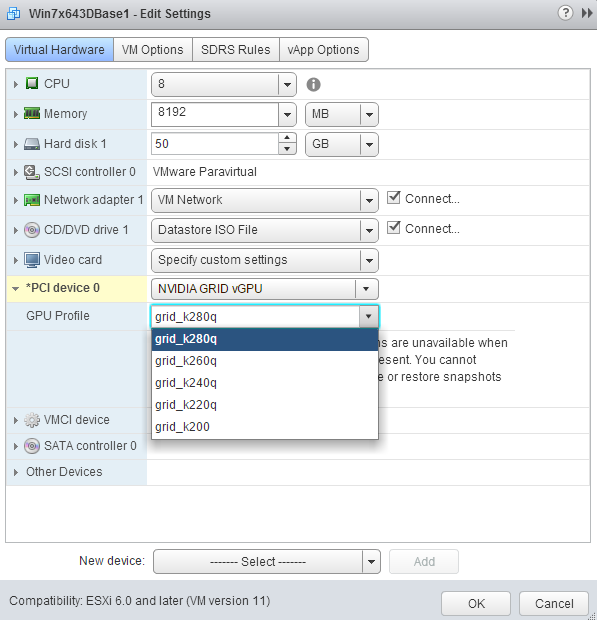
After the XenDesktop 7.8 VDA has installed successfully and the VM has rebooted we can configure the virtual machine for the other K2 Graphics cards profiles. This will allow you to use the same vDisk/master image.
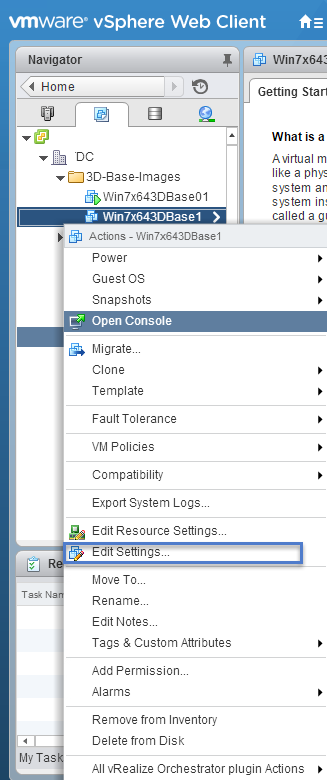
Go to VMware vSphere Web Console and login.
Right Click on the virtual machine and select settings.
Expand the PCI Device setting and under GPU Profile, select the next GPU Profile. Click OK when finished.
 Power on the virtual machine.
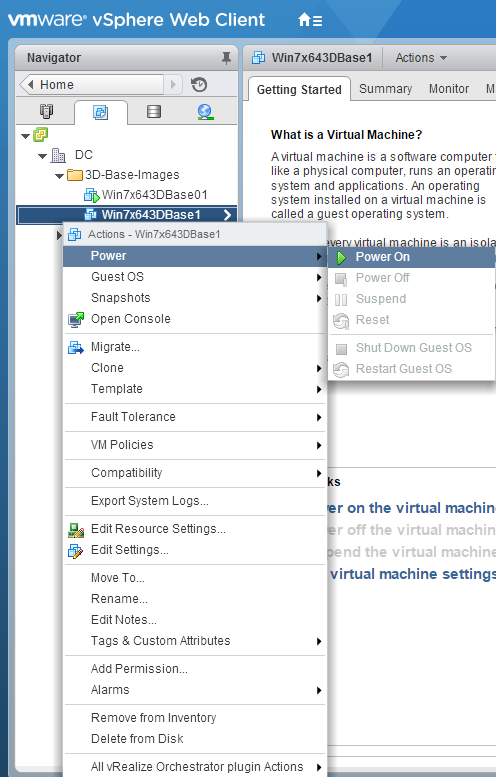
Login to the virtual machine through remote desktop connection.
After logging into the virtual machine you should be prompted to restart, click yes.
Wait for the virtual machine to start back up, then shut it down again. Go back to the VMware web console and adjust the PCI device again and repeat the steps above until all the drivers have been installed.
After configuring the master image for all GPU profiles you can open Citrix Imaging Wizard and create the vDisk. 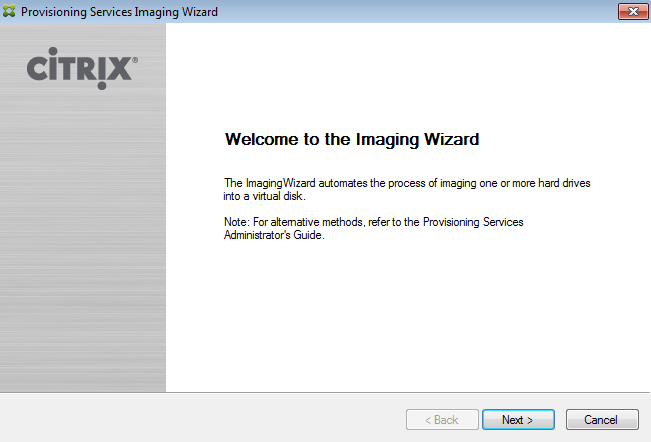
After you have a vdisk in PVS, spin up additional virtual machines using Streamed VM Setup Wizard or XenDesktop Setup Wizard. Then create a new machine catalog and delivery group and assign some users to test.
