While working on a Citrix project we decided to build a new Citrix Provisioning Services environment instead of upgrading. The current PVS Servers were running Windows 2008R2 on physical hardware and their PVS Farm had been upgraded several times over the past couple years. The customer wanted to use Windows Server 2012R2 virtual servers so it was determined that it would be easier to just build new and migrate.
One of the initial challenges with building this new PVS environment was how to get the all the existing PVS Target Devices created on the new PVS Site. In small environments you could just manually create the target devices and collections, but when you’re dealing with a large enterprise that has thousands of XenApp and XenDesktop vms streaming you would not want to manually create them. Citrix makes the process easy.
If you ever need to move PVS target devices and Collections in bulk you can follow these instructions.
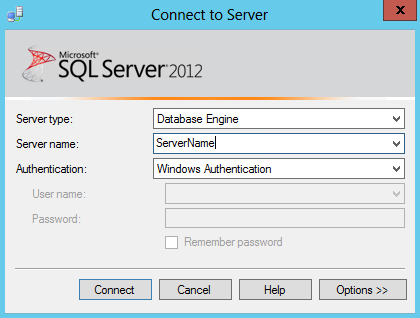
Connect to the SQL Server hosting the Provisioning Server database.
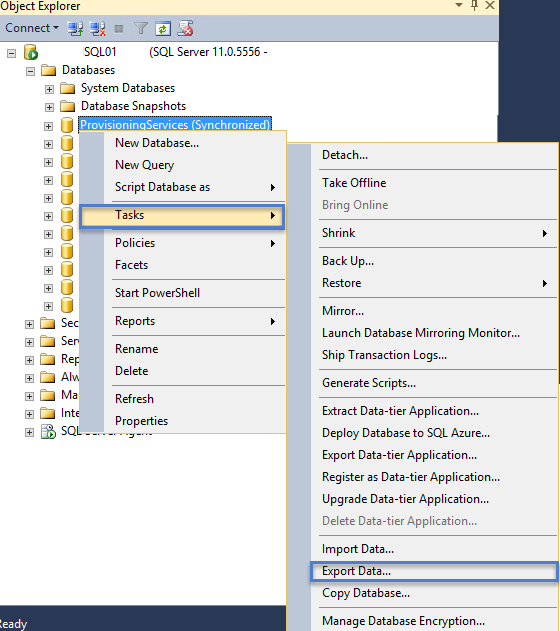
Right-click on the Provisioning Server database and select Tasks > Export Data.
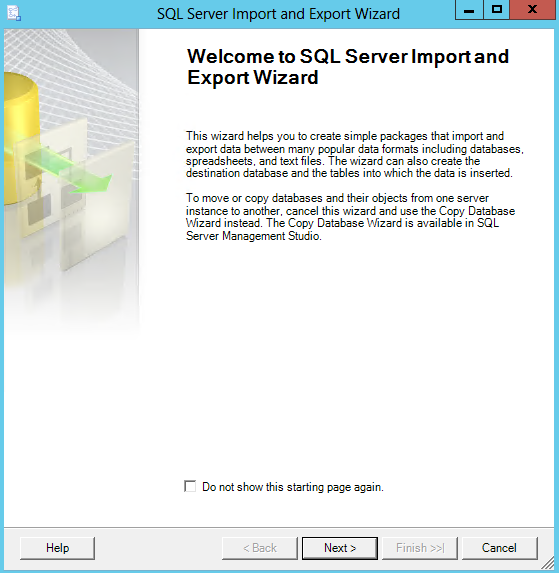
Click Next at the Welcome to SQL Server Import and Export Wizard.
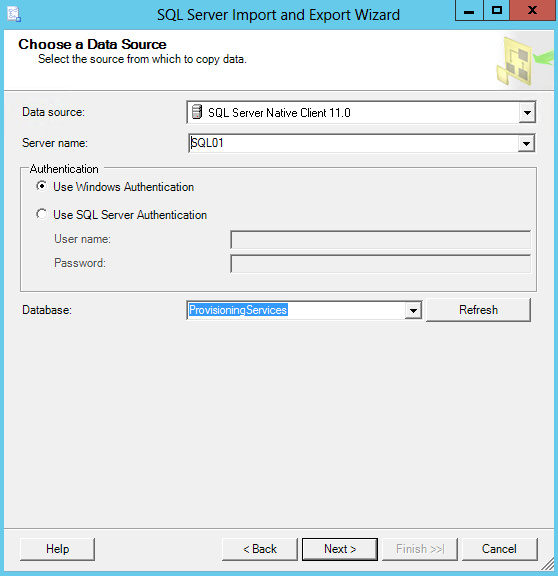
Ensure that the value in the Database field is correct, and select Next.
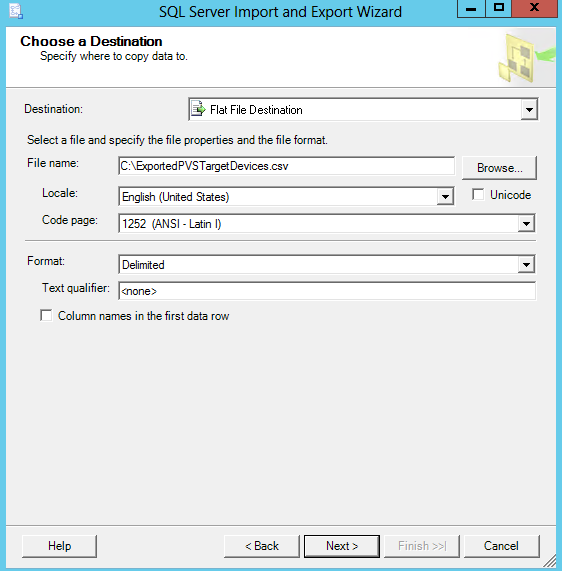
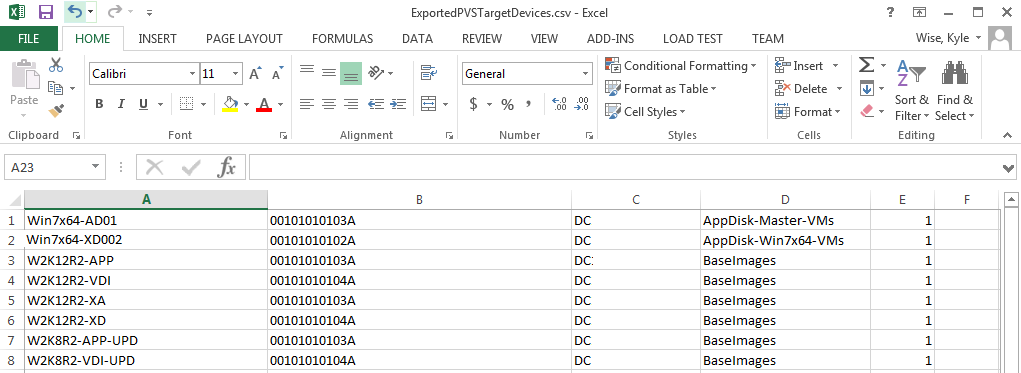
Set Destination as Flat File Destination and specify a path and file name (with .csv extension) to export. Ensure Column names in the first data row check box is not selected.
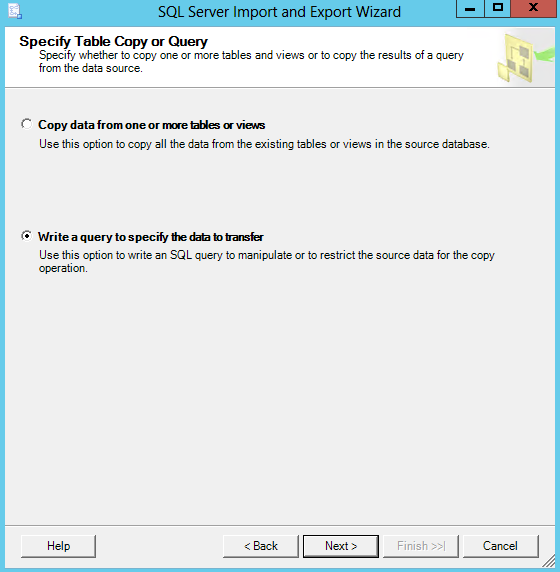
Select Write a query to specify the data to transfer option and click Next.
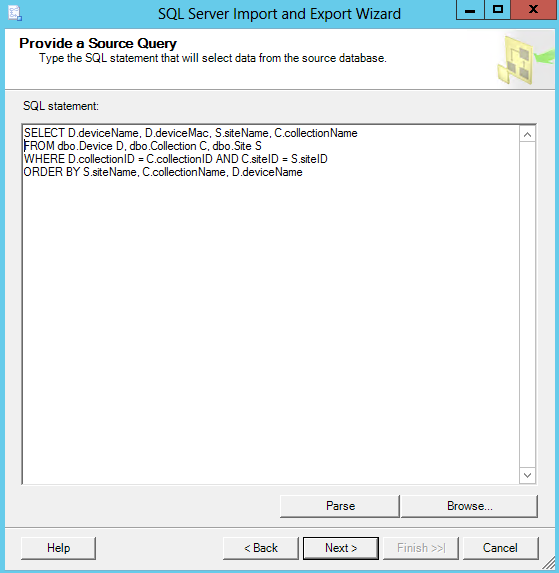
Specify the following SQL query to export all Devices in a farm, alphabetically by Site, Collection, and Device name:
SELECT D.deviceName, D.deviceMac, S.siteName, C.collectionName
FROM dbo.Device D, dbo.Collection C, dbo.Site S
WHERE D.collectionID = C.collectionID AND C.siteID = S.siteID
ORDER BY S.siteName, C.collectionName, D.deviceName
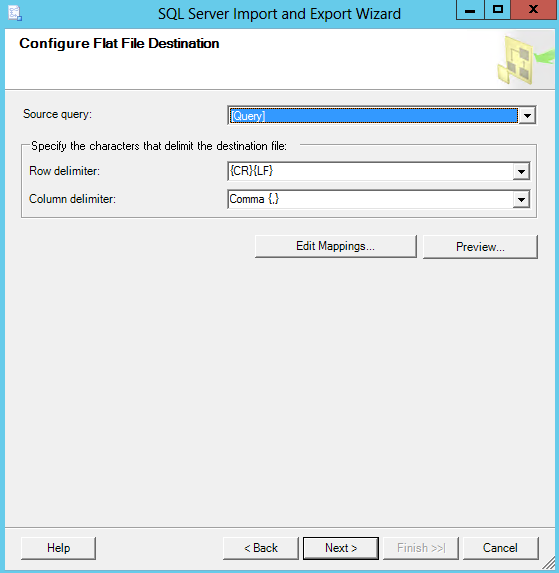
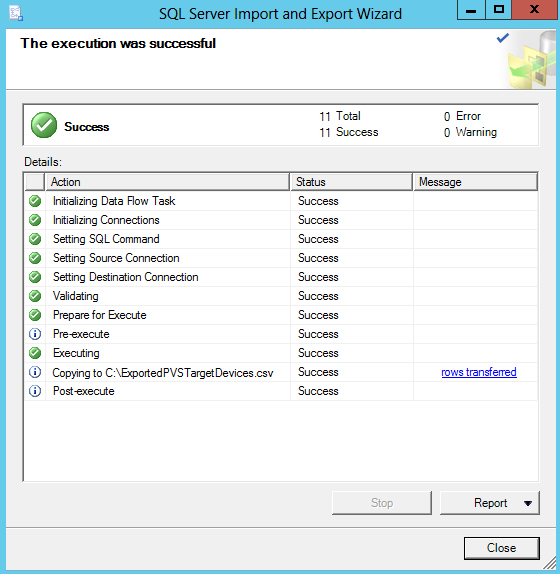
Use the default options and click Next.
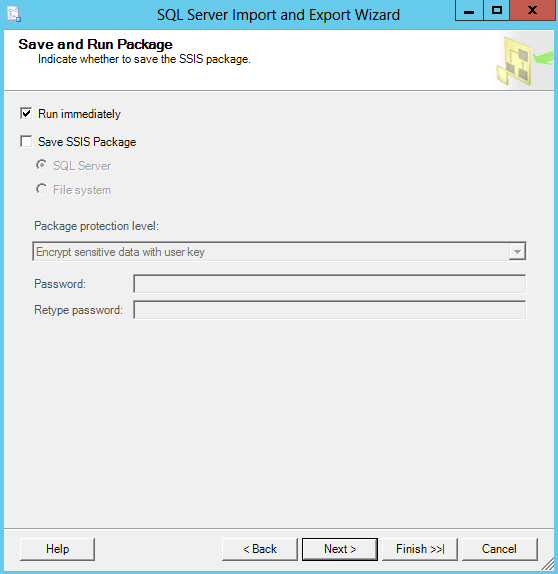
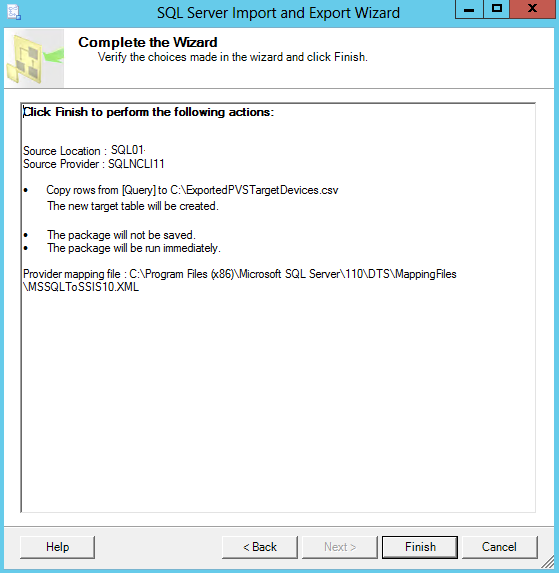
Use the default options and click Next > Finish>>|
Login to your Citrix Provisioning Server and launch Provisioning Services Console.
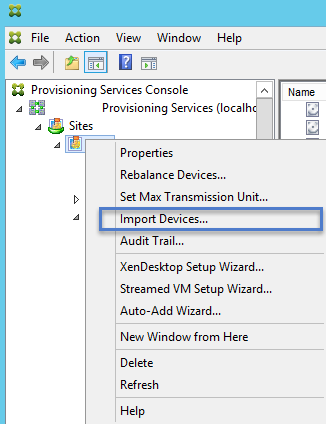
Right Click on your Site and Select Import Devices.
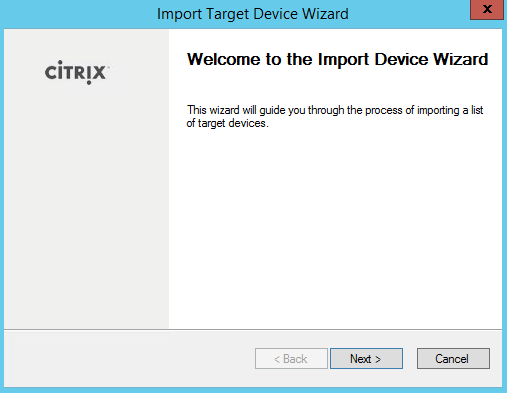
Click Next to continue the Import Device Wizard.
Browse for the Exported CSV File. Click Next to continue.
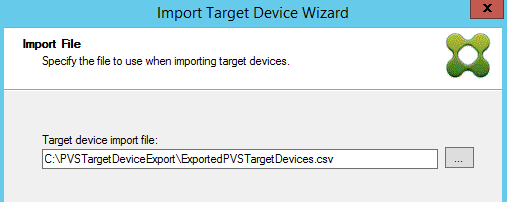
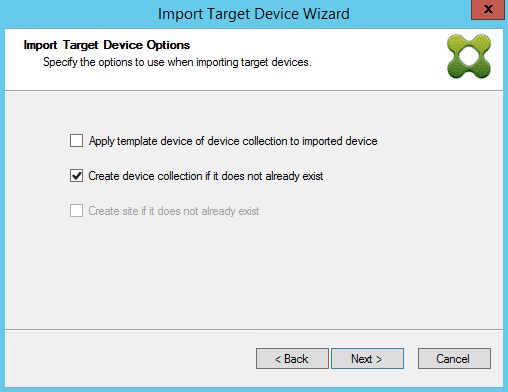
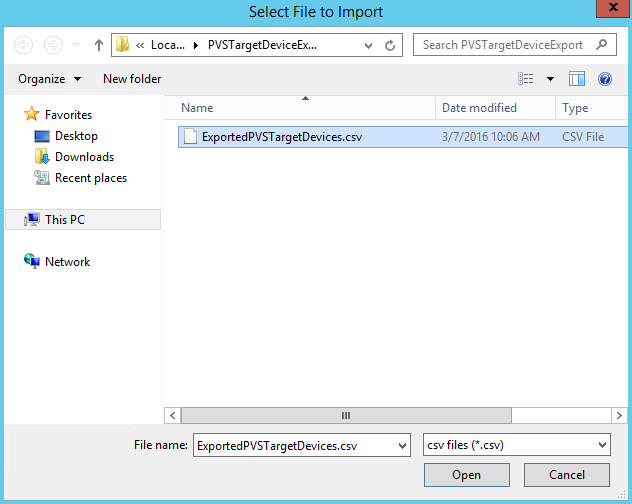 If you haven’t already created the Device Collection in the new PVS environment you can leave the check box marked. Click Next.
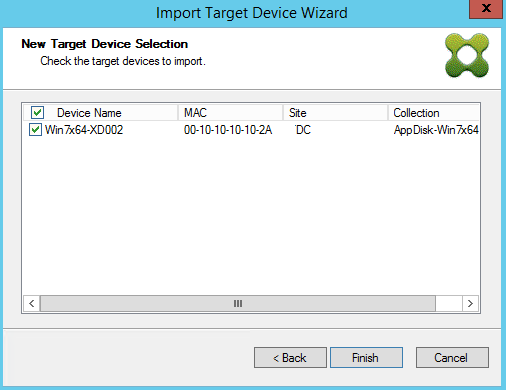
Verify all the information and devices that you want to import. Click Next to Start the import.
When the import process is completed, click Done.
Go to your device collections and verify the devices were imported.



Pingback: Provisioning Services – Console Config – Carl Stalhood