How to Create New Versions of Citrix AppDisks with PVS.
In Citrix Studio under AppDisks right click on the Sealed AppDisk that you want to create a new version of and select Create New Version.
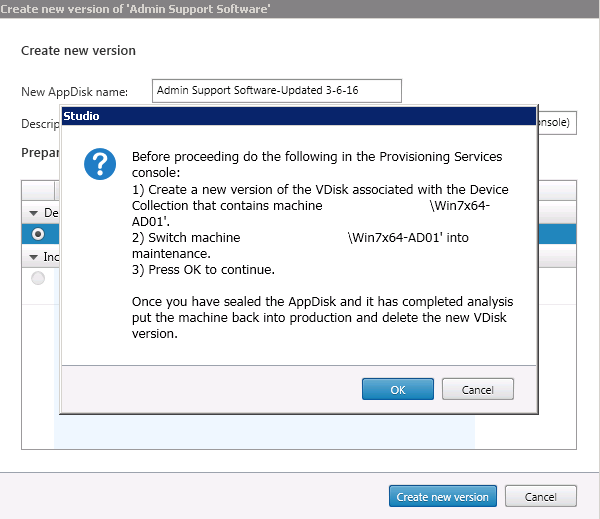
Type in a Name and edit the description to reflect the changes that your making so other admins know what was updates are in the new version. The more details the better.
Select the Catalog and click Create New Version.
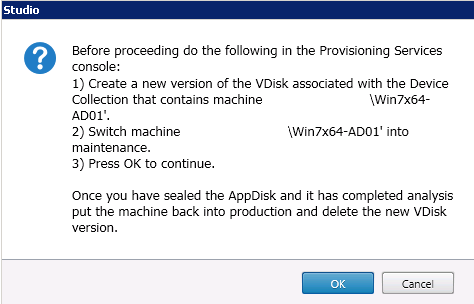
Before clicking OK, Go to Citrix Provisioning Server Console.
Citrix Provisioning Server Console-
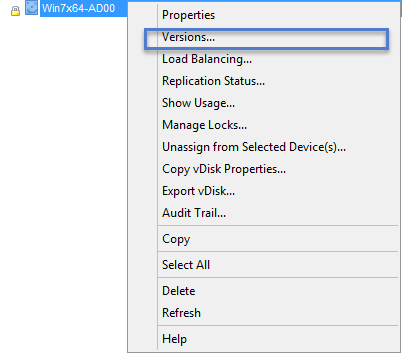
Under Stores, navigate to the Store where your master vDisk is located. Right click on the vDisk and select Versions.
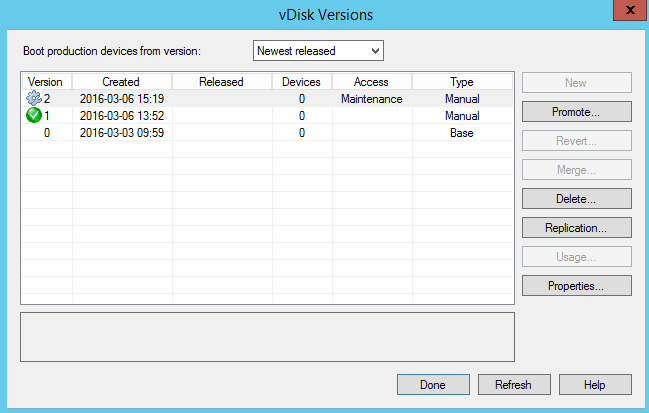
Create a new vDisk version and click Done.
Power on your master virtual machine and select the maintenance vdisk at the boot menu.
After the virtual machine is power on. Click OK.
The virtual machine will reboot a couple times and you will need to select the maintenance vDisk after each reboot from the VM console. Wait for the AppDisk to finish creating.
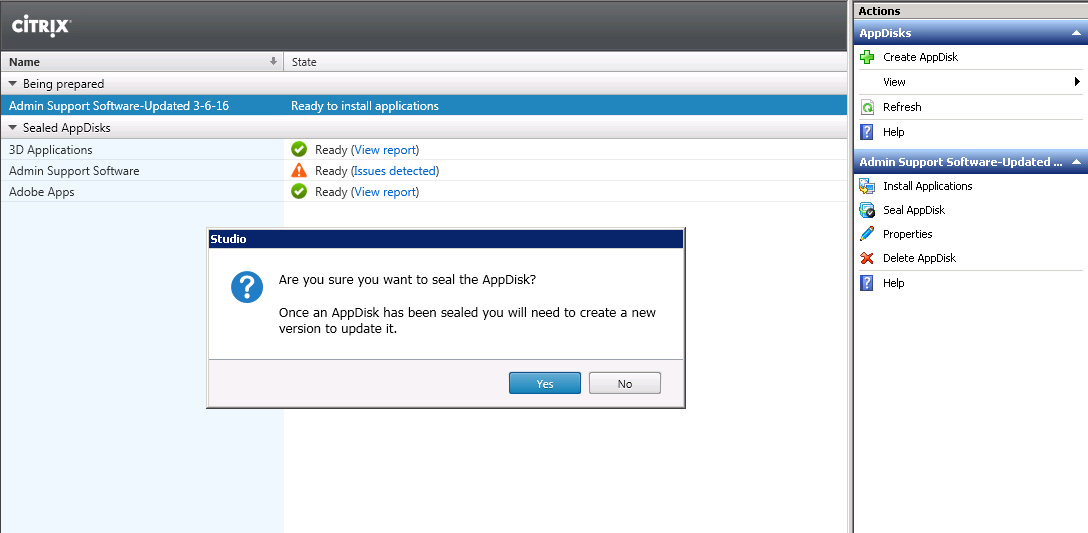
Login to the master VM and start installing your applications when the State shows “Ready to install Applications”.
When you are finished installing applications, just leave the virtual machine powered on and go back to Citrix Studio. Click on Seal AppDisk and choose Yes.
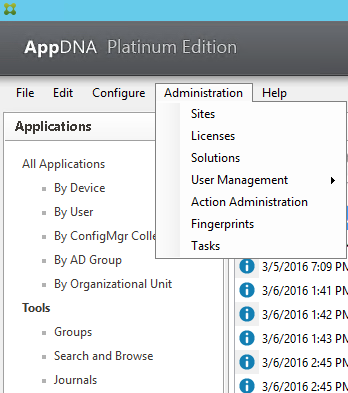
Login to your AppDNA server if you want to see more information about the AppDNA tasks/status.
Select Tasks from the Administration menu.
When the State is changed to Ready, you can go add the new AppDisk version to your Delivery Group.


