Verify your VM is GEN2 and deallocated, then run the PowerShell commands to enable trusted launch for your VM.
Enable Trusted launch on existing VMs – Azure Virtual Machines | Microsoft Learn
		# Make sure to update your AZ modules. If the command fails to run. Latest 10.4.1 works.
		Get-AzVM -ResourceGroupName RGName -VMName W11Upgrade `
			| Update-AzVM -SecurityType TrustedLaunch `
				-EnableSecureBoot $true -EnableVtpm $true
Start your virtual machine, login and download Win11 iso.
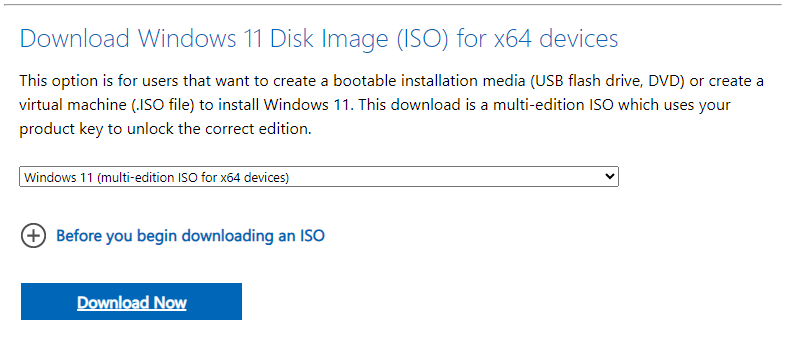
Download Windows 11 (microsoft.com)
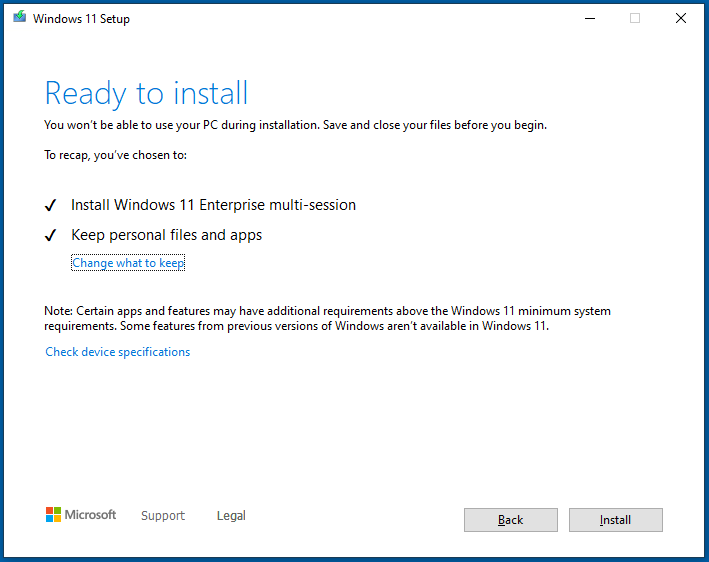
Right-click the downloaded Win11_22H2_English_x64v2 ISO and mount. Click on setup.
Click Change how Setup downloads updates.
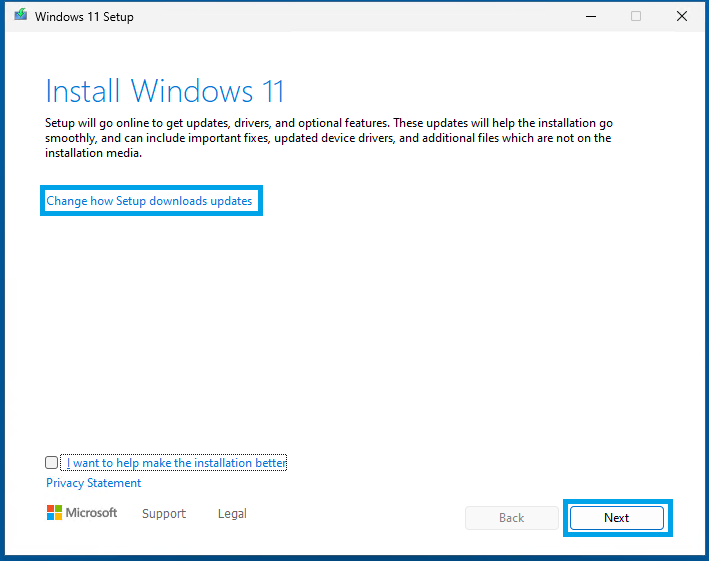
Choose Not Right Now.

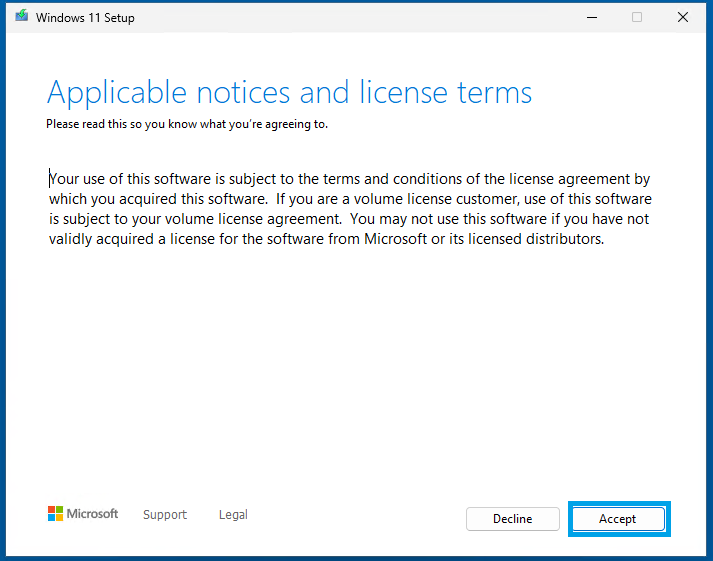
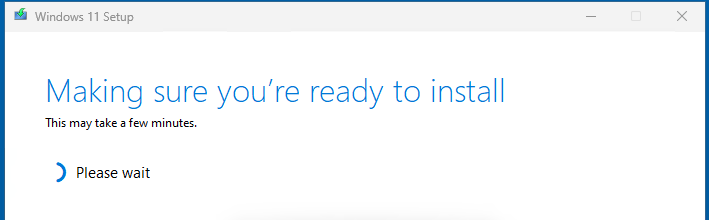
Keep the options selected for apps and files and Next. Windows 11 will start to install and reboot.

When finished, I would run Windows updates and make sure you are up to date.
Take a snapshot before you finalize and sysprep your image. It will save you a lot of time if something fails.
# These are the fixes I needed to do after upgrading Win10 to Win11 for sysprep to run successfully.
#Optional but seemed fixed a sysprep issue we had.
Get-AppXPackage -AllUsers | Foreach {Add-AppxPackage -DisableDevelopmentMode -Register "$($_.InstallLocation)\AppXManifest.xml"}
Restart-Computer -Force

# After reboot, you should run the following commands:

# Step 2: Delete the 'Upgrade' DWORD under 'HKEY_LOCAL_MACHINE\SYSTEM\Setup'
Remove-ItemProperty -Path "HKLM:\SYSTEM\Setup" -Name "Upgrade" -ErrorAction SilentlyContinue

# Step 3: Add the 'CleanUpState' DWORD with value 7 under 'HKEY_LOCAL_MACHINE\SYSTEM\Setup\Status\SysprepStatus'
Set-ItemProperty -Path "HKLM:\SYSTEM\Setup\Status\SysprepStatus" -Name "CleanUpState" -Value 7 -Type DWORD

Write-Host "Registry modifications complete!"
#Optional. I ran just to verify.
DISM.exe /Online /Cleanup-image /scanhealth
DISM /Online /Cleanup-Image /CheckHealth
DISM /Online /Cleanup-Image /RestoreHealth

#NotepadPlusPlus- Issues with the latest version Microsoft Notepad, not Notepad++
Get-AppxPackage -Name *NotepadPlusPlus* | Remove-AppxPackage
Get-AppxPackage -Name *Microsoft.SkypeApp* | Remove-AppxPackage
Get-AppxPackage -Name *Microsoft.XboxApp* | Remove-AppxPackage

#Run Sysprep.
#Capture Image and Create a new Definition in Azure compute gallery since this is Win11 and Trusted Launch.
