
How to change the vDisk on multiple target devices.
In some situations you might need half of your target devices in a collection to use a different vDisk or want to change just a couple devices. To accomplish this, most people will double click on each target device, then select the vDisks tab and add the new vDisk one by one.
This may seem obvious to some people, but not all so I’ll provide info on how to do this a lot quicker. You could add another collection, but most of the time where I have seen the need to only change a vDisk on half of the VMs is during upgrades and with environments that need to be available 24/7.
Changing Target Device vDisks:
Open Citrix Provisioning Services Console:
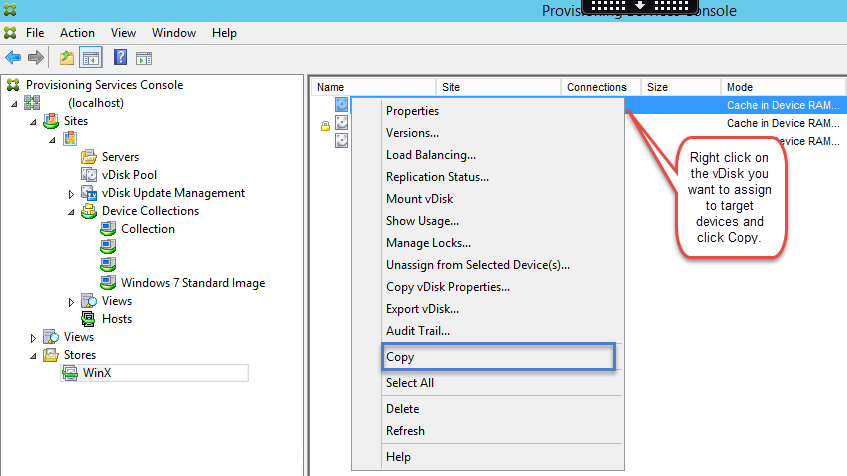
Navigate to your Stores then right click on the vDisk that you want your target devices to use. Select Copy.
Now go to the Collection that has your target devices you want to switch the vDisk on.
Select all the target devices you want changed, then right click and select Paste. This will change the current vDisk with the one you copied previously.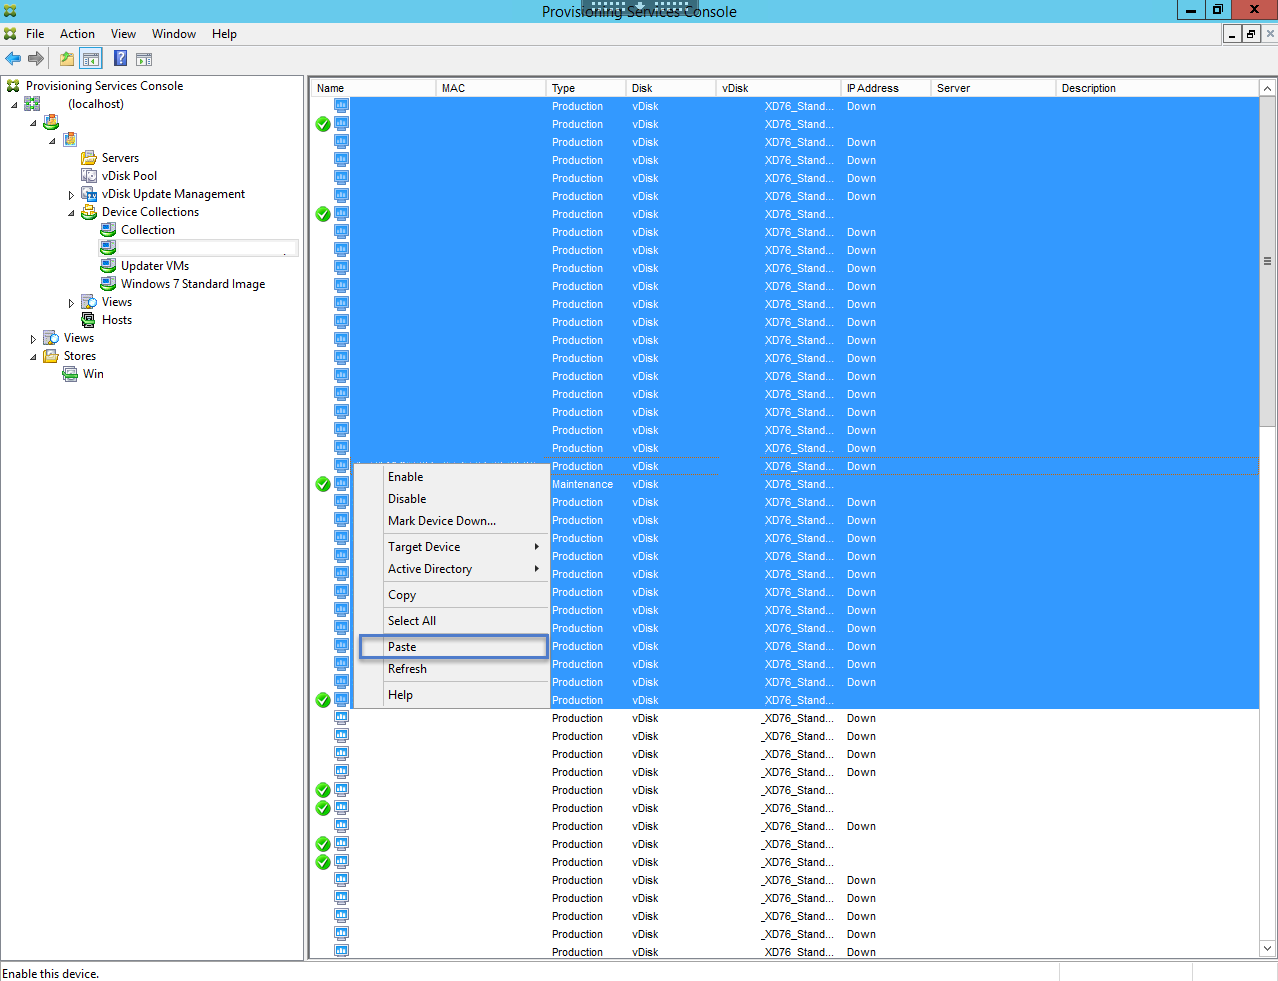 After you have changed the vDisk, you will need to reboot the virtual machines or power them on if they are currently off.
If you need to change all the target device vDisks in a Device Collection, you can also drag and drop the vDisk from the Store to the Device Collection.
