How to verify Framehawk UDP traffic when accessing XenDesktop through Netscaler Gateway
I was recently troubleshooting an issue where Citrix Framehawk was not working for any of our users connecting to their XenDesktop VMs through the Netscaler Gateway.
Starting off with the basic troubleshooting, we verified UDP ports 443 externally and 3224-3324 were open internally. Next, I checked to see if the Citrix Policies were configured correctly, VDA version 7.6 FP3 or greater and Receiver versions 4.3.100. Our XenDesktops VMs were running VDA version 7.8 and the receiver version was 4.4.
After confirming the basic requirements we started testing internally on the LAN, and verified Framehawk connections worked as expected.
Now that we know Framehawk connections work internally, I logged into the Netscaler and confirmed that DTLS was enabled on the Netscaler Gateway Virtual Server. The SSL certificate had also been unbound and rebound in the correct order.
Next, we needed to do a packet capture from the Netscaler and the local workstation to see if there were issues with the UDP traffic. To do this follow the steps below.
Login to your Netscaler Web Console.
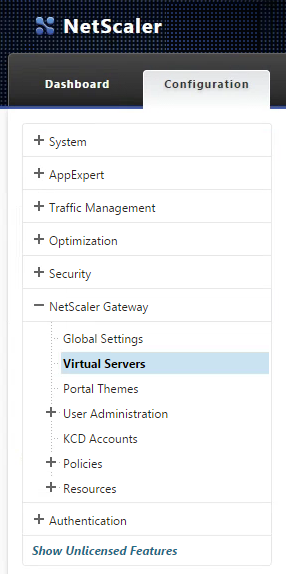
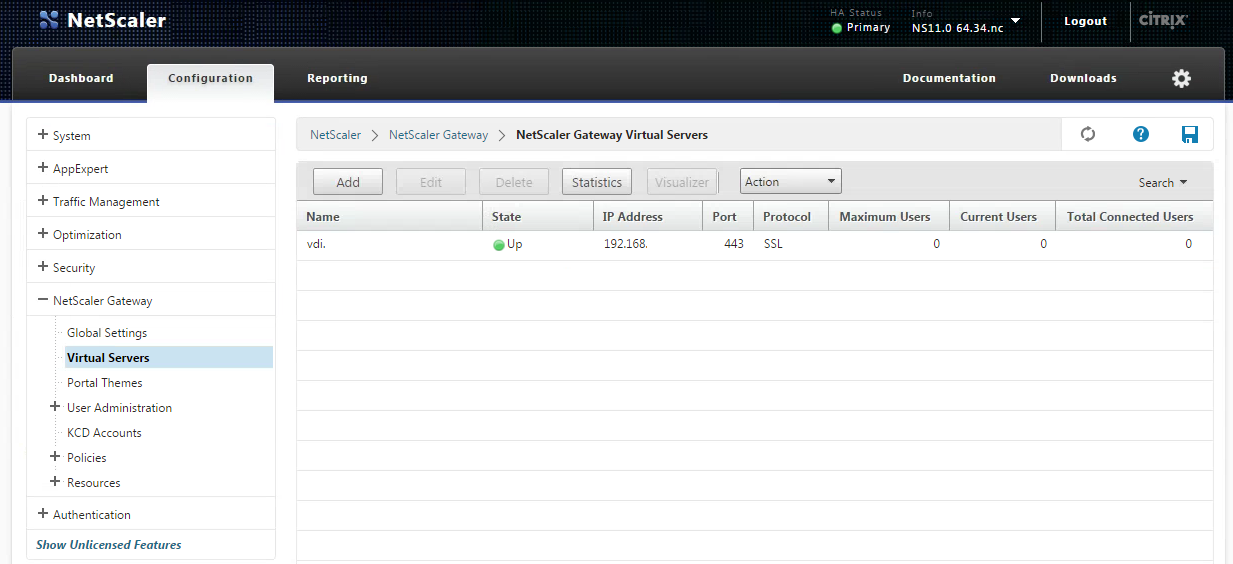
Click on the Configuration tab then expand the Netscaler Gateway node.
Select the Netscaler Gateway Virtual Server and click Edit on the menu bar or right click the selected virtual server and click edit.
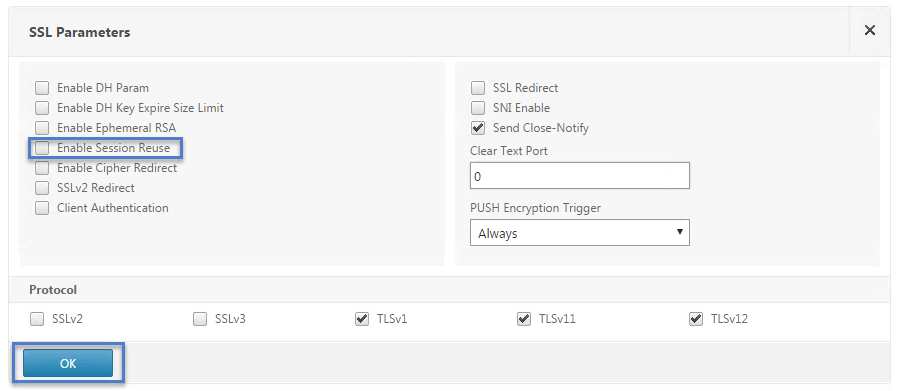
Scroll Down to SSL Parameters section. Click the pencil icon to edit.
Uncheck Enable Session Reuse. Then click OK and go back to the Netscaler Main page.
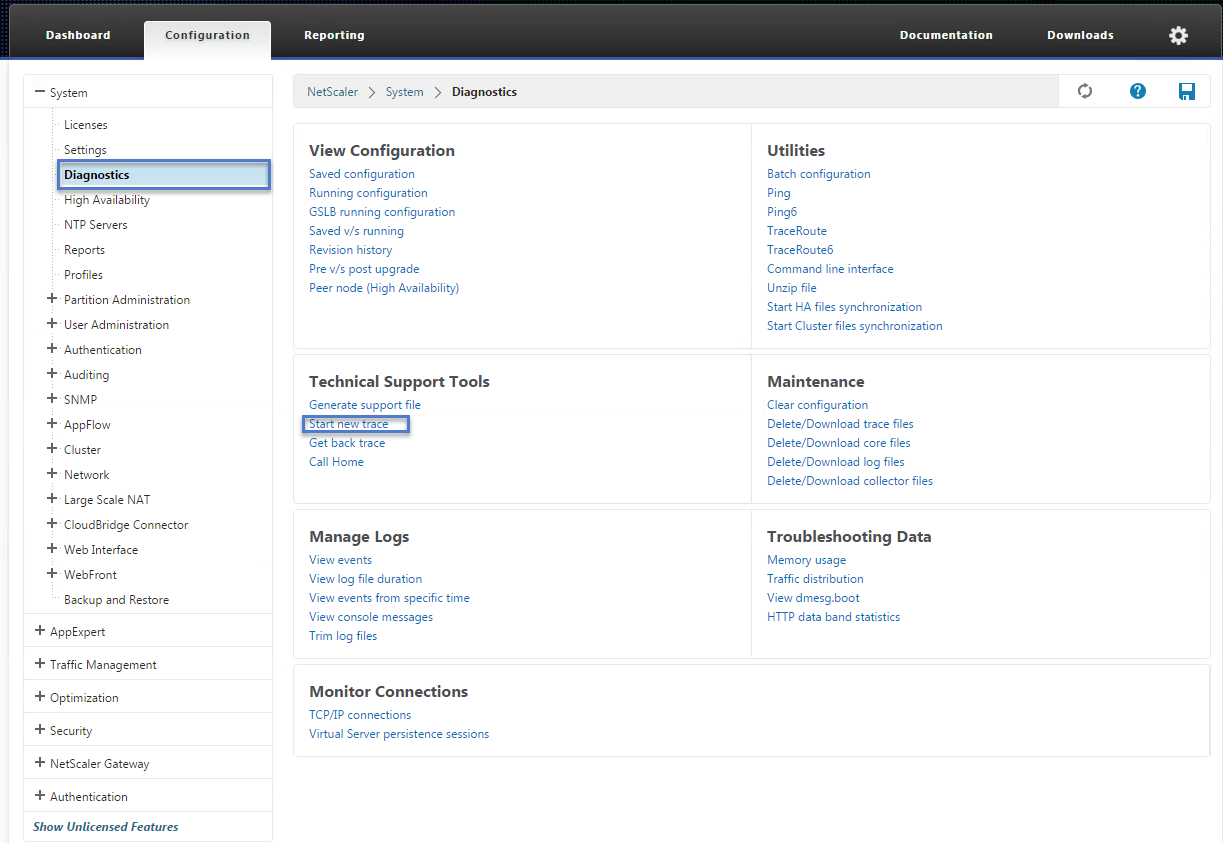
Now go to System Node > Diagnostics.
Under Technical Support Tools click on Start New Trace.
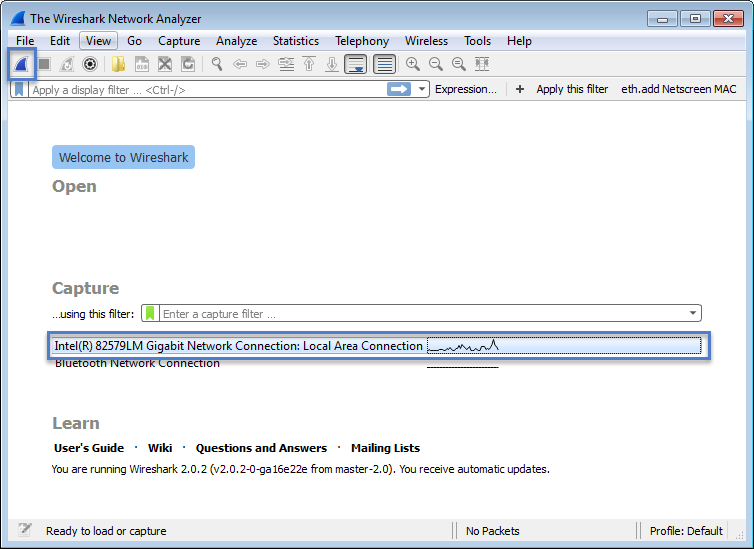
Now go to your local workstation that you are testing Framehawk from and launch WireShark, select your interface.
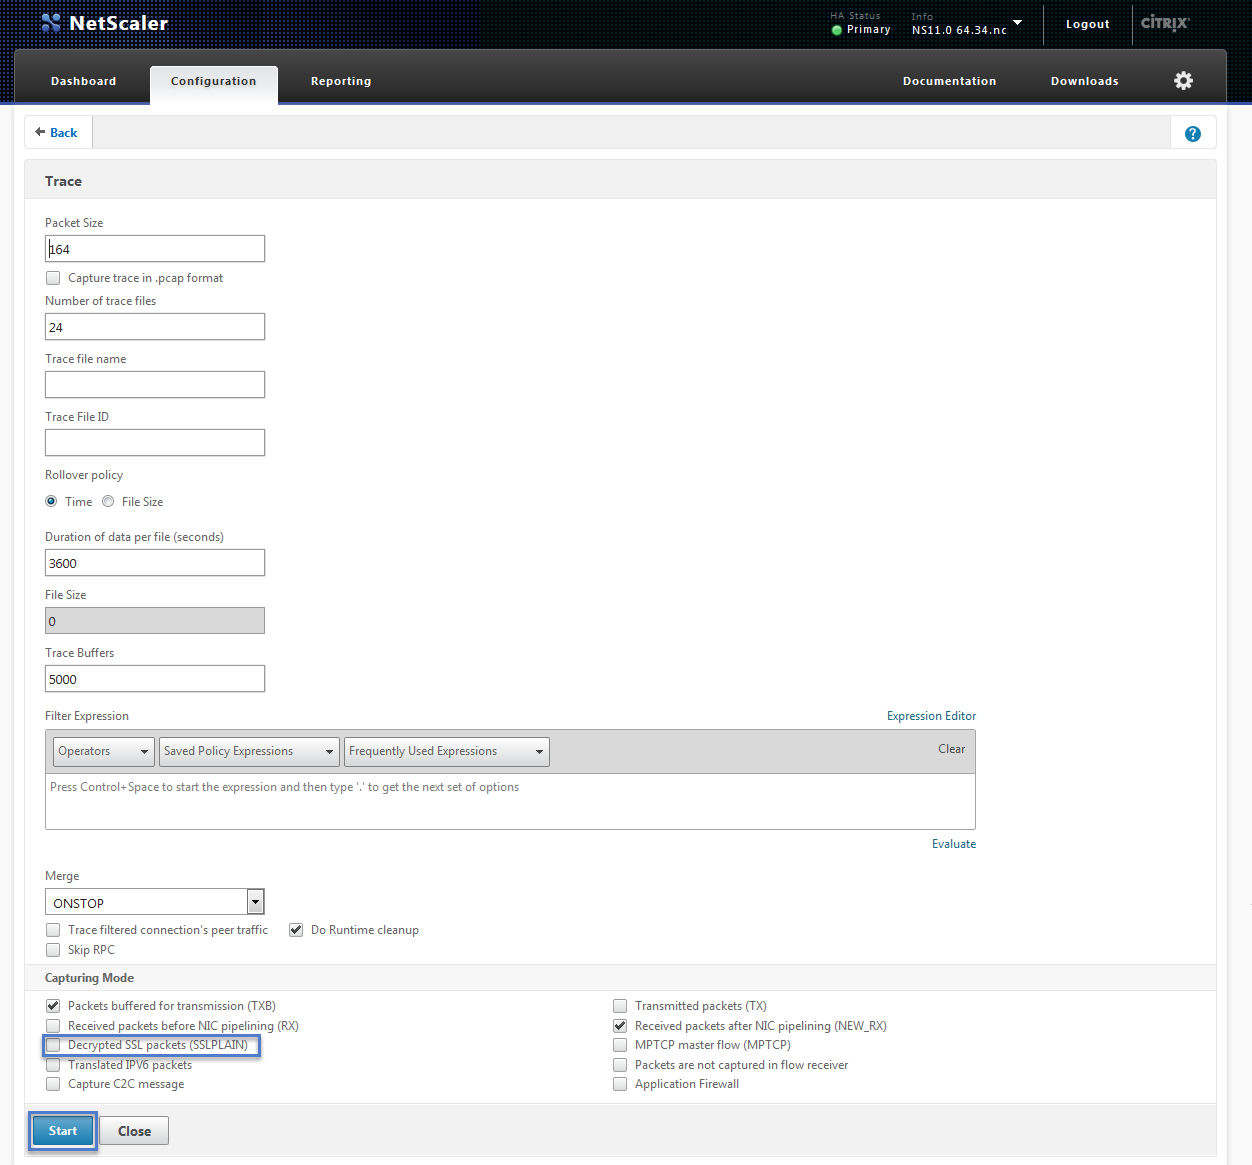
Scroll down to Capturing Mode. Uncheck Decrypted SSL packerts (SSL PLAIN).
If you are investigating connection issues like we were, I would prepare WireShark on the client machine and try to start both packet captures within a couple seconds of each other.Also keep track of when you initiate a connection or launch a desktop. This will make it easier when trying to sort through the capture files.
Click Start when ready.
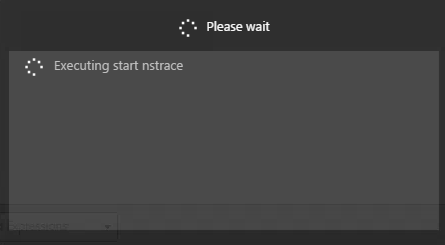
After clicking Start you should see a popup box showing Executing Start nstrace.
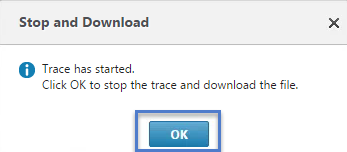
When finished launching an application or desktop click OK.
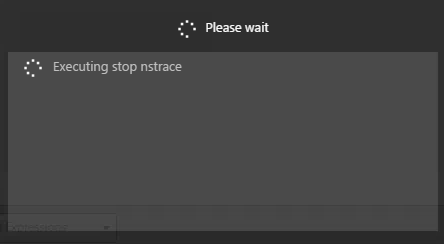
You should see a Please Wait popup. Executing Stop Netscaler Trace.
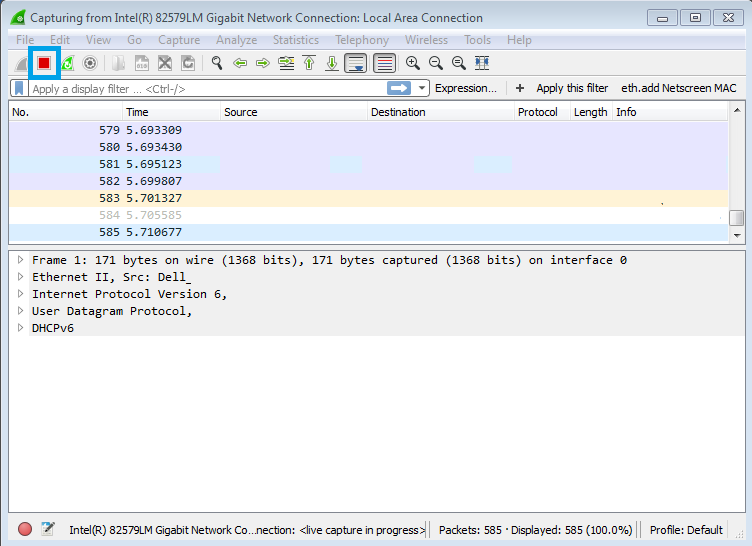
After the Netscaler Trace has stopped. Stop the WireShark trace on the workstation.
Select the Netscaler Trace file and click Download
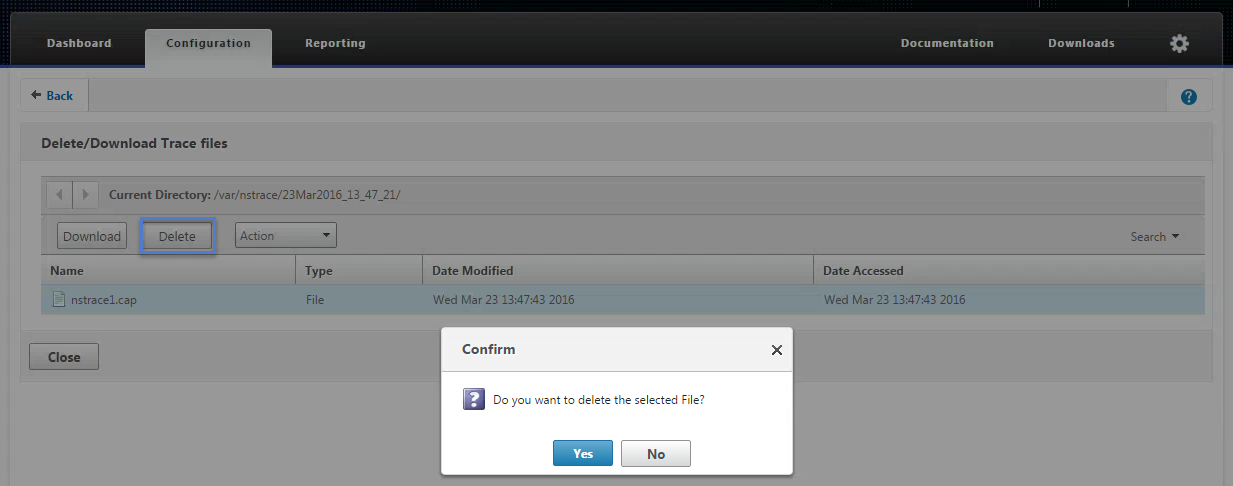
Select the trace file. Click Delete and Yes to confirm.
When the file is deleted, click Close to return to the main page.
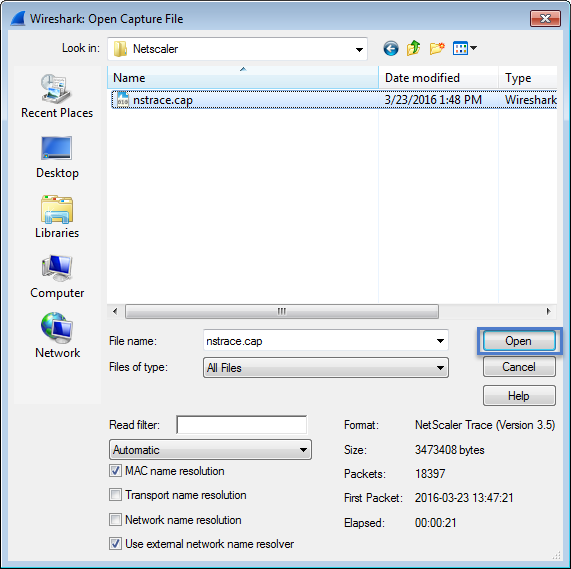
After capturing the traces from the local workstation and Netscaler you need to launch WireShark and open up the trace file that you downloaded from the Netscaler.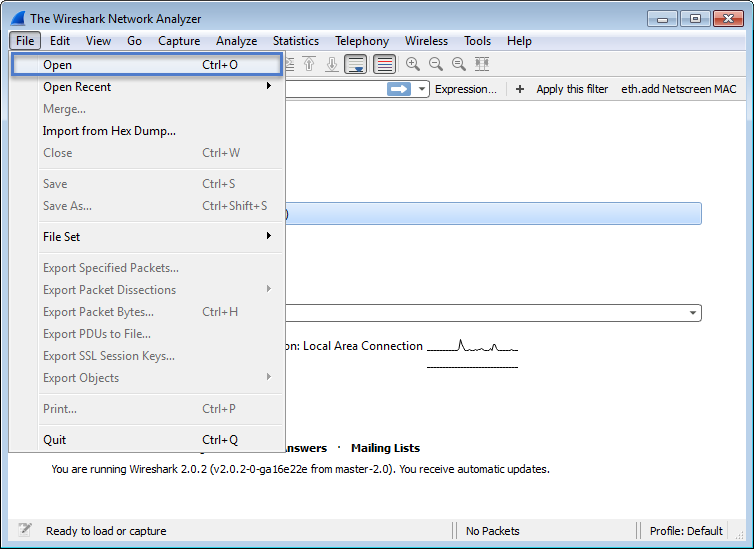
When we looked through our Netscaler trace file with Citrix Support, it was determined that UDP packets egressing the DTLS engine were not honoring Mac Based Forwarding (MBF) which is not expected behavior. Mac Based Forwarding was working correctly for TCP packets, but not UDP Packets.
We are still waiting for a firmware Update as of 11/1/16.
Tracking/Bug ID- BUG0629512.






How was this resolved after determining MBF issues with UDP packets?
Citrix is correcting the issue in the next firmware release. However, I’m still waiting for confirmation on the release date.
Hi Kyle – great blog! Did you ever get confirmation from Citrix that a specific release addressed this issue?