Configuring, Updating and Deploying Citrix XenApp Servers with Machine Creation Services (MCS)
MCS with Citrix XenApp works prefect for environments that need an easy way to manage and update their new Citrix servers. Most smaller environments are usually managing their old XenApp servers individually, which can cause issues if updates and changes are not applied across all servers that an application or desktop is published to. I usually prefer Citrix Provisioning Services, but for some environments it’s a lot easier with MCS to manage and requires less infrastructure and training.
Here’s how to get started with XenApp 7 and Machine Creation Services.
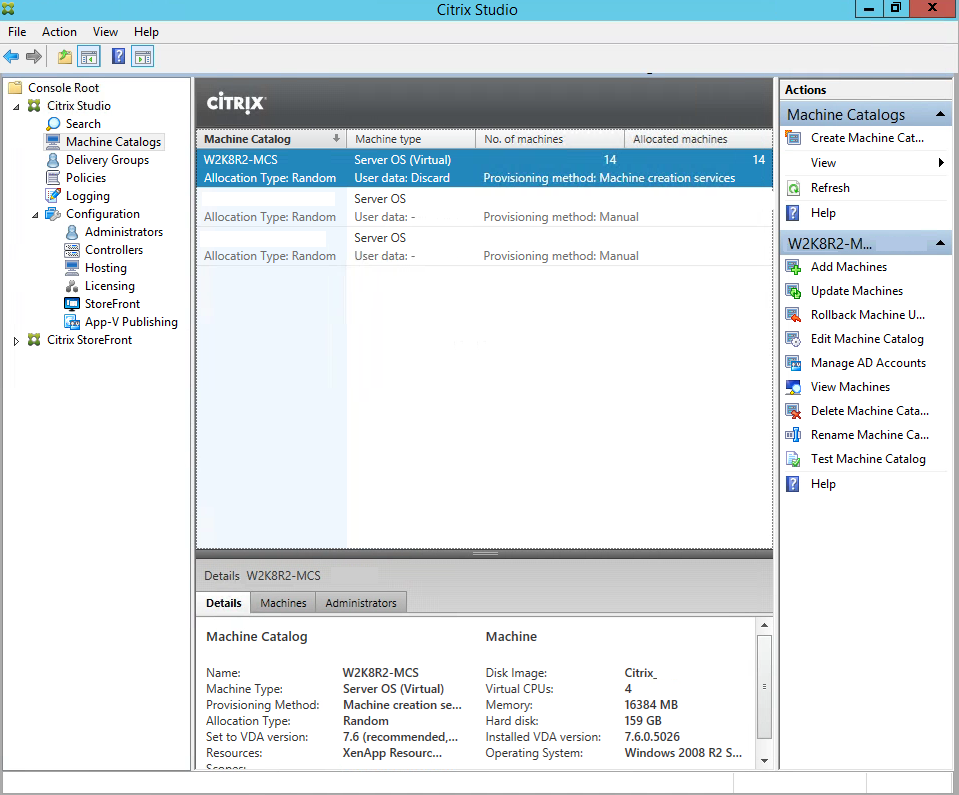
Open Citrix Studio and go to the Machine Catalogs Node. Under the Actions Pane click on Create Machine Catalog.
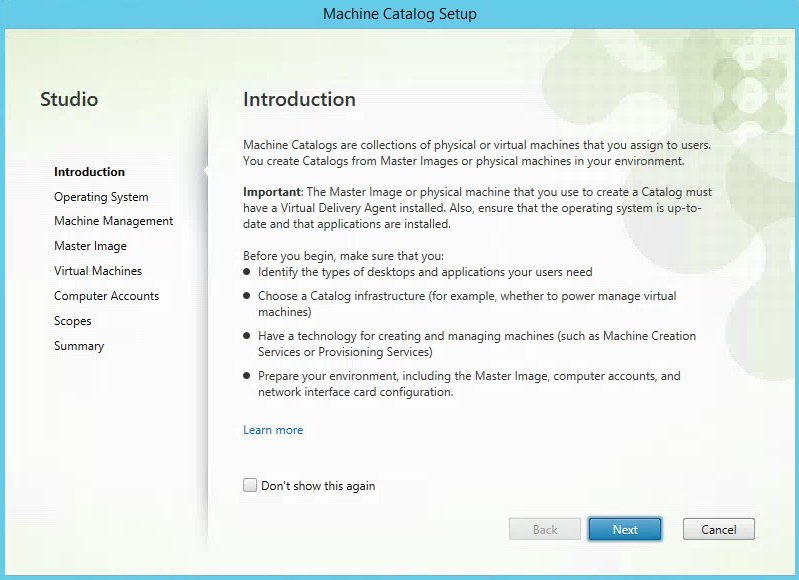
Click Next to start the Machine Catalog Setup.
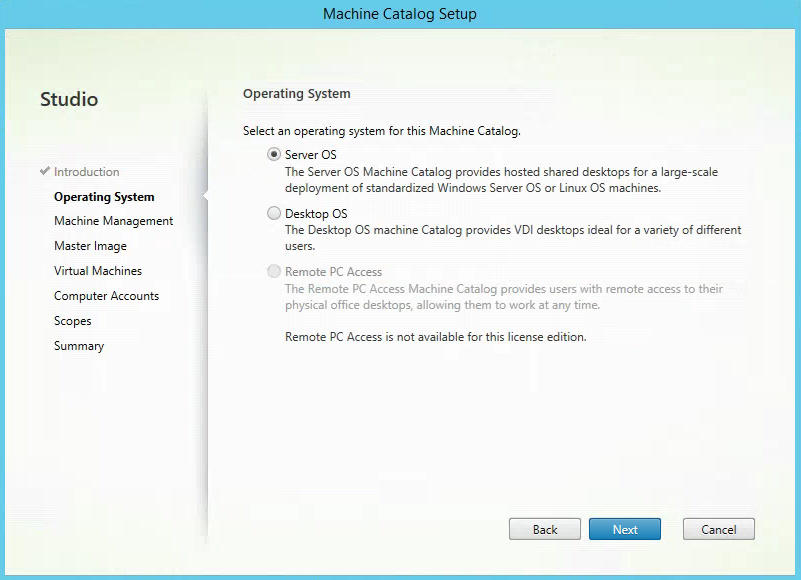
Select an operating system for the Machine Catalog. Click on Server OS since this Machine Catalog is for XenApp and click Next.
Select the type of Power Management you need.
Machines that are power managed (for example, virtual machines or blade PC’s). Machines that are not power managed (for example physical machines)
Deploy Machines Using: Citrix Machine Creation Services (MCS). Click Next to continue.
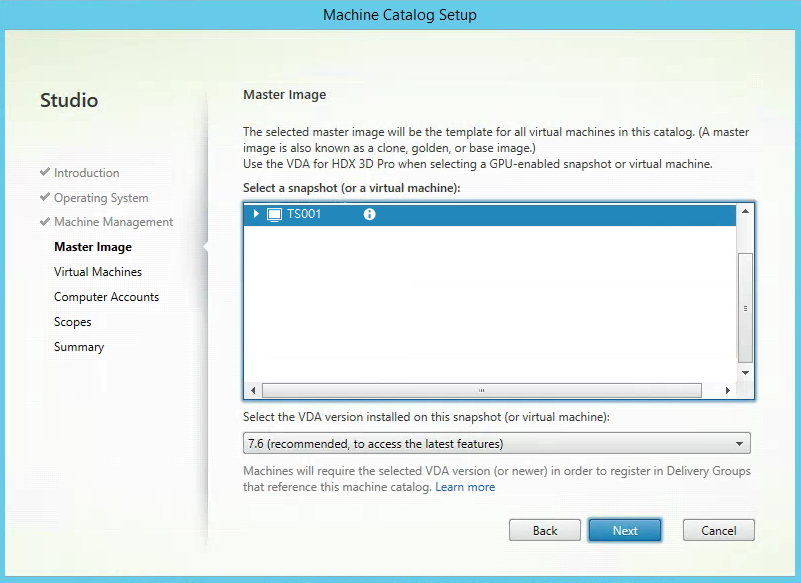
Select the Master Image Virtual machine that you will use as a master/golden image. Select the VDA version and Click Next.
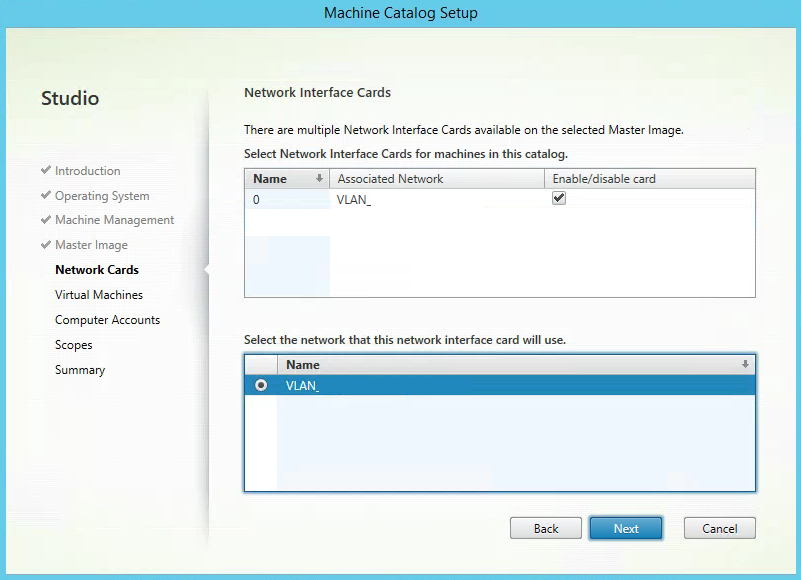
Choose the Network Cards and Network Names that you want applied to the virtual machines in this Machine Catalog. Click Next.
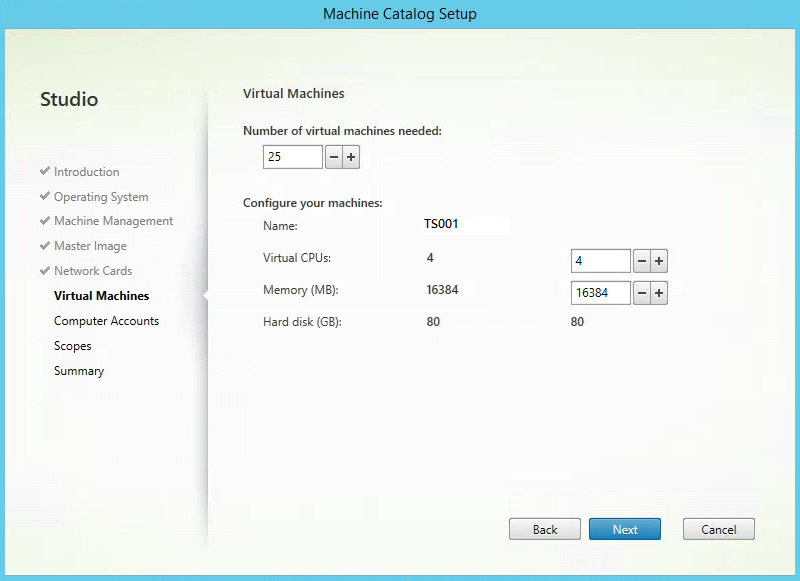
Choose the number of machines you want to create, CPU’s and Memory amount. Click Next to continue.
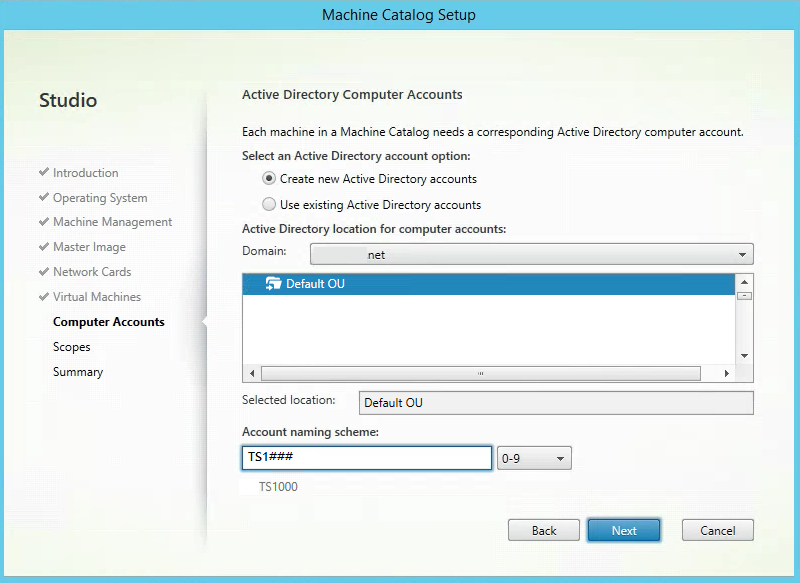
Select Create New Active Directory Accounts. Choose an OU to place the computer accounts in and Type in the Account Naming Scheme. Click Next when finished.
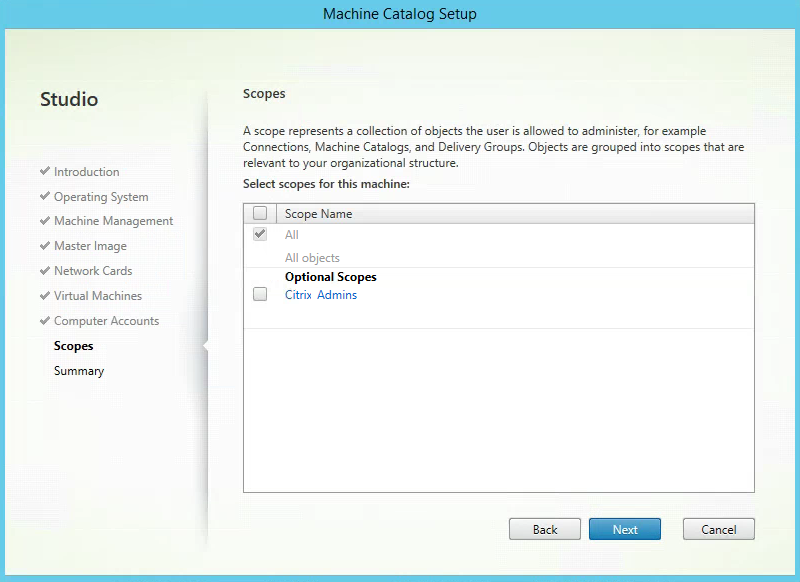
Leave the Default Scope All and click Next or select additional Scopes.
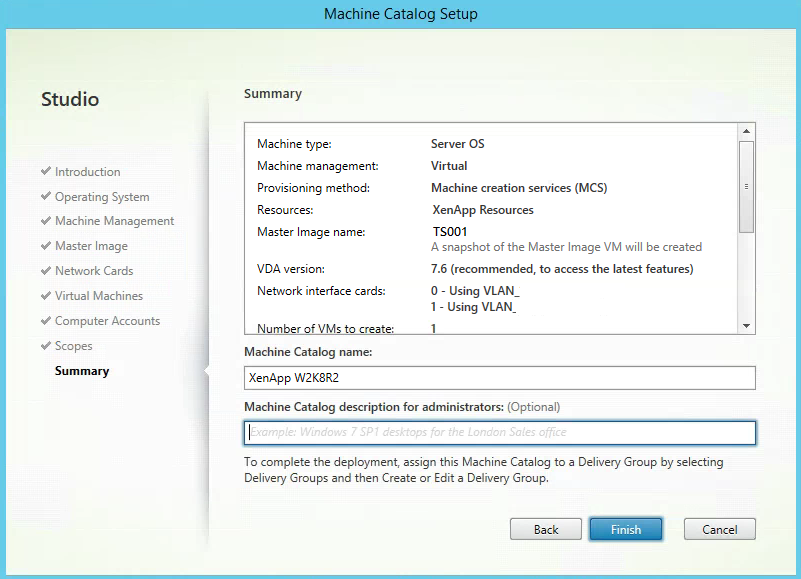
Specify a Machine Catalog Name and a description if needed. Verify all the information is correct on the summary and click Finish.

