XenDesktop 7 Database Configuration, Optimization, and Maintenance Tasks.
Citrix Recommends that customers separate their Databases and configure nightly and weekly maintenance plans for your XenDesktop SQL databases.
First we will go over how to configure the databases for Monitoring and Logging.
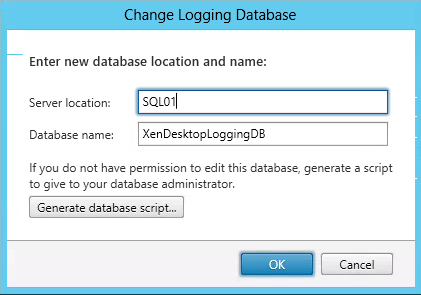
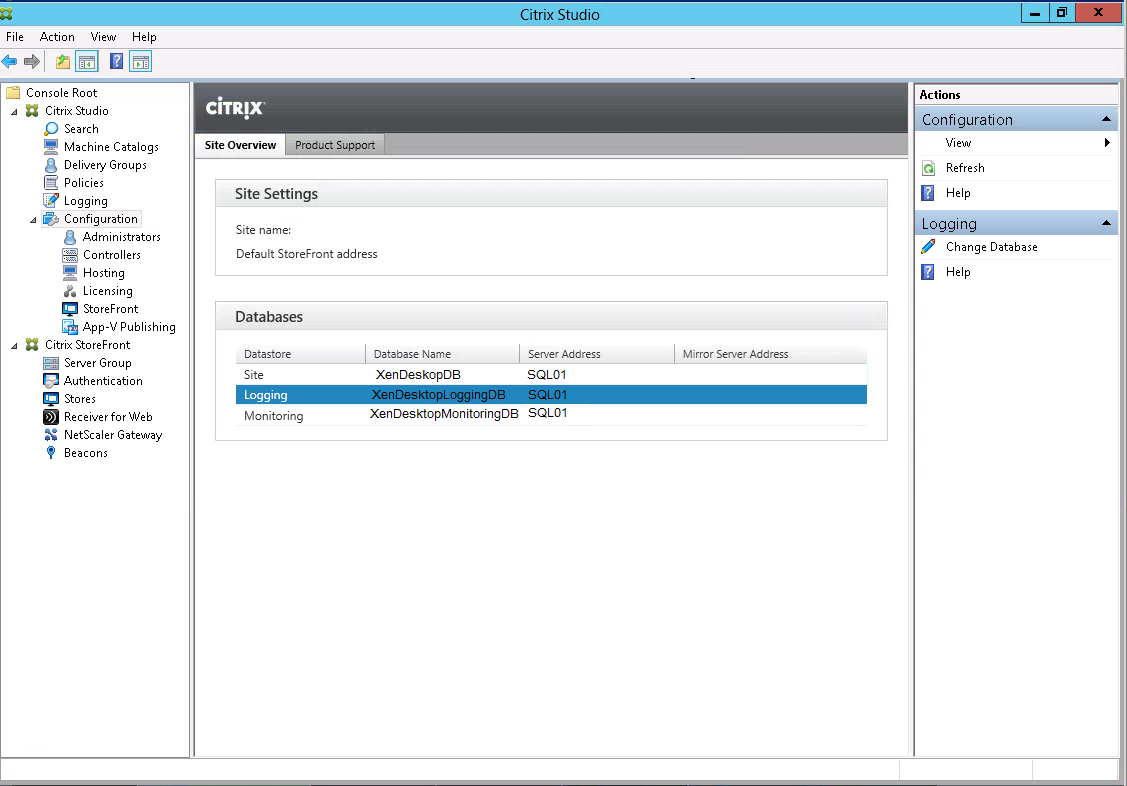
To do this, open Citrix Studio and click on the Configuration node. Select the Logging Database and click Change Database.
Change the Database Name and click OK.
Next we will need to change the Monitoring database. Select the Monitoring Database and click change database. 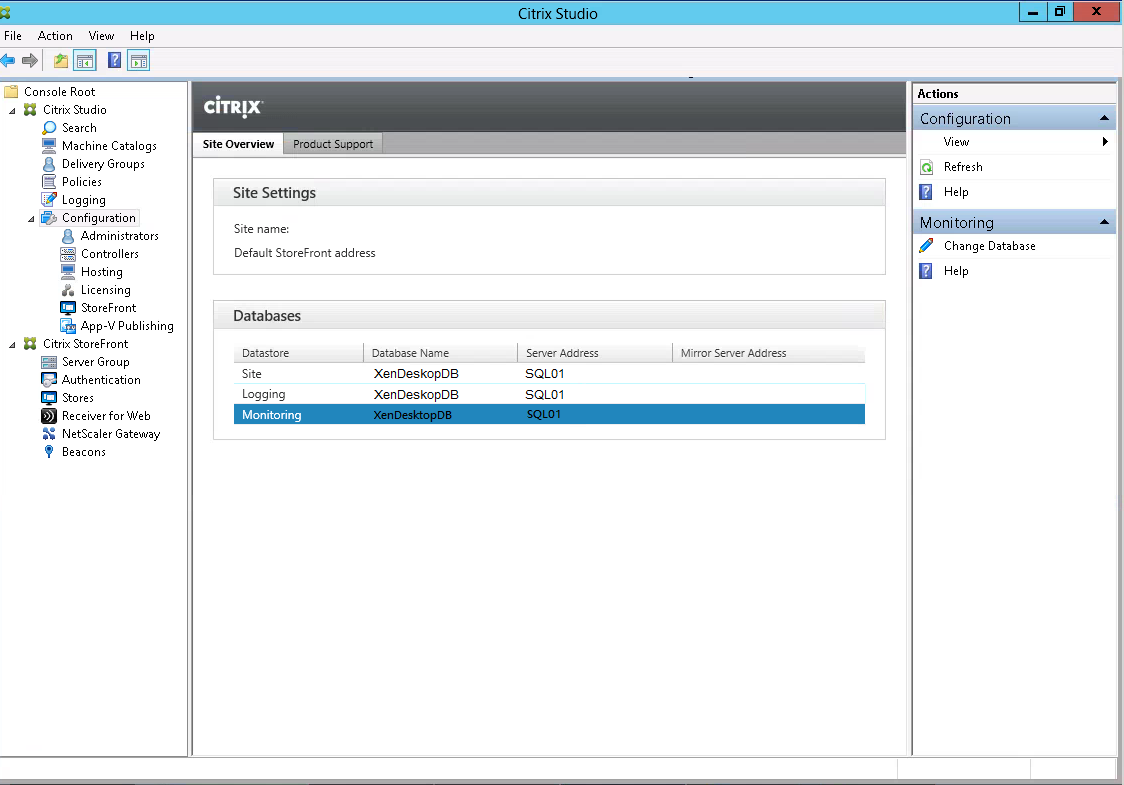
Change the Database Name and click OK.
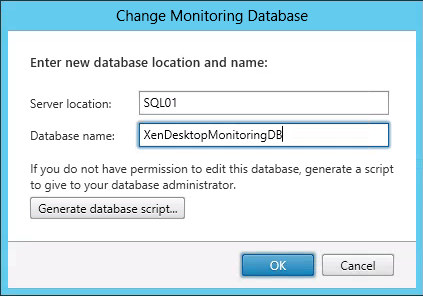 Database Name change should be reflected below.
Below is how to setup and configure Index, Statistics and purge history maintenance.
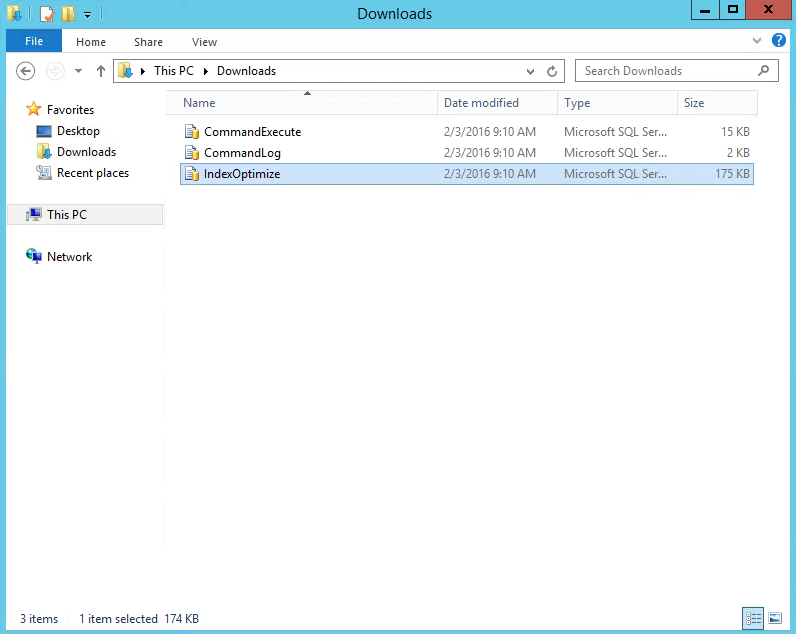
Download the following scripts. IndexOptimize, CommandLog, CommandExecute.
http://ola.hallengren.com/sql-server-index-and-statistics-maintenance.html
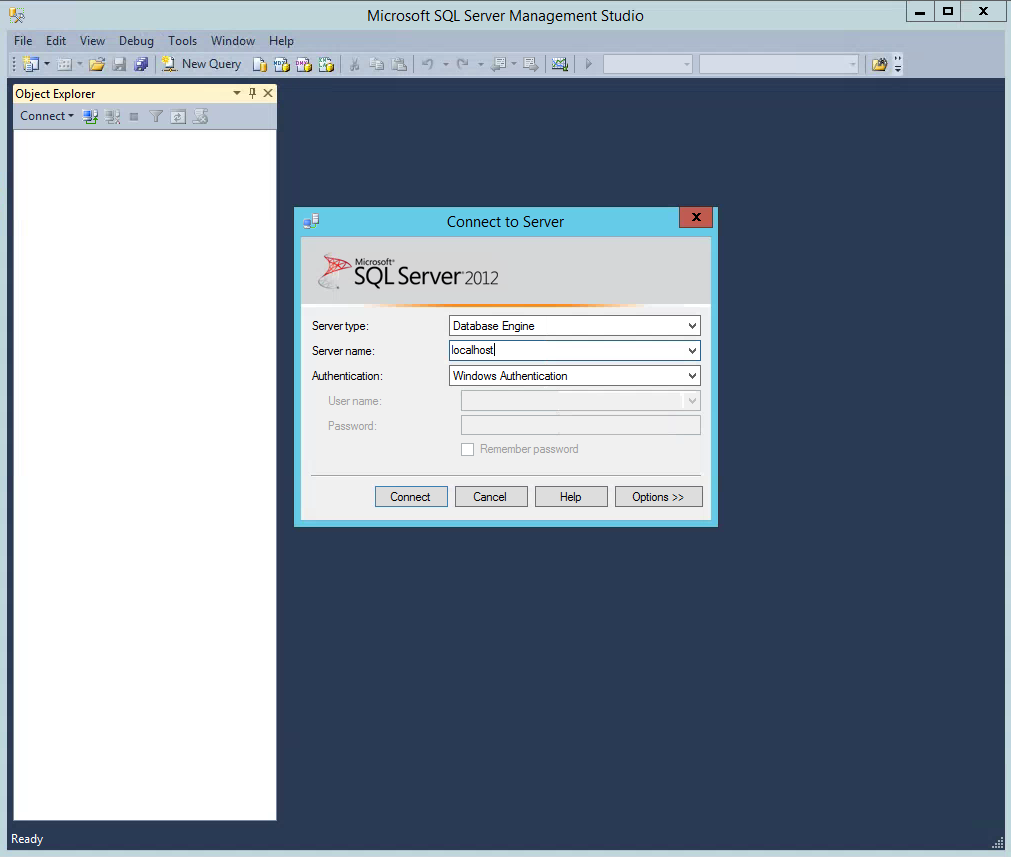
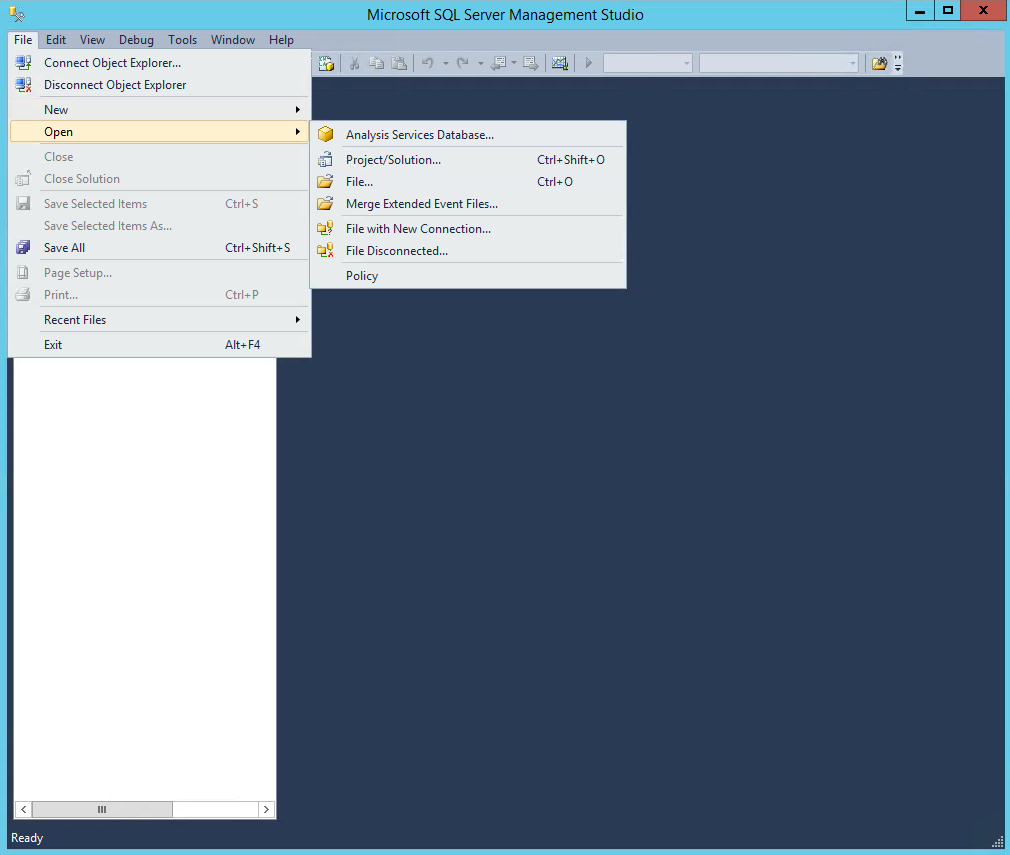
Open SQL Management Studio. Execute scripts.
Go to File, Open, Click on File…
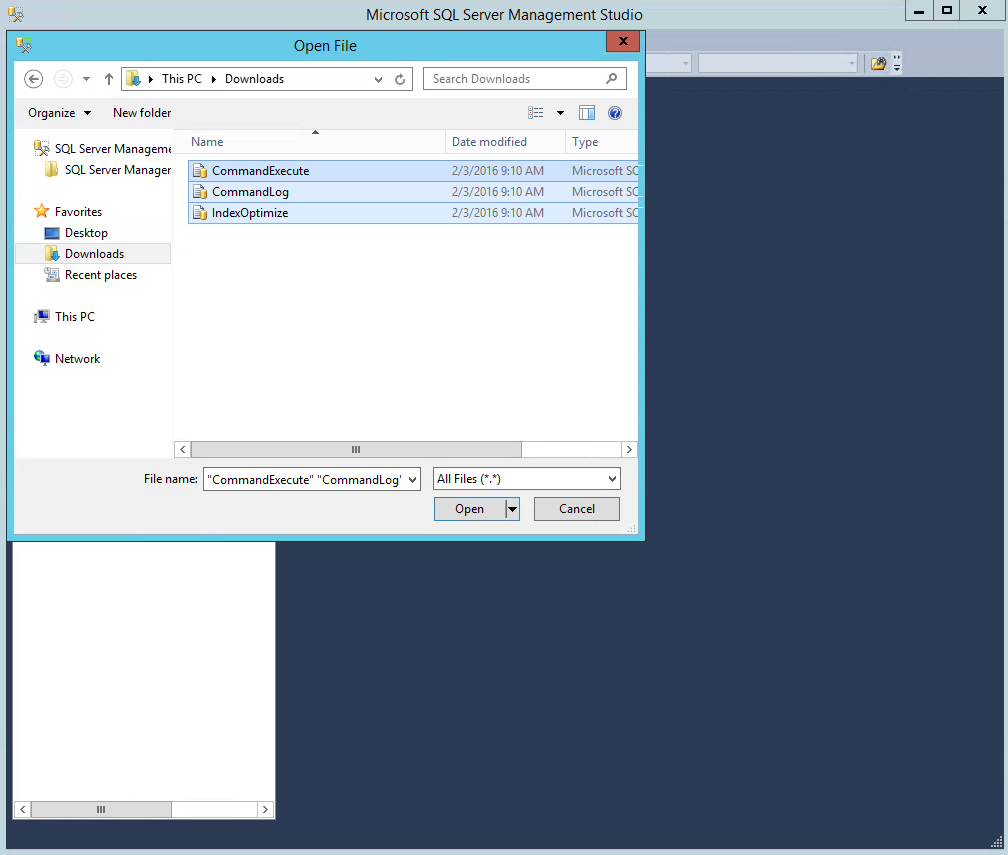
Select all 3 downloaded files. “CommandExecute, CommandLog, IndexOptimize”.
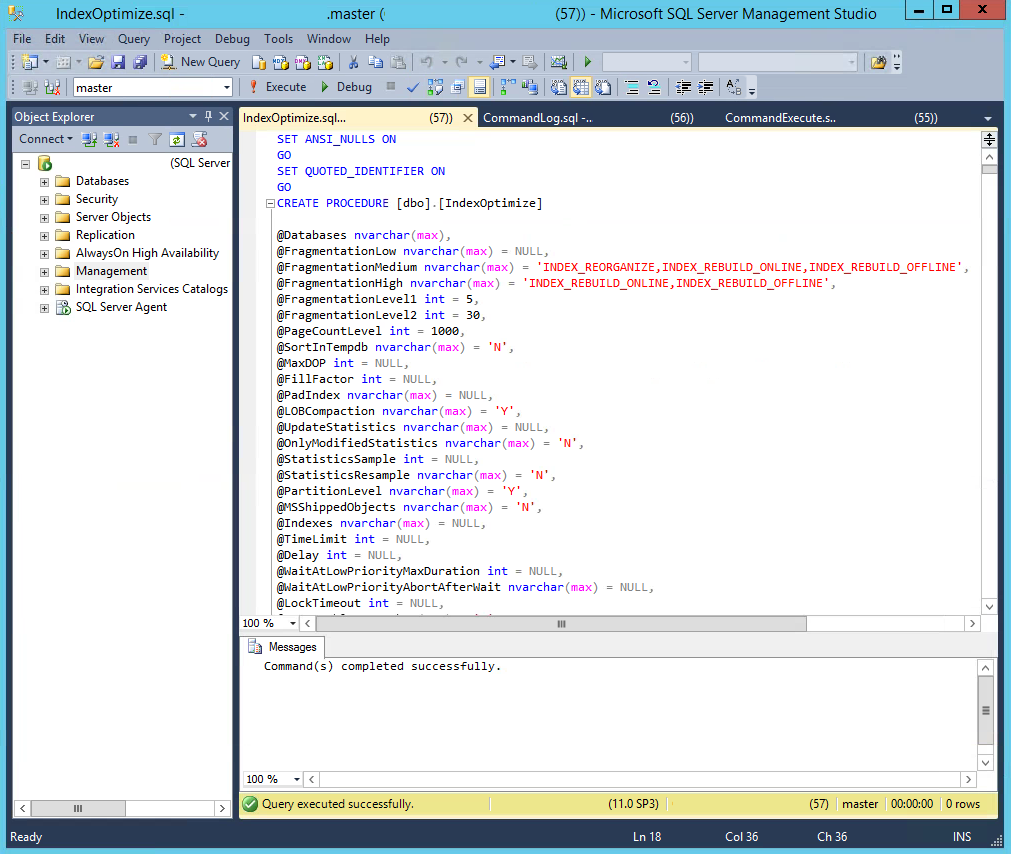
Next we will need to execute the scripts. Click the Execute button for each script and verify they were executed successfully.
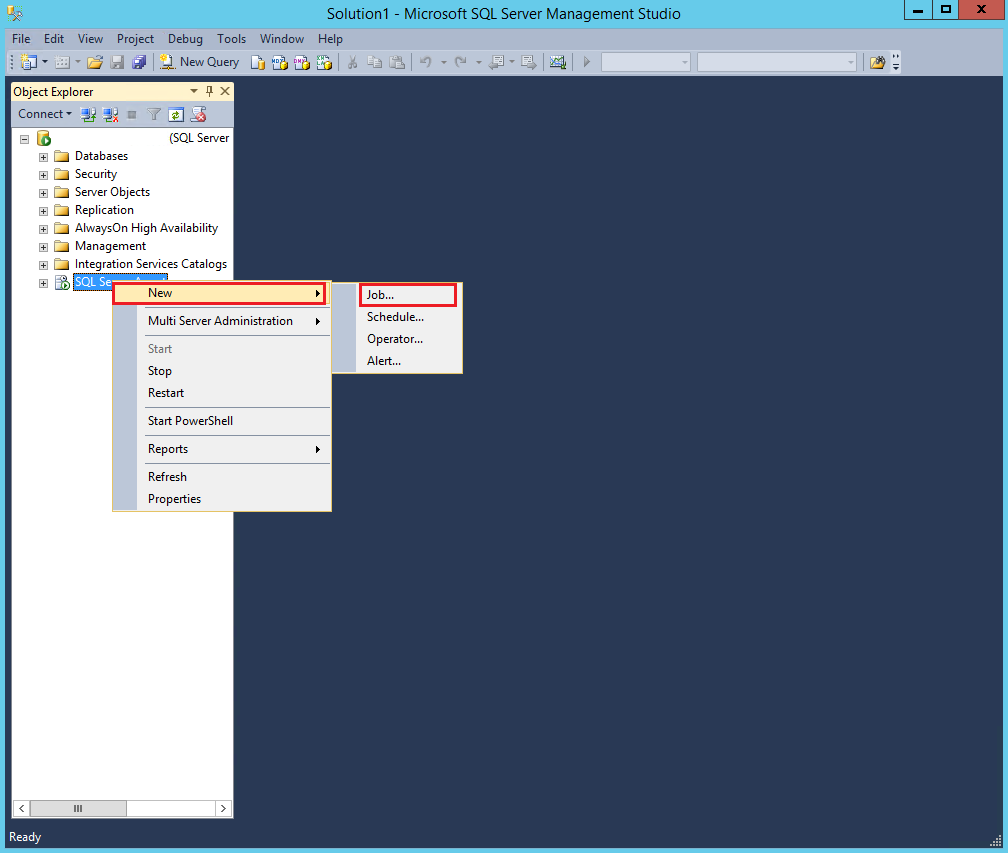
After the initial scripts have been executed we will need to create a SQL Server Agent Jobs for Index Maintenance. Right click on SQL Server Agent then New and select Job.
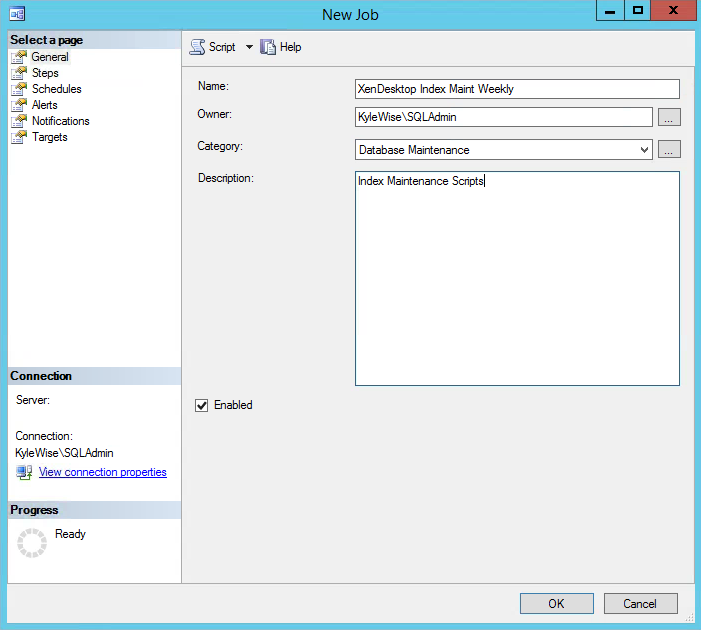
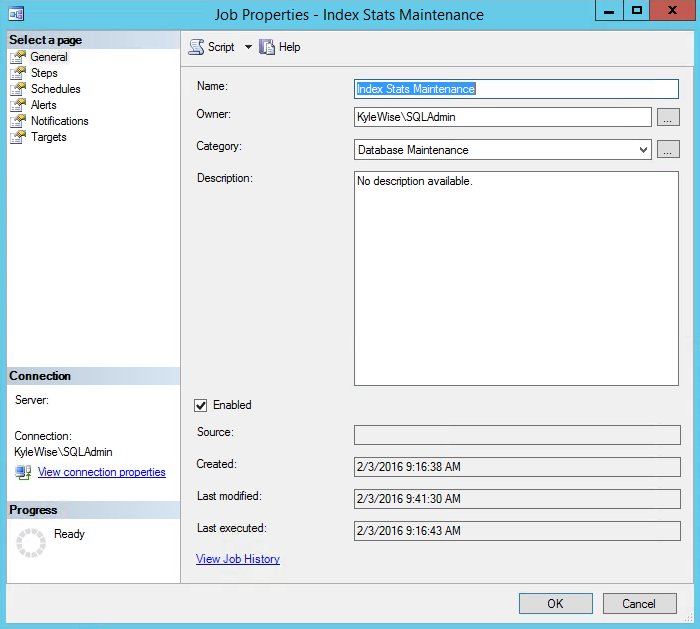
The first maintenance job we will create is for the Index. Specify a Name, Owner, Category and Description.
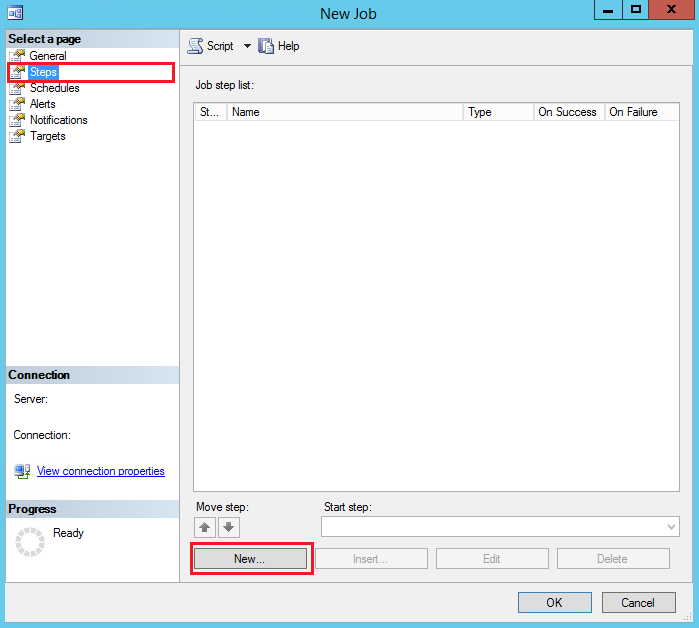
Select Steps then click on New.
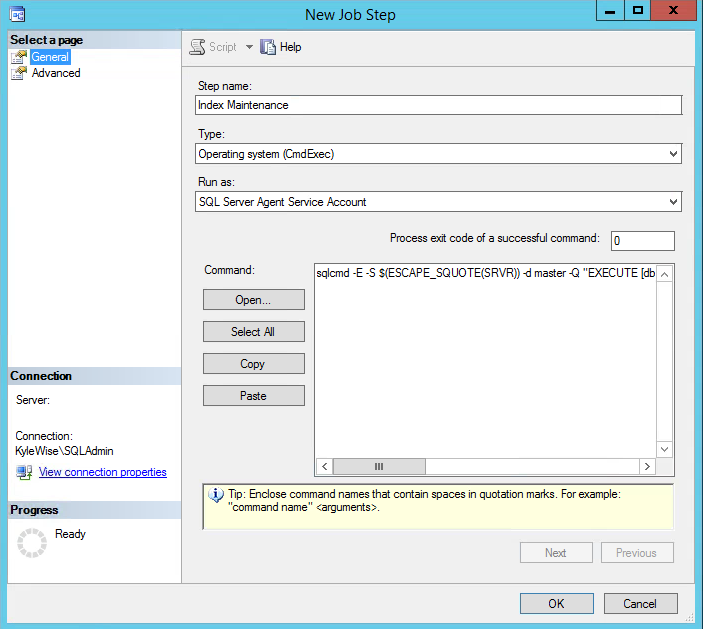
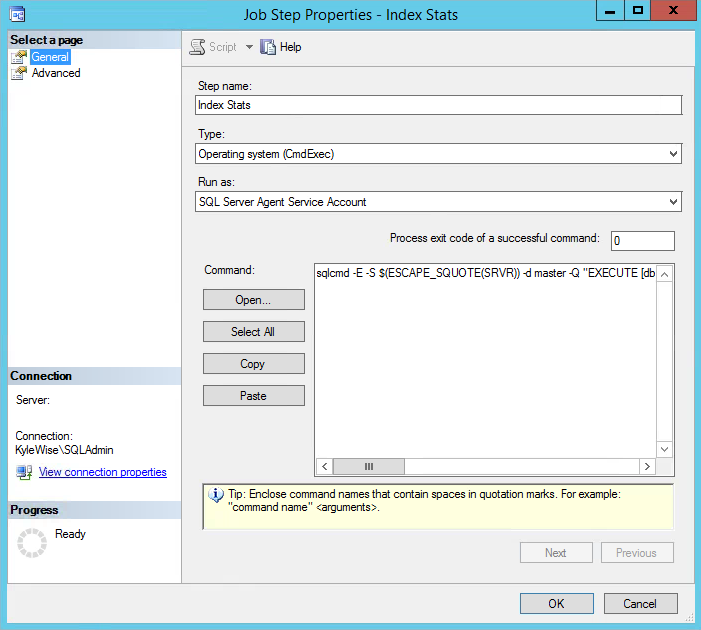
Create a step name, change Type: “Operating System (CmdExec)” and paste the following command lines into the command box.
sqlcmd -E -S $(ESCAPE_SQUOTE(SRVR)) -d master -Q “EXECUTE [dbo].[IndexOptimize] @Databases = ‘USER_DATABASES’, @UpdateStatistics = ‘ALL’, @OnlyModifiedStatistics = ‘Y’, @StatisticsSample = ’50’, @LogToTable = ‘Y'” –b
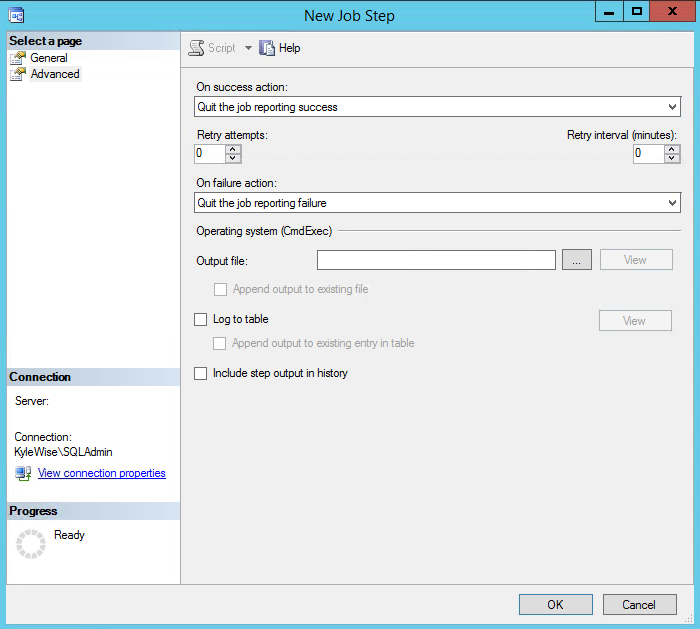
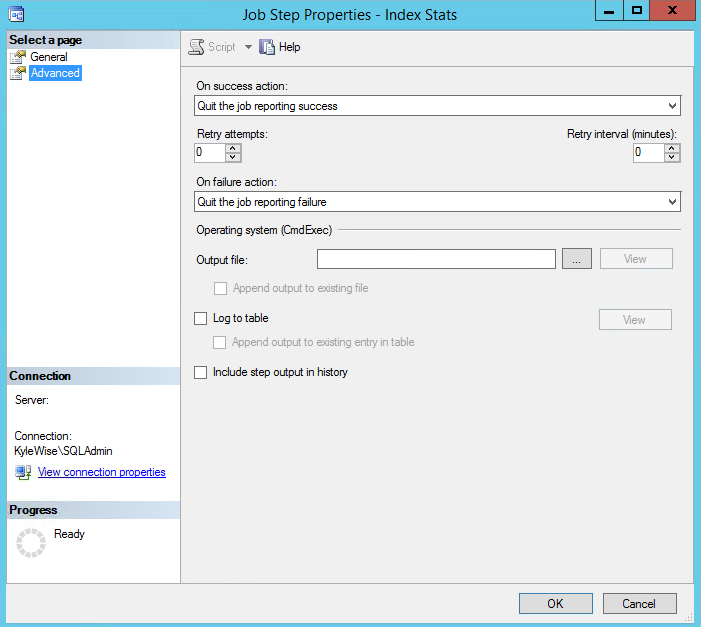
Select Advanced page and change “On success action” to Quit the job reporting success. Click OK when finished.
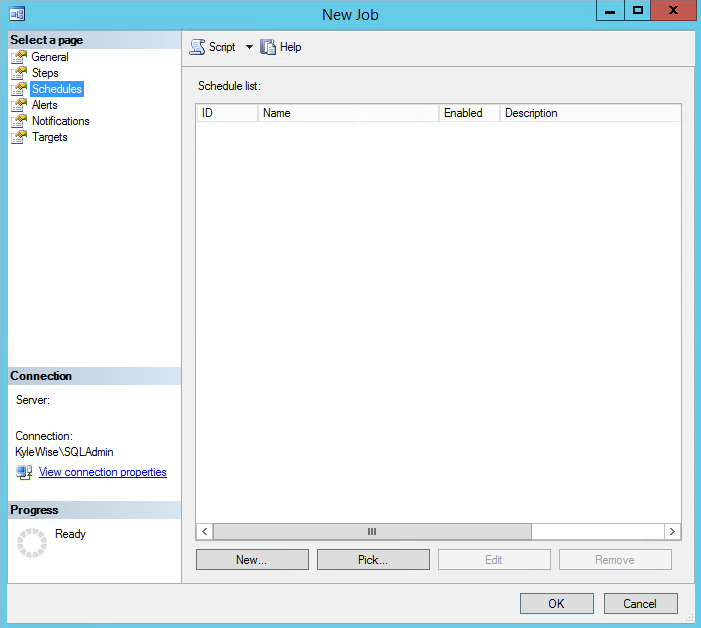
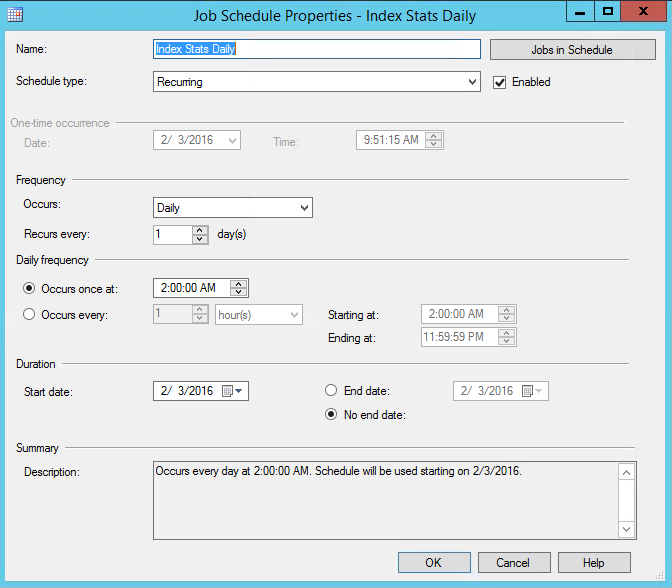
Select Schedules and click New.
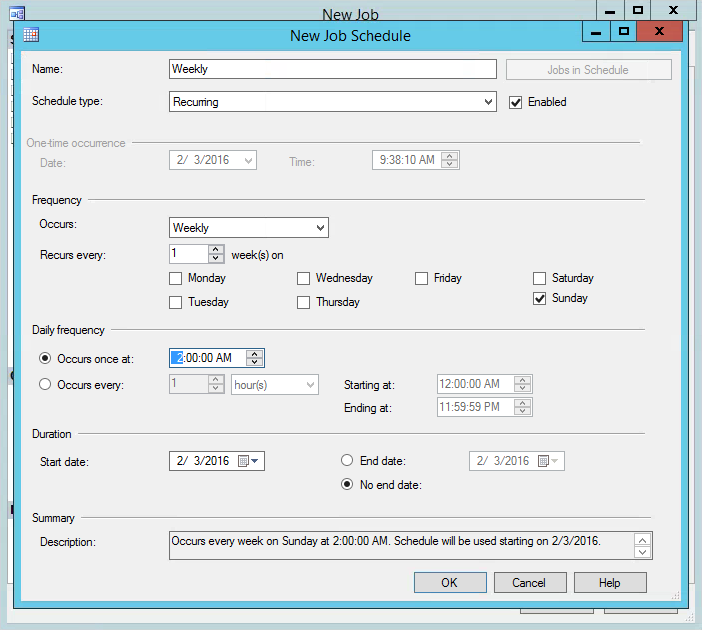
Type in a description in the Name field, change frequency and time. Click OK when finished.
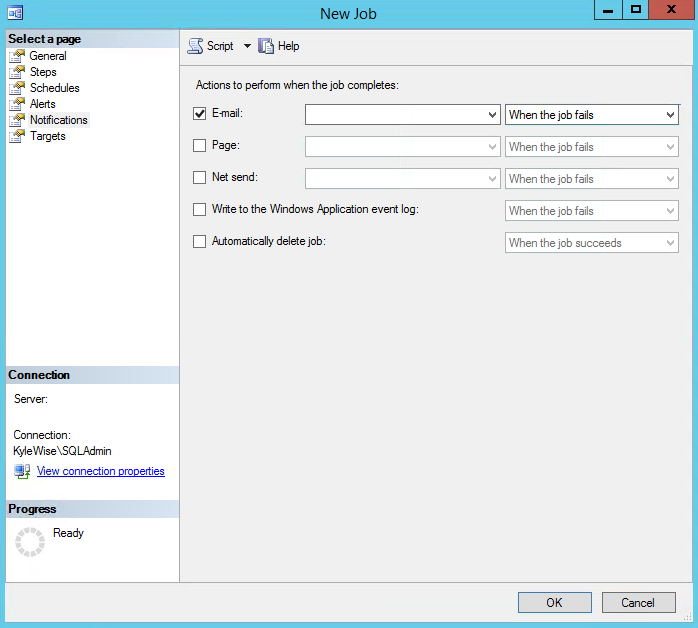
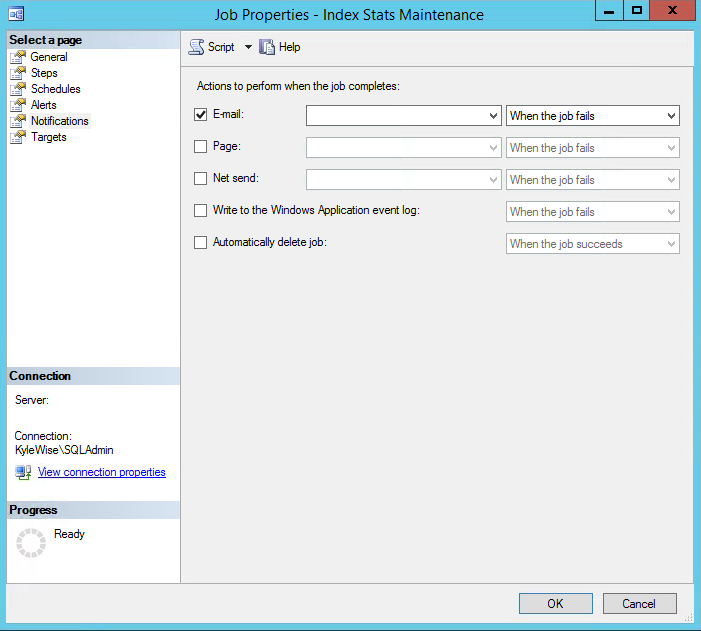
If you would like a notification of Success or Failure you can select the communication type and select the options. When your finished click OK to finish the SQL Server Agent Job.
Next we will create a SQL Server Agent Job for Statistics maintenance. Right click on SQL Server Agent then New and select Job.
Specify a Name, Owner, Category and Description for the Stats Maintenance.
Select Steps then click on New.
Create a Step Name, Change Type: “Operating System (CmdExec)” and paste the following command lines into the Command field.
sqlcmd -E -S $(ESCAPE_SQUOTE(SRVR)) -d master -Q “EXECUTE [dbo].[IndexOptimize] @Databases = ‘USER_DATABASES’, @FragmentationLow = NULL, @FragmentationMedium = NULL, @FragmentationHigh = NULL, @UpdateStatistics = ‘ALL’, @OnlyModifiedStatistics = ‘Y’, @LogToTable = ‘Y'” –b
Select Advanced page and change “On success action” to Quit the job reporting success. Click OK when finished.
Select Schedules and click New.
Type in a description in the Name field, change frequency and time. Click OK when finished.
If you would like a notifications of Success or Failure you can fill out this out. When your finished click OK to finish the SQL Server Agent Job.
Now we create the the last maintenance job which will be used to Clean Up history.
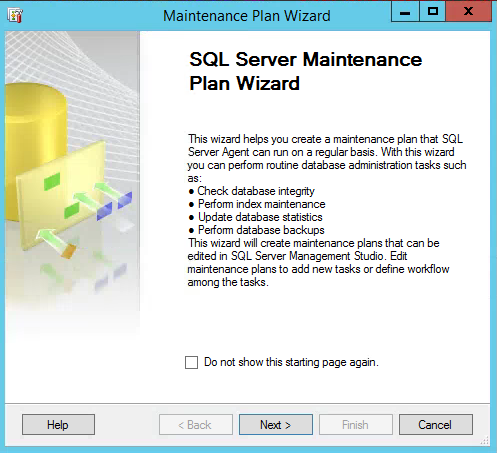
Navigate to the Management node and expand. Then right Maintenance Plans and select New Maintenance Plans.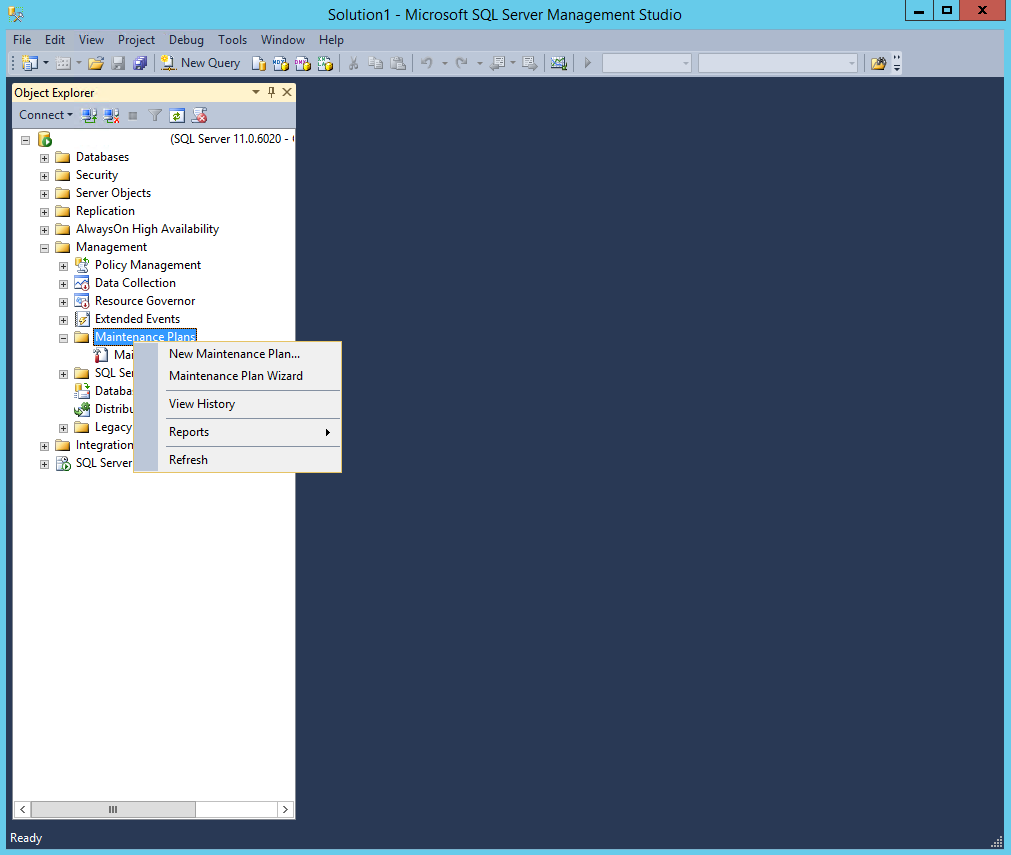
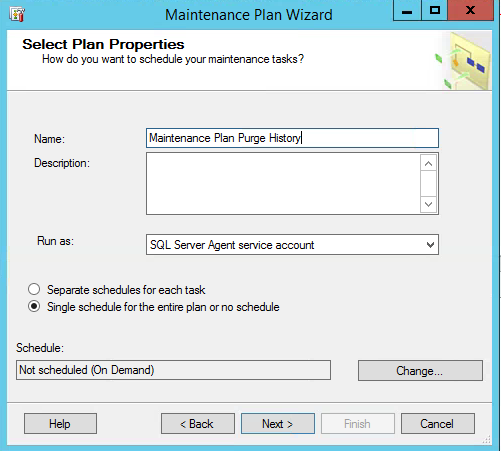
Fill in the Name, Description and Select the Run As account. Click Next.
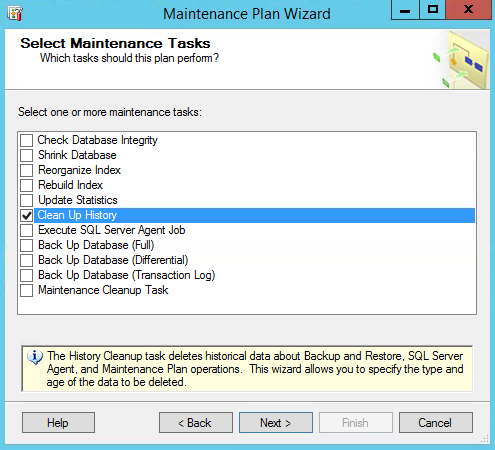
Select the Clean Up History box and click Next.
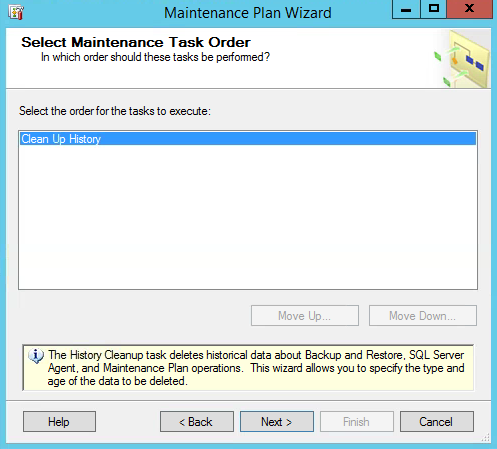
There is only one task that we are executing for Clean Up History. Click Next.
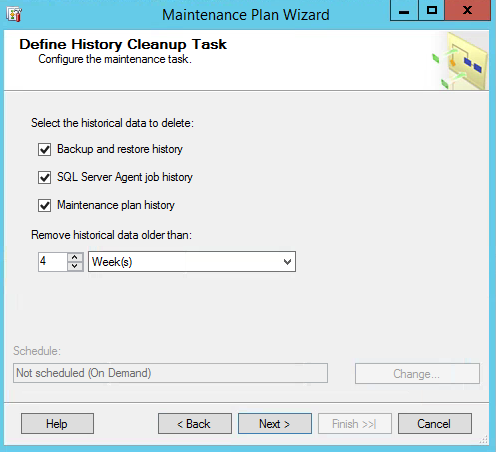
I choose to leave the default settings, but you can customize these options to fit your environment. Click Next.
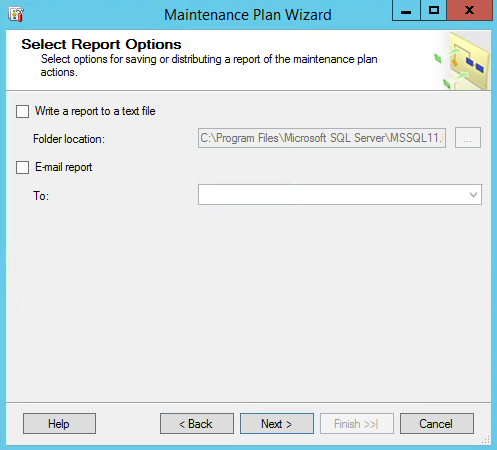
I unchecked Write a report to a text file. If you want a report leave this checked or check the Email Report option. Click Next to continue.
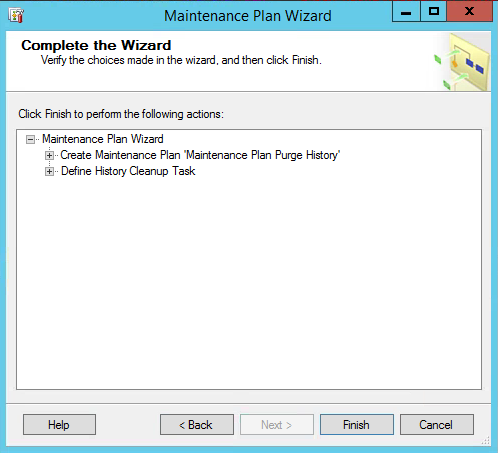
Click Finish after verifying all settings.
Additional information about Citrix XenDesktop database maintenance can be found here.

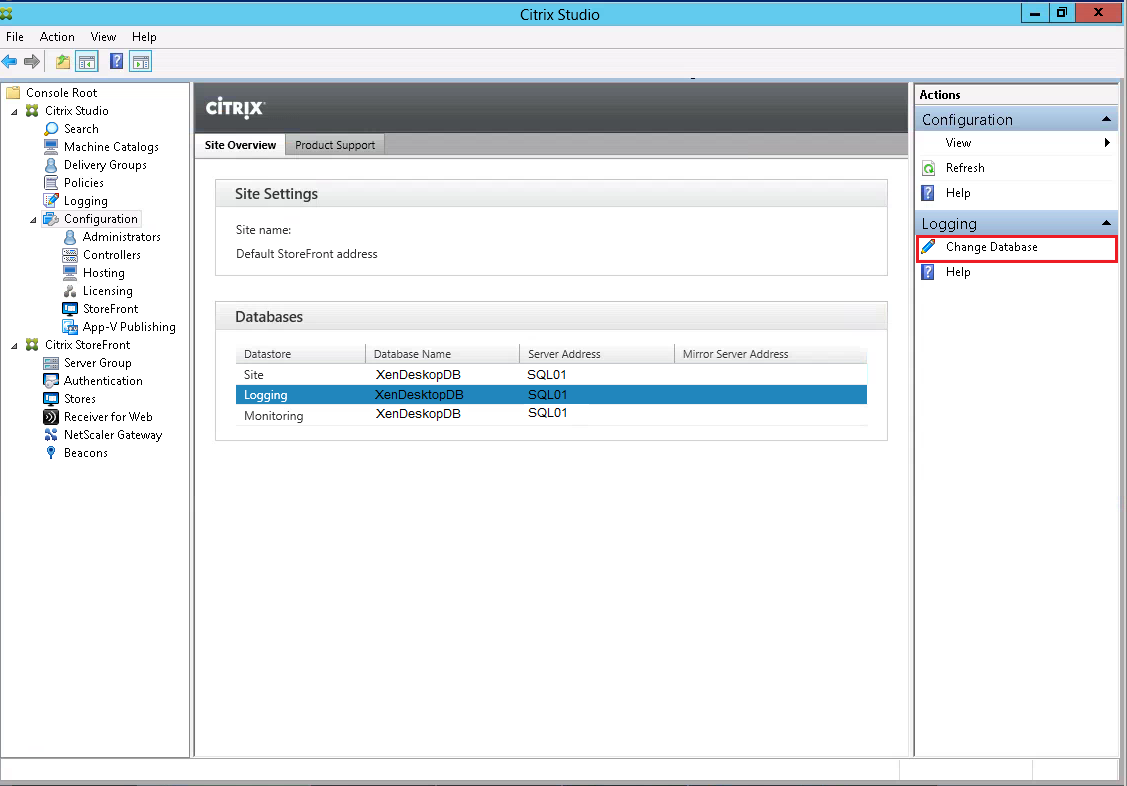

Fantastic!!! Thanks!!