
How to create a new AppDisk in Citrix XenApp and XenDesktop 7.8 with Provisioning Services.
Creating Citrix AppDisks allows you to separate applications from your master image OS. This new solution should help keep the amount of master images to a minimum in your environment and give you more control over application management.
Citrix doesn’t go into much detail about all the steps that are required in the edocs. Hopefully these instructions below help when you are trying to set up a new AppDisk with PVS and use AppDNA for application analysis and compatibility.
This environment that I’m providing instructions from has been upgraded to Citrix XenDesktop 7.8 and PVS 7.8 running on VMware.
- XenDesktop/XenApp Site has been upgraded to version 7.8.
- Citrix Virtual Desktop Agent has been upgraded to version 7.8.
- Citrix Provisioning Server has been upgraded to 7.8.
- PVS Target Software is running 7.8.
- AppDNA 7.8.
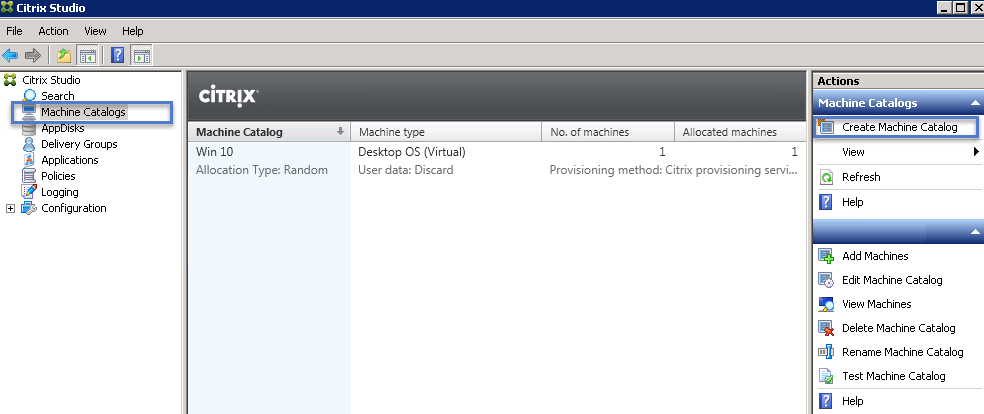
Open up Citrix Studio and navigate to the Machine Catalogs node and then click Create Machine Catalog from the Actions Pane.
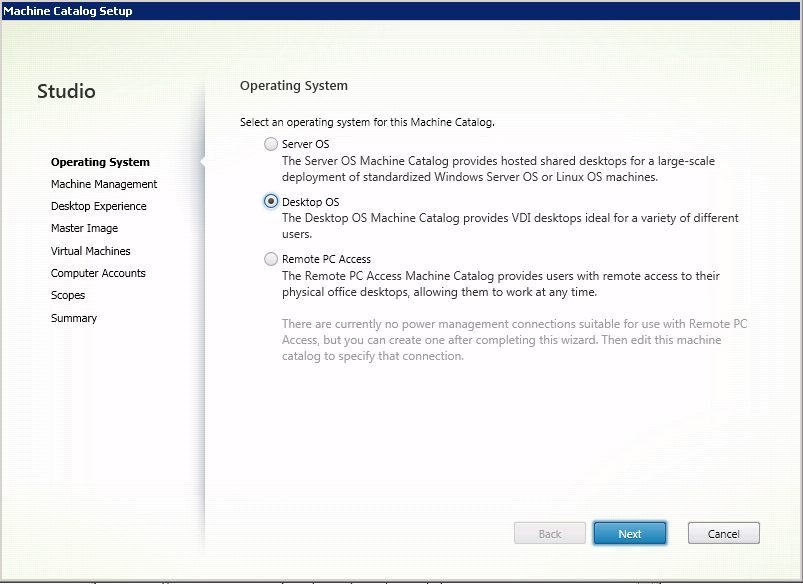
Select an operating System for this Machine Catalog: Click on Desktop OS, then Next.
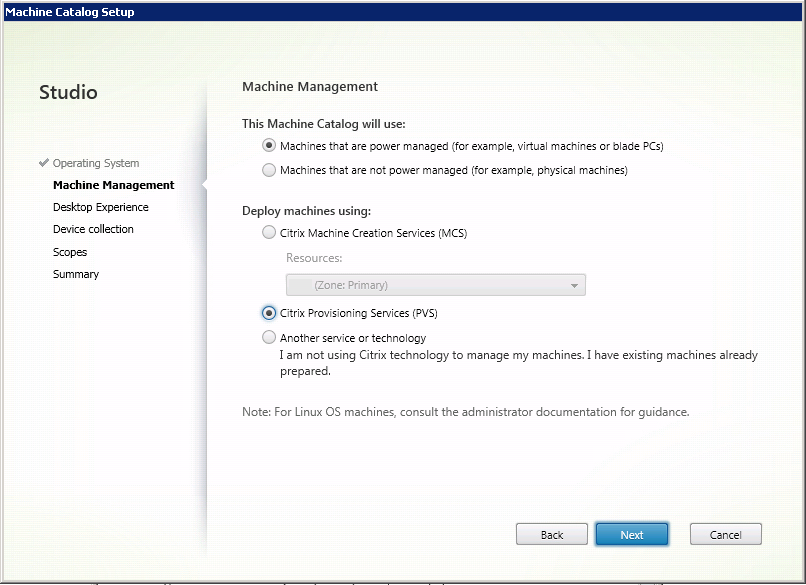
Machine Management- This machine Catalog will use:
Machine that are power managed (for example, virtual machine or blade PCs)
Deploy machines using: Citrix Provisioning Services (PVS)
Click Next.
User Experience:
Users will connect to a random desktop each time they log on.

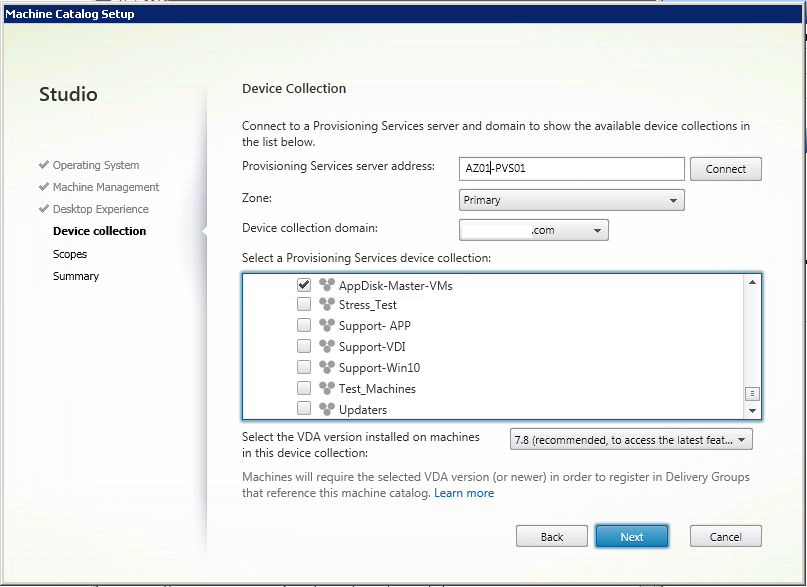
Device Collection Section:
Provisioning Services Server Address: Type in your PVS Server Hostname or IP Click Connect.
Zone – Primary: Leave Default or Change if you have another Zone.
Device Collection Domain: Select your Domain.
Select a Provisioning Services device Collection where your master target device (Virtual Machine) is located.
Select the VDA version installed on machines in this device collection:Leave the default option – 7.8 (recommended, to access the latest features). Click Next to continue.
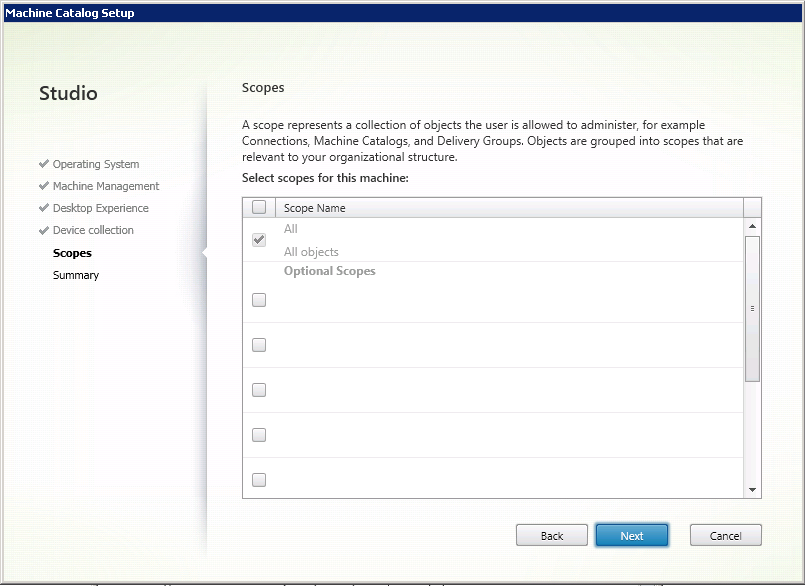
Scopes: Keep the default Settings or select a custom scope if needed. Click Next.
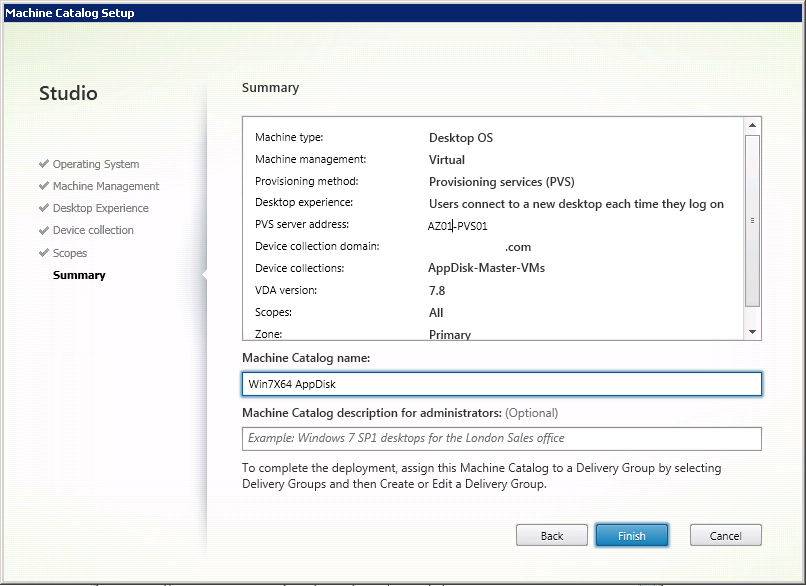
Type a name for the Machine Catalog and verify everything in the summary is correct. Click finish.
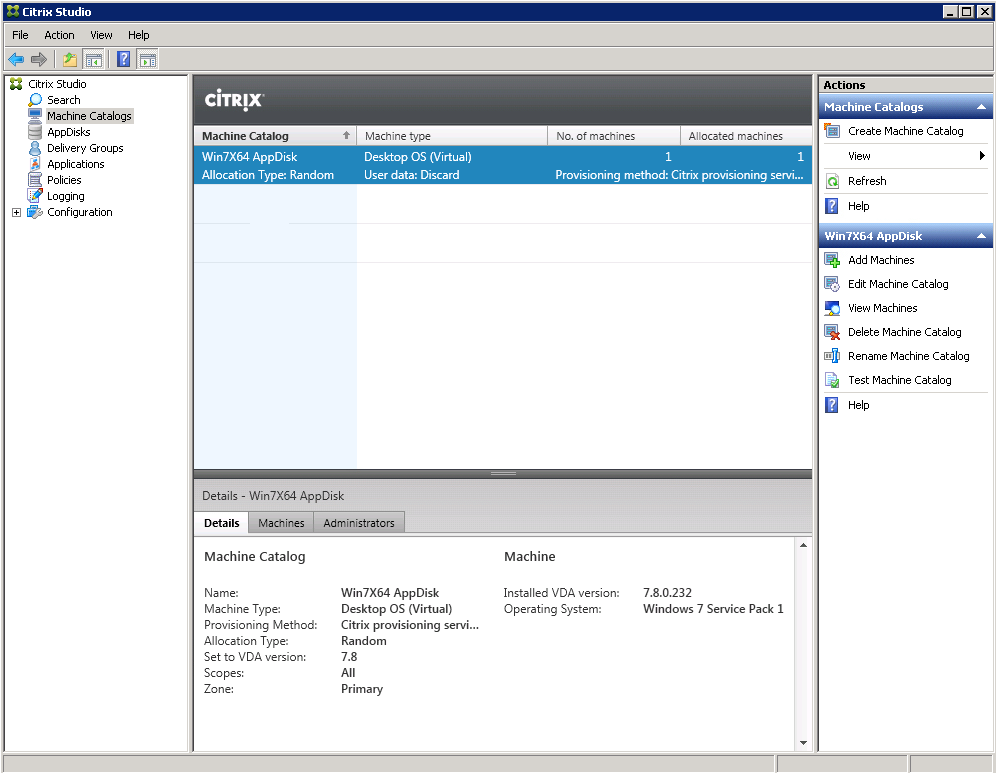
When the Catalog Creation is completed you will see your new Catalog listed.
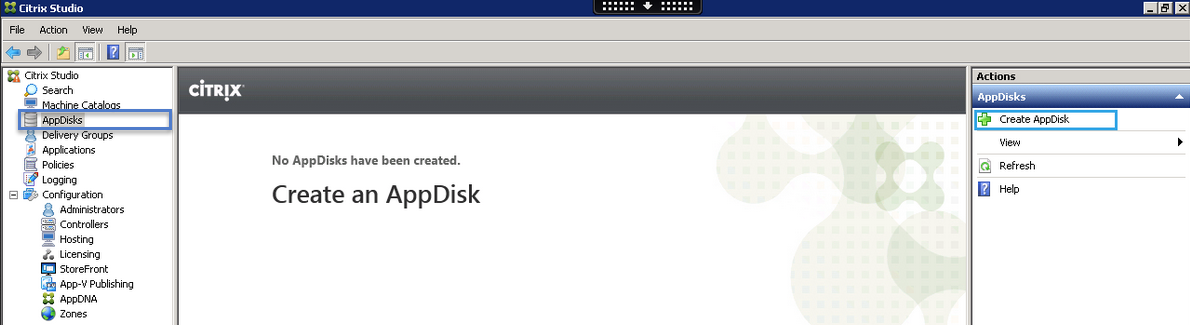
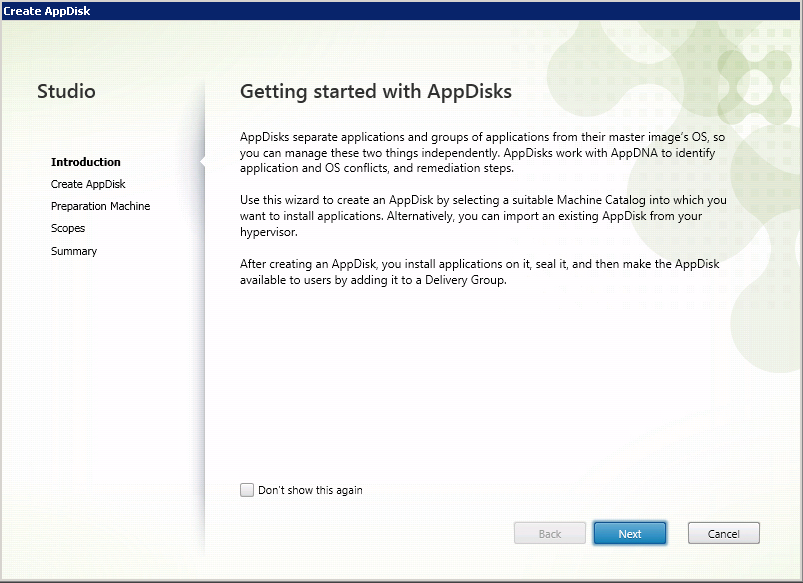
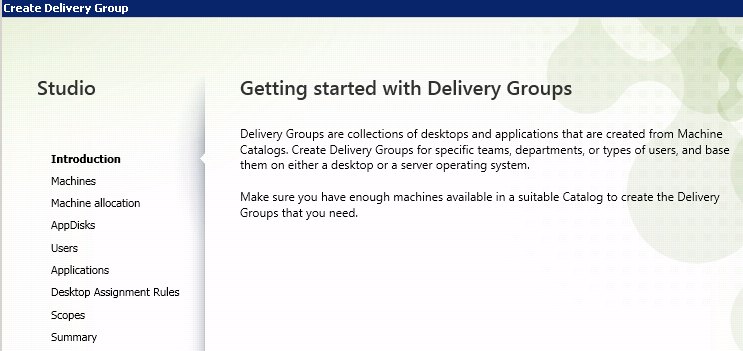
Getting Started with AppDisks. Click Next.
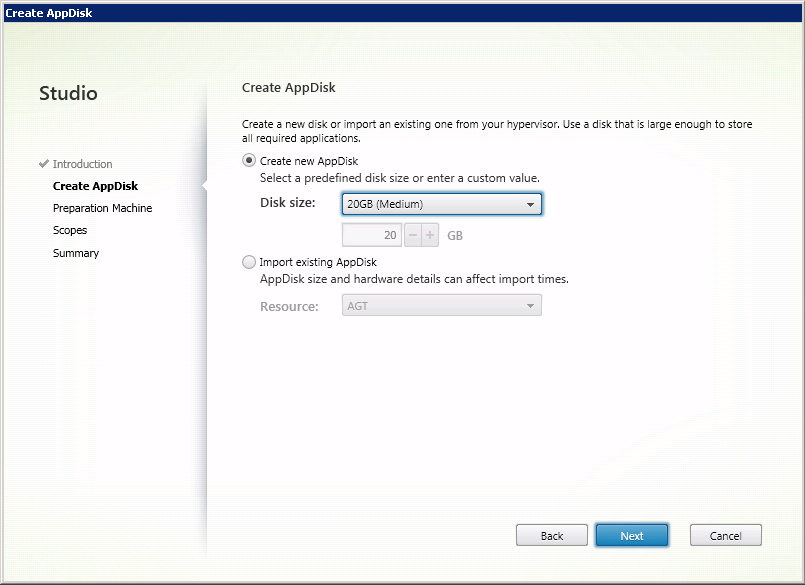
Create a new disk or import an existing one from your hypervisor. Use a disk that is large enough to store all required applications.
Select Create new AppDisk – Select a predefined disk size or enter a custom value. Click Next.
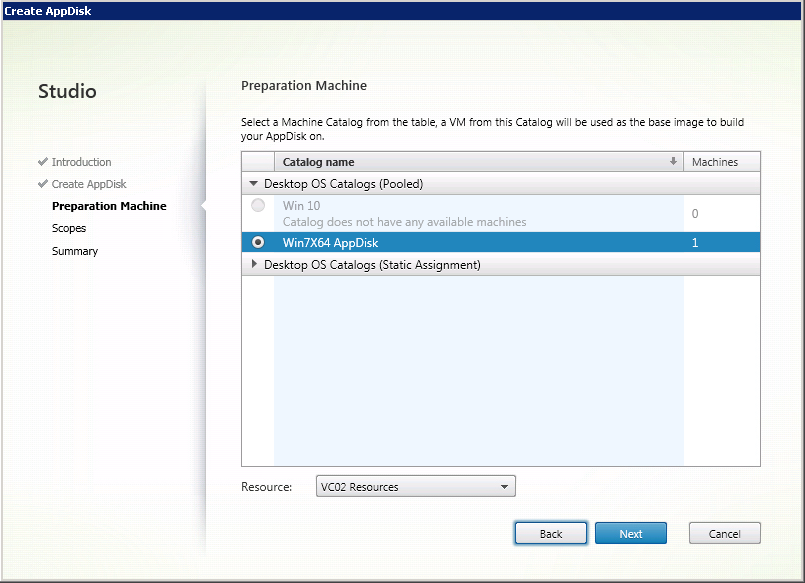
Preparation machine – Select a Machine Catalog from the table, a VM from this catalog will be used as the base image to build your AppDisk on.
Select the Machine Catalog you just created.
Select the resource you want to use. These resources include Network and Storage that were configured when you set up the hosting connection to VMware or XenServer. Click Next to continue.
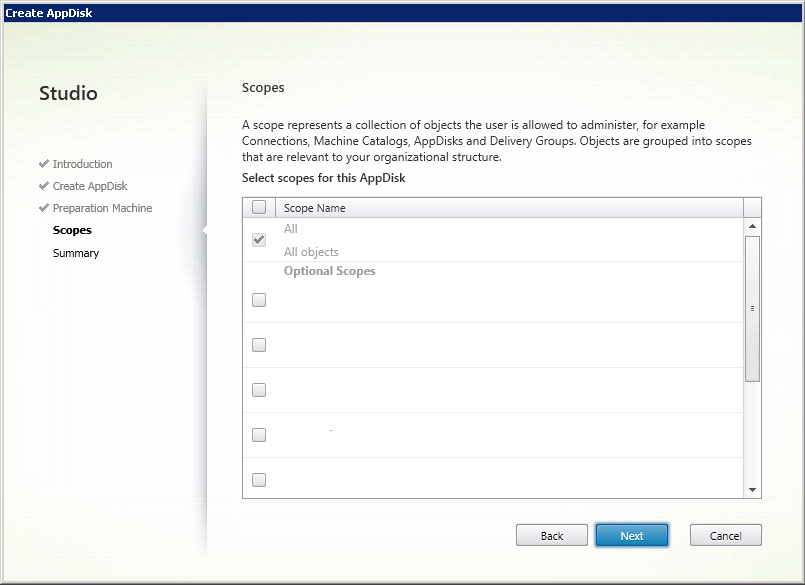
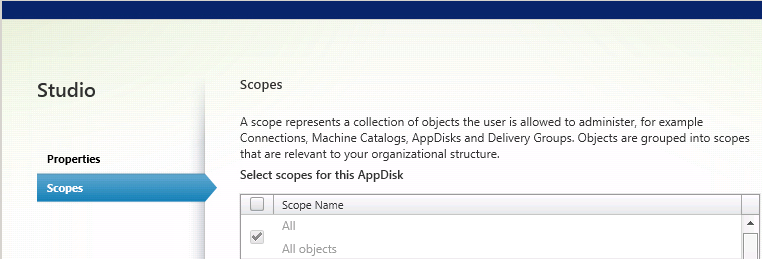
Scope-Leave Default and or select a custom scope if needed. Click Next.
Verify the information in the summary and click Finish.
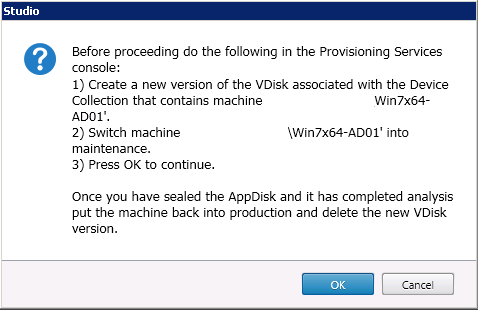
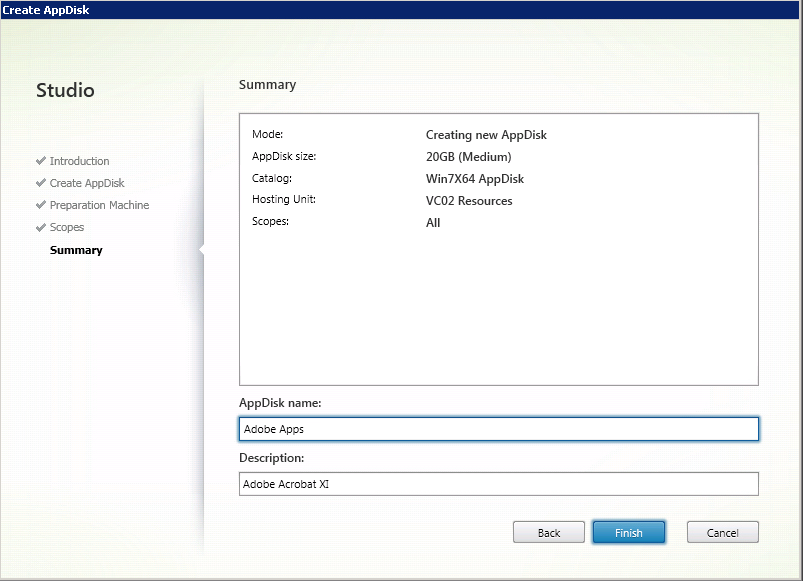 After clicking Finish you will get a pop message. Before you click OK, go to your Citrix Provisioning Services Server and open the PVS console.
Open the Citrix Provisioning Services Console.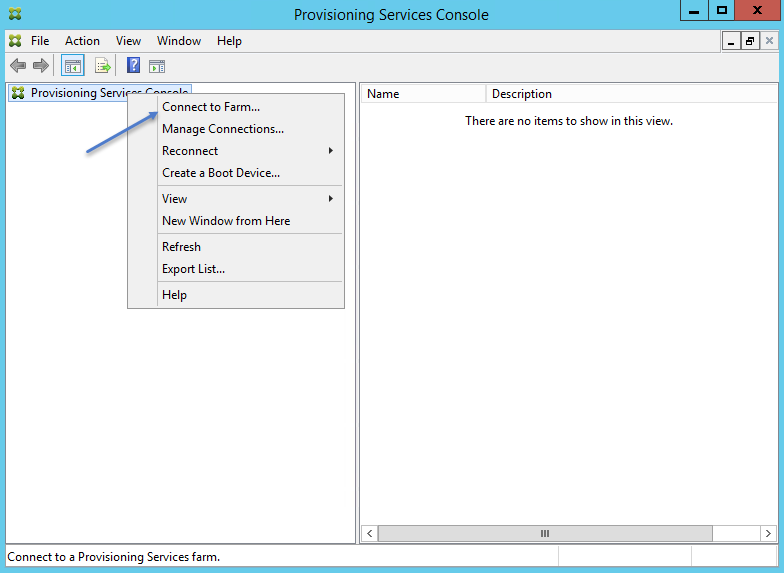
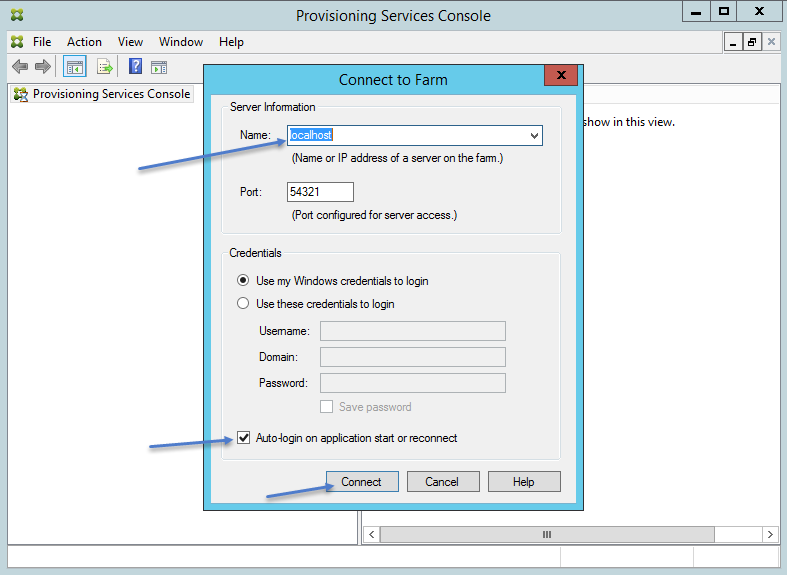
-Server Name. Select Auto login. Ok
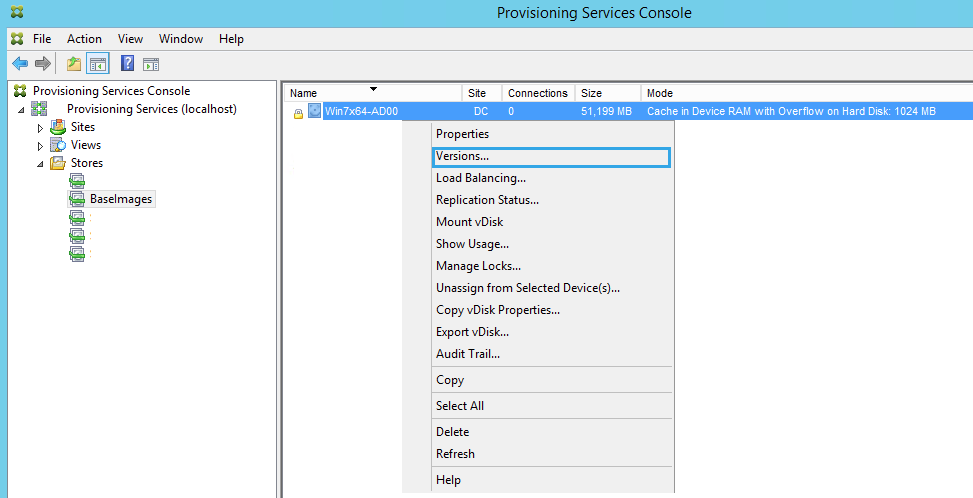
Expand the Provisioning Services Farm, then expand Stores. Select the Store with your master image and right click on the vDisk and select Versions.
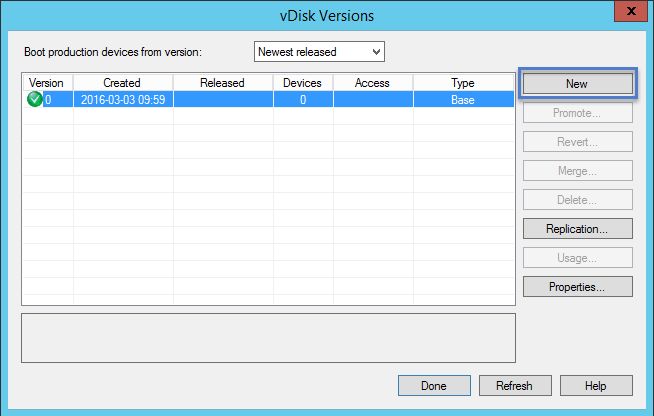
Click New and then Done.
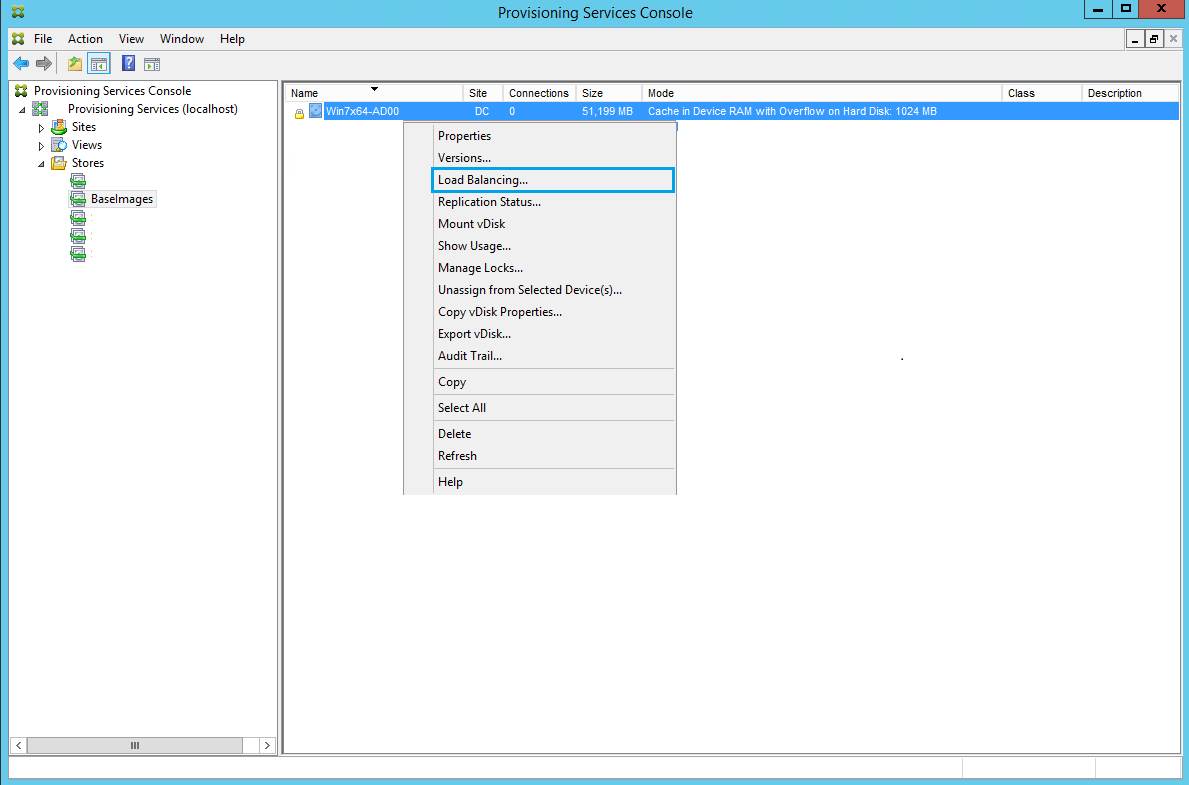
Next, verify Load Balancing is configure for 1 server so that your master virtual machine doesn’t stream from a different provisioning server after a reboot
 Next we need to verify or change the target device Type.
Expand Sites > Site Name Device Collections. Scroll down to the device collection with your master virtual machine. Right Click on the Target Device (Master VM) Select Properties.
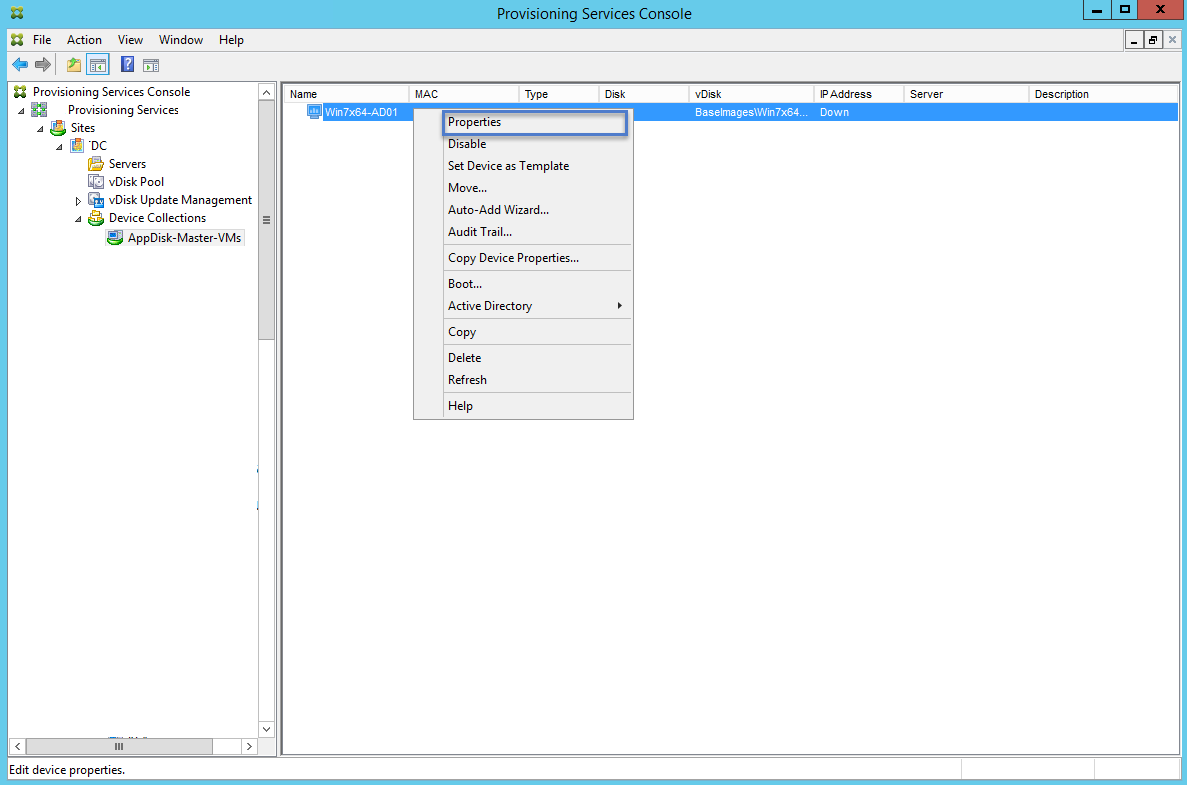
Under the General tab in Target Device Properties. Click on the Type drop down list. Select Maintenance. Click OK.

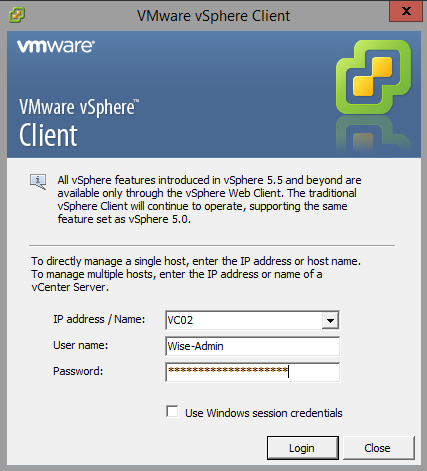
After the version is created open your VMware vSphere Client or Xencenter client.
Type in you VMWare vCenterIP Address/Name, User Name, Password Or Select the check box to “Use Windows Session Credentials”. Click Login.
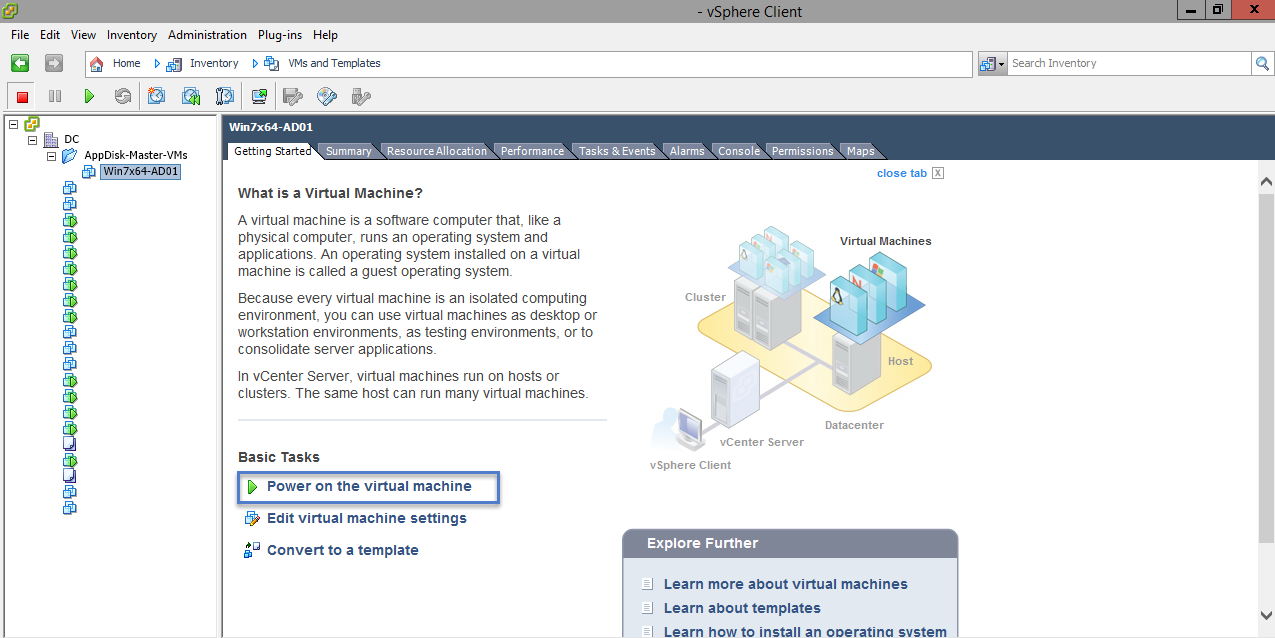
From the Home Screen, Under Inventory select VMs and Templates.
Navigate to where your master virtual machine is located and click power on.
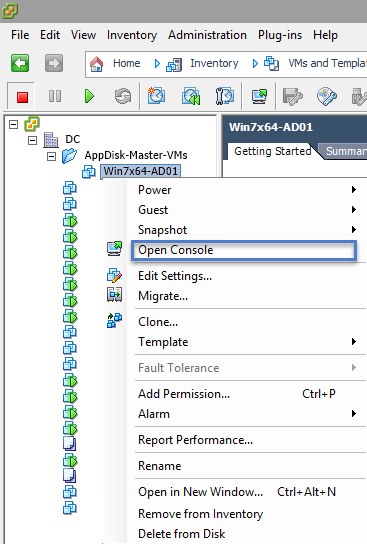
Right click on the virtual machine and Open Console.
Select the Maintenance version at the Bios boot menu and wait for the virtual machine to start up before proceeding to Click OK in Citrix Studio.

Go back to Citrix Studio click OK.
The AppDisk should appear under Being Prepared and the State should show the Status.

Citrix Delivery Controller will perform the AppDisk Creation task and automatically restarts the master virtual machine. You will need to open the VMware console for the virtual machine and select the maintenance disk after each restart so the AppDisk creation process can complete successfully.
If you don’t do this Citrix AppDisk creation status wont progress and the time out period is extremely long.
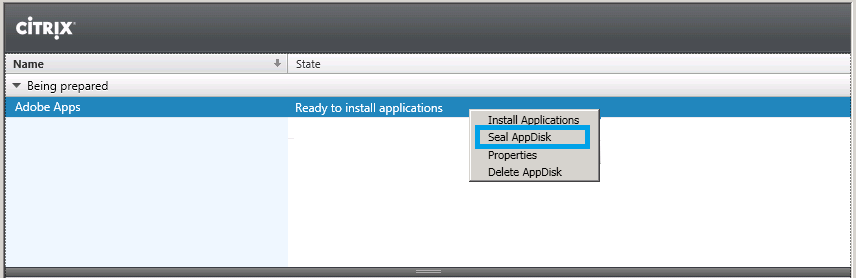
When the AppDisk Creation has finished. The State will have a status of “Ready to install Applications”. Click Install Applications from the Actions pane.
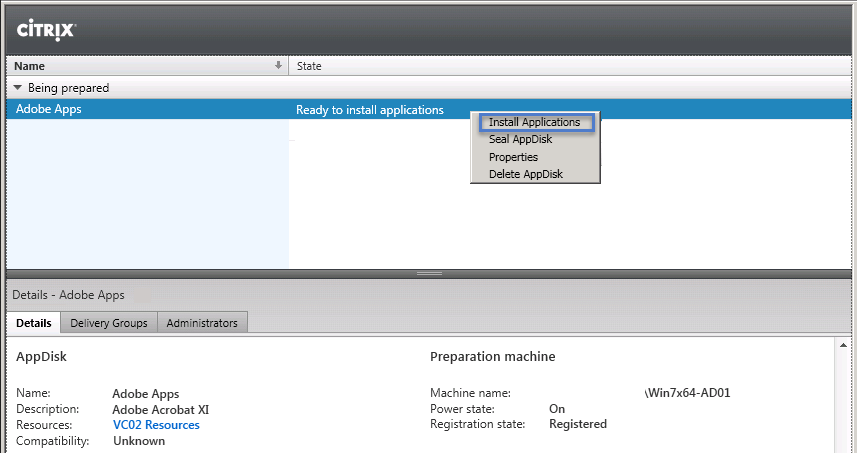
The master virtual machine should still be powered on and using the same maintenance version that was used during the AppDisk Creation steps. If your App installation requires a reboot, you can reboot without causing issues. Just make sure to boot back up to the same maintenance disk.
You can either access the virtual machine by using RDP or opening the console from VMware to install your applications.
After you have completed your application installs. Just leave the virtual machine powered on. The Citrix Delivery Controller will send commands to restart and shutdown.
Go back to Citrix Studio > AppDisks. Select your AppDisk and either right click and select Seal AppDisk or Click on Seal AppDisk from the Actions pane.
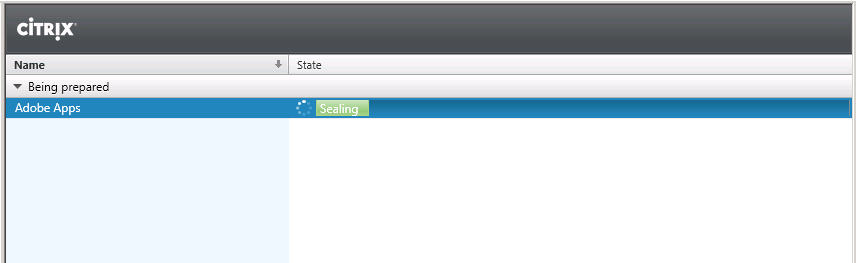
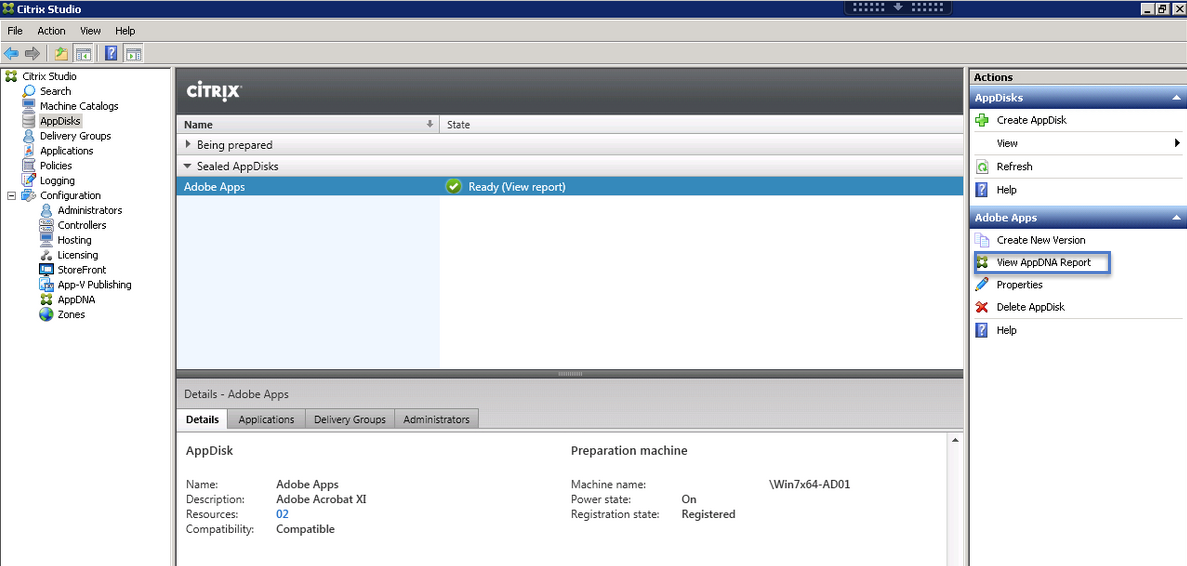
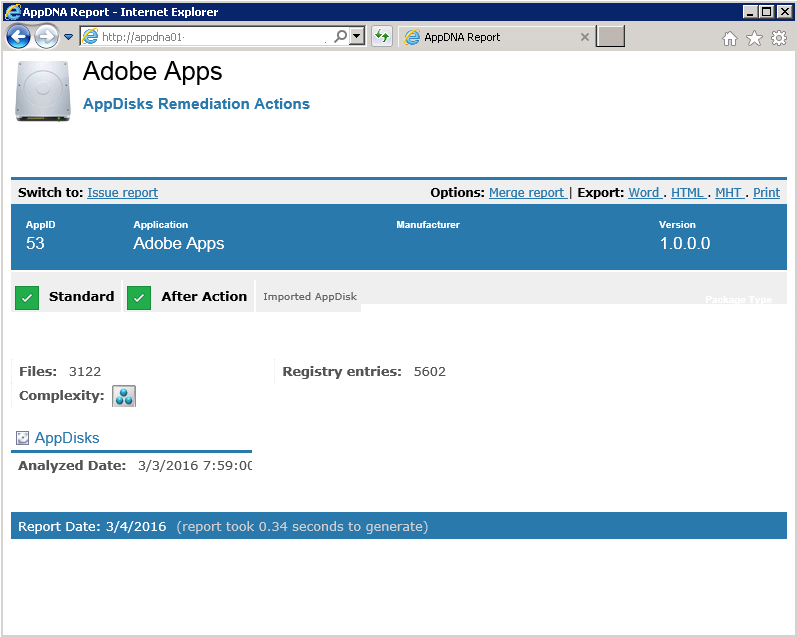
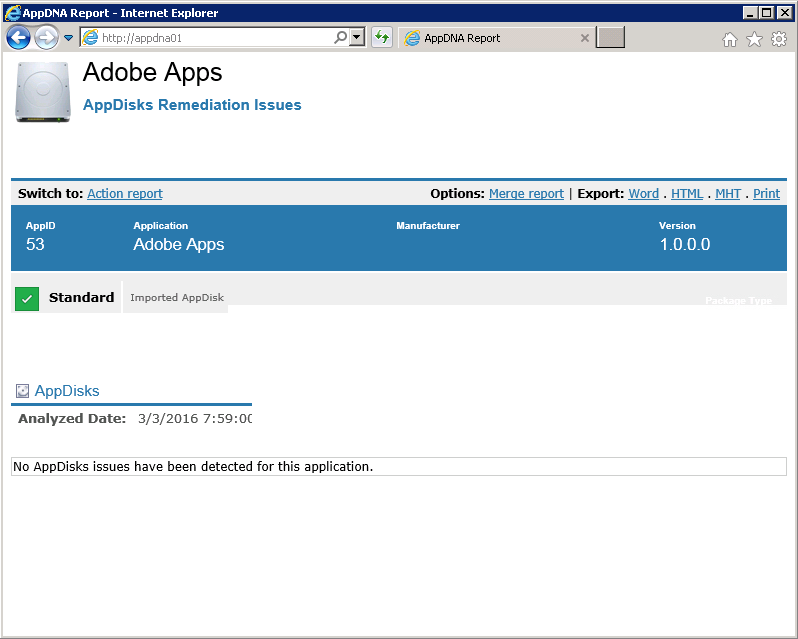
When the AppDisk Seal process is completed you can view the AppDNA reports.
AppDisk Remediation Actions Report-
AppDisks Remediation Issues Report-
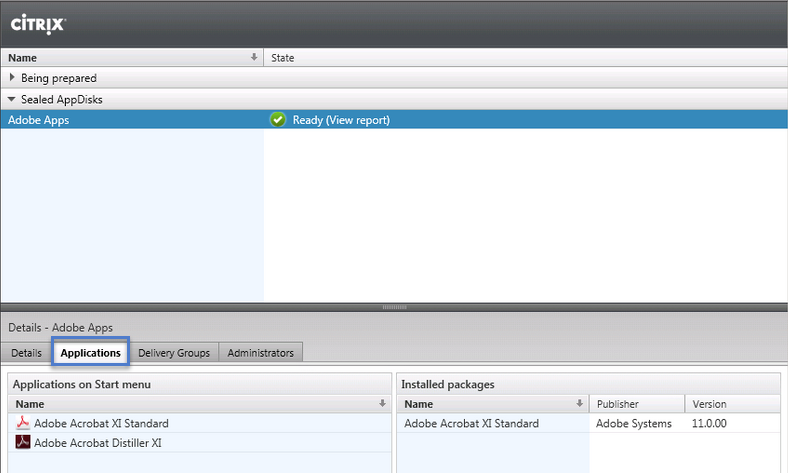
View the Applications Tab, Delivery Group, Scopes, Administrators.
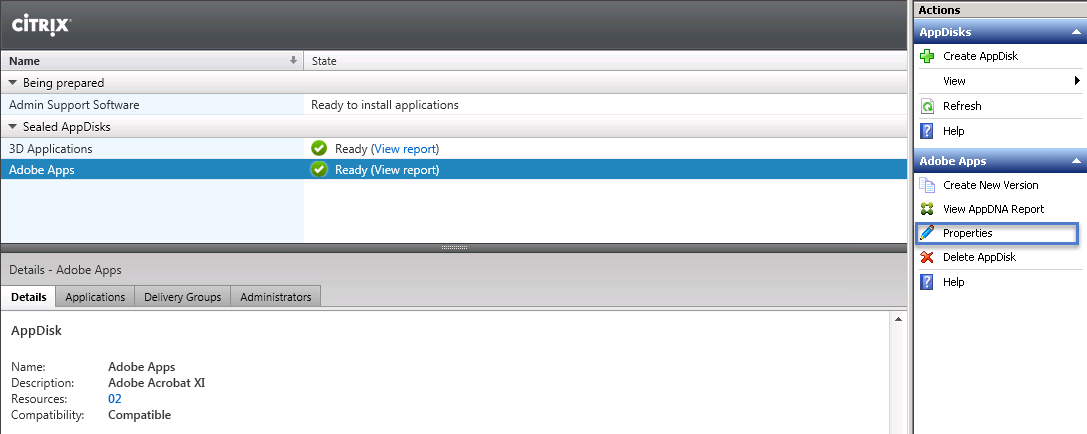
You edit the AppDisk Name and Scopes by clicking on Properties from the Actions pane.
Change the Name and description.
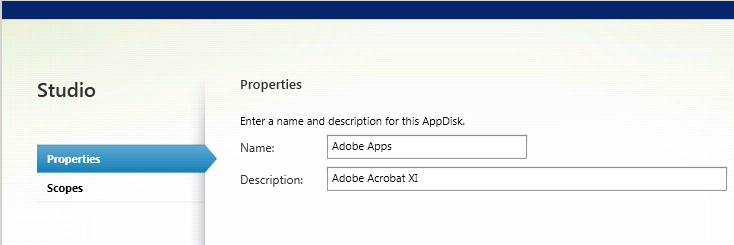
Add more scopes if needed.
Once you have sealed the AppDisk and AppDNA analysis is completed, go back to your Citrix PVS Console and delete the vdisk version that you created earlier. You will create new vDisk versions every time you need to create a new AppDisk or create a new version.
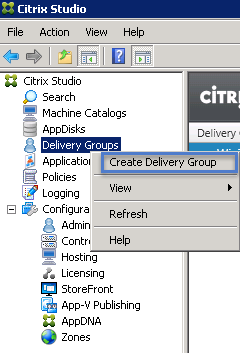
Next step is creating a new Delivery Group and adding an AppDisk or multiple AppDisks.
Select Create Delivery Group.
 Select the check box if you don’t want to see this “Getting Started” page every time you create a new Delivery Group. Click Next.
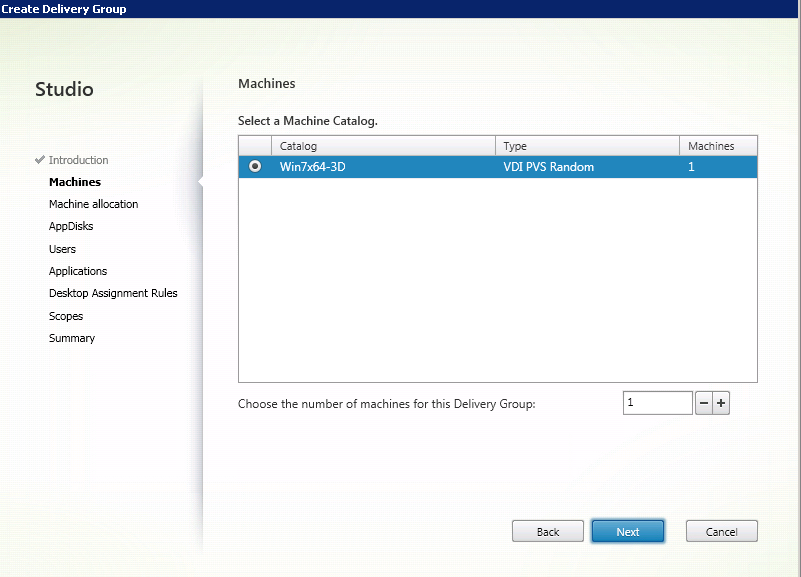
Select a Machine Catalog and choose the number of machines to add.
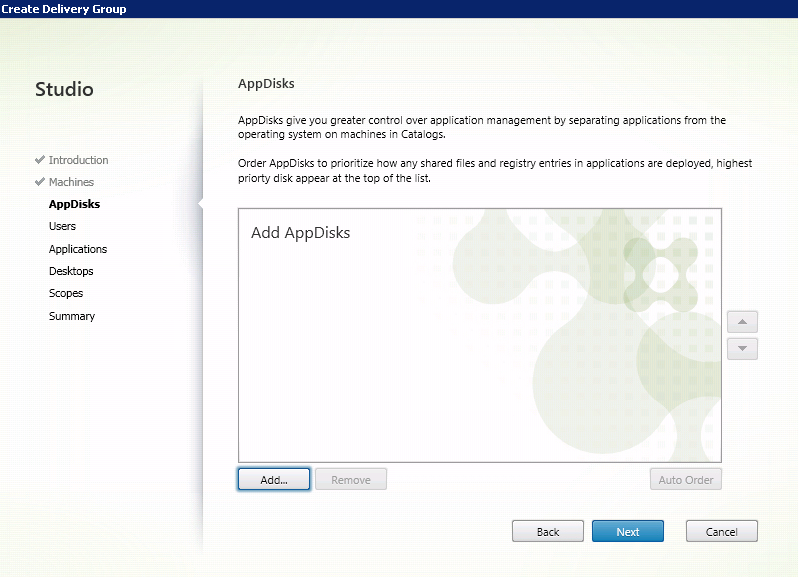
Click Add to see a list of available AppDisks.
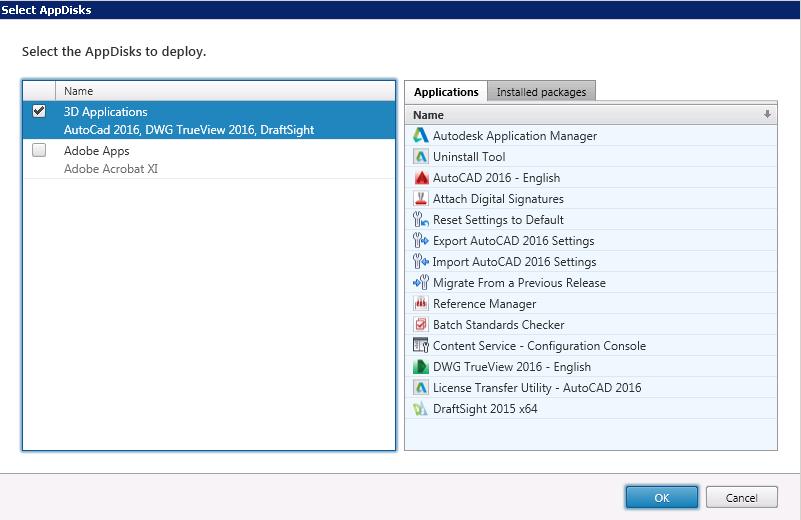
Select the AppDisk or multiple AppDisks and Click OK.
Click Next to continue.

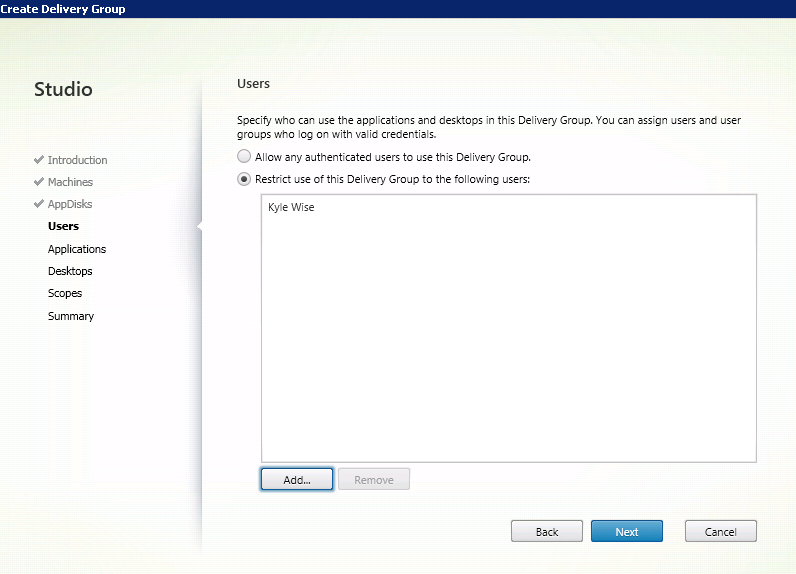
Select Restrict Use of this Delivery Group to the following users, and click Add.
Specify a user or security group, check names and click OK.

Click Next.
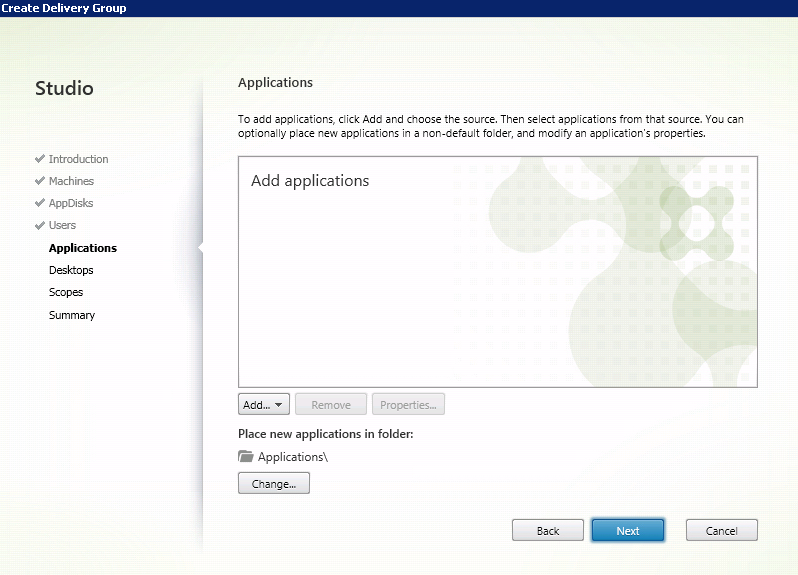
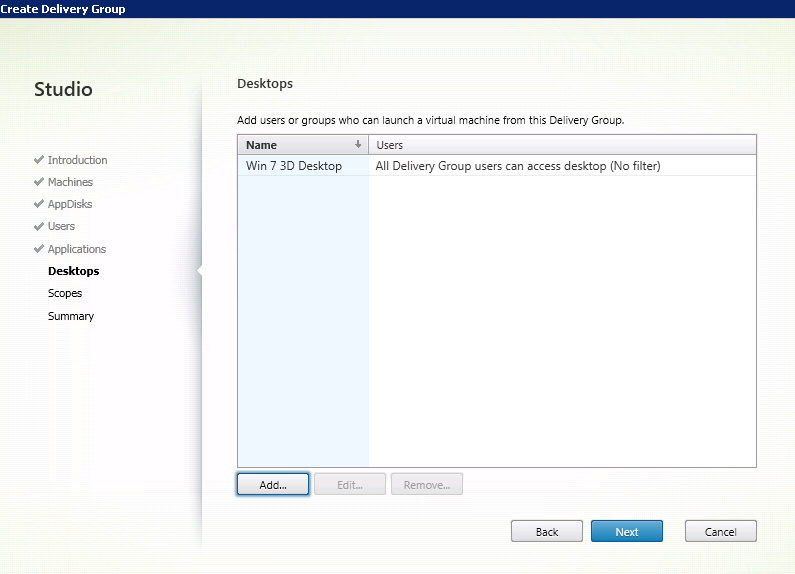
Add Applications or leave this blank and click Next.
Specify a Display Name and Description. This name and description will show up in Citrix Receiver and on the StoreFront web page when users login.
Change permissions for the Desktop usage if needed. Click OK to continue.
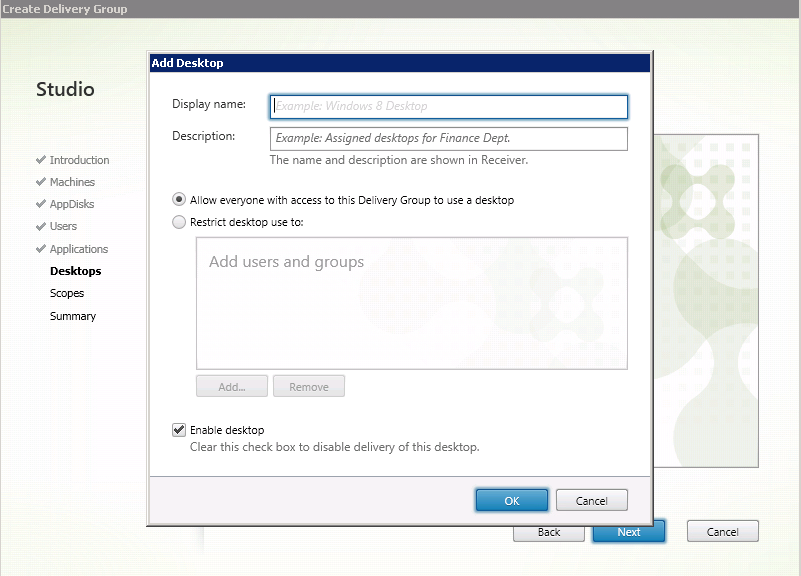
Click Next.
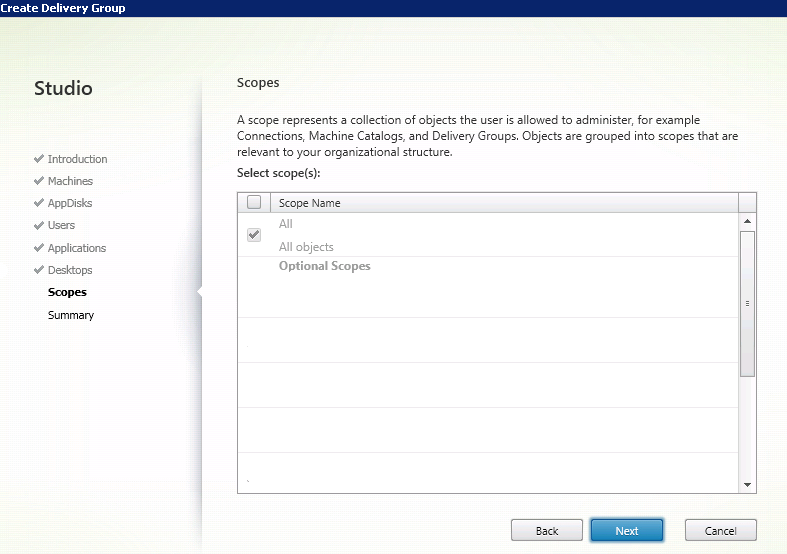
Select additional scopes or leave the default and click Next.
 Verify all the information is correct in the Summary and Click Finish.

Login and test out the AppDisk applications when the Delivery Group status changes to Ready.

Additional Information On AppDisks:

Pingback: CREATING CITRIX APPDISKS WITH PVS | Cloud Evangelist