This autoscaling script can optimize size, performance, and costs for your Azure Storage Account File Shares that store Azure Virtual Desktop FSLogix profiles. Typically, you would run this with Function App, Azure Automation, or GitHub Actions on a daily or weekly schedule.
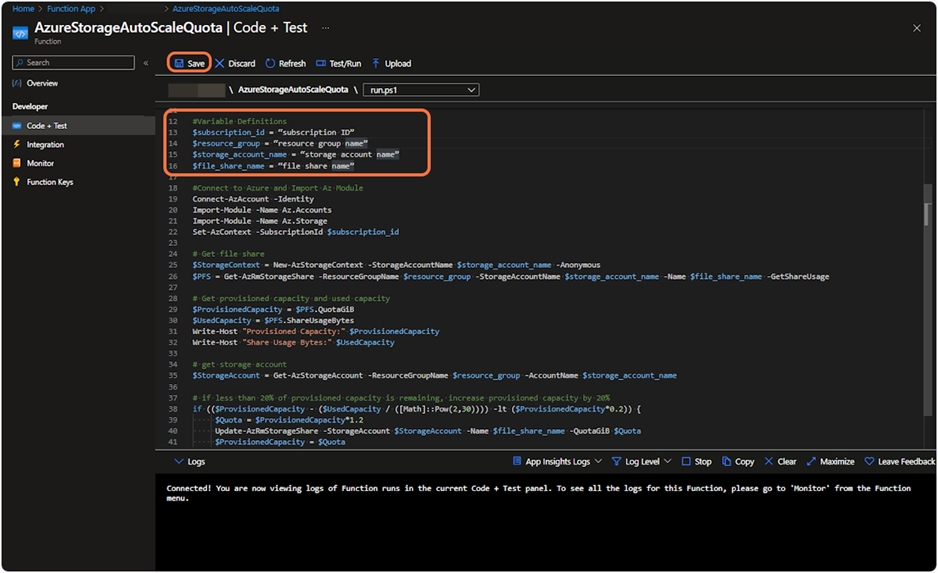
Define your subscription, storage account resource group, and file shares, and the script will maintain 20% capacity by increasing or decreasing the shares’ provisioned capacity.# Variable Definitions
$subscription_id = "12345"
$resource_group = "SA"
$storage_account_name = "AVDFSLogix01"
$file_share_names = @("profiles01", "offiprofiles01")
# Connect to Azure and Import Az Module
# Connect-AzAccount
Import-Module -Name Az.Accounts
Import-Module -Name Az.Storage
Set-AzContext -SubscriptionId $subscription_id
# Get storage account SKU to Determine minimum size
$storageAccountType = (Get-AzStorageAccount -ResourceGroupName $resource_group -Name $storage_account_name).Sku.Name
foreach ($file_share_name in $file_share_names) {
# Get storage account object
$storageAccount = Get-AzStorageAccount -ResourceGroupName $resource_group -Name $storage_account_name
# Get file share
$StorageContext = New-AzStorageContext -StorageAccountName $storage_account_name -Anonymous
$PFS = Get-AzRmStorageShare -ResourceGroupName $resource_group -StorageAccountName $storage_account_name -Name $file_share_name -GetShareUsage
# Get provisioned capacity and used capacity
$ProvisionedCapacity = $PFS.QuotaGiB
$UsedCapacityBytes = $PFS.ShareUsageBytes
# Convert used capacity to GB for easier comparison
$UsedCapacityGB = [Math]::Round($UsedCapacityBytes / ([Math]::Pow(2, 30)), 2)
Write-Host "Provisioned Capacity for ${file_share_name} (GiB):" $ProvisionedCapacity
Write-Host "Share Usage for ${file_share_name} (GB):" $UsedCapacityGB
#By changing the denominator in the formula from 0.8 (which represents 20% free space, as 100% - 20% = 80% or 0.8) to a value that reflects your desired threshold of free space, you can adjust the threshold.
#For 30% free space, the calculation should use 0.7 (since 100% - 30% = 70% or 0.7).
# Calculate required capacity to maintain exactly 20% free space. Increases or Decreases based on used capacity.
$RequiredCapacity = [Math]::Ceiling(($UsedCapacityBytes / ([Math]::Pow(2, 30))) / 0.8)
# Adjust for minimum size based on SKU
if ($storageAccountType.StartsWith("Premium")) {
$RequiredCapacity = [Math]::Max($RequiredCapacity, 100)
}
elseif ($storageAccountType.StartsWith("Standard")) {
$RequiredCapacity = [Math]::Max($RequiredCapacity, 1)
}
# Check if the current provisioned capacity is different from the required capacity
if ($RequiredCapacity -ne $ProvisionedCapacity) {
# Adjust the provisioned capacity
Update-AzRmStorageShare -StorageAccount $storageAccount -Name $file_share_name -QuotaGiB $RequiredCapacity -Whatif
Write-Host "Provisioned Capacity for ${file_share_name} adjusted to ${RequiredCapacity} GiB based on SKU requirements."
}
else {
Write-Host "Provisioned Capacity for ${file_share_name} already meets 20% free space requirement and SKU requirements."
}
}
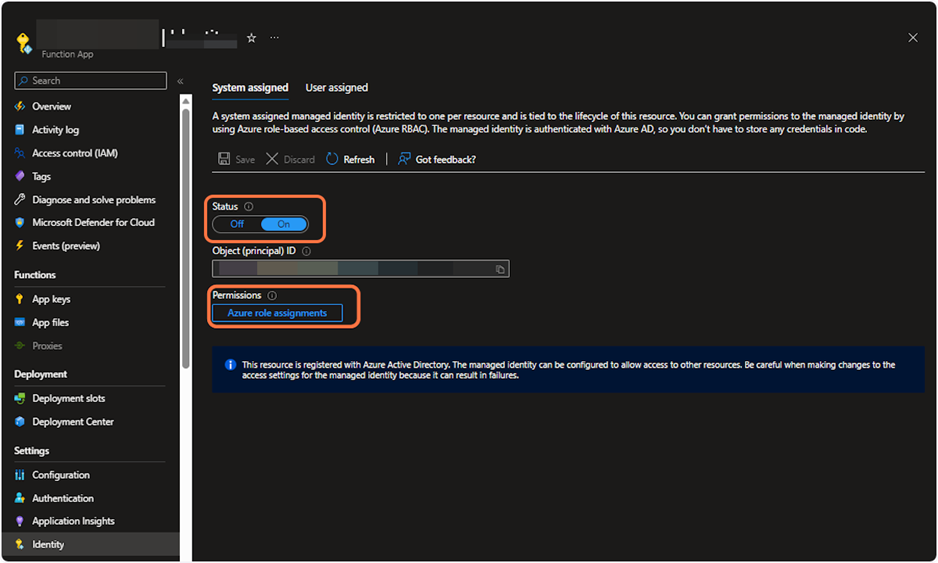
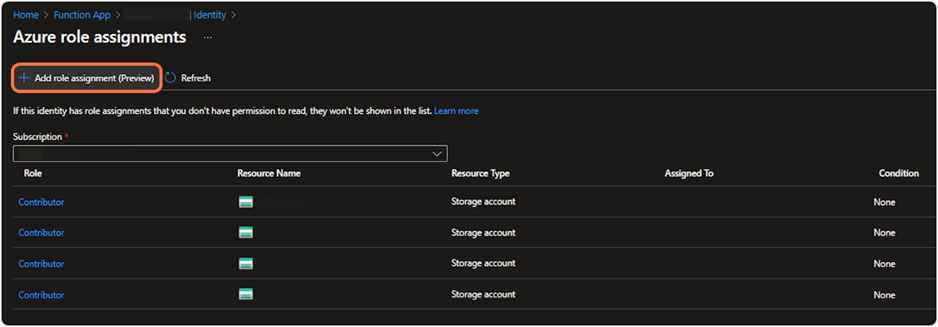
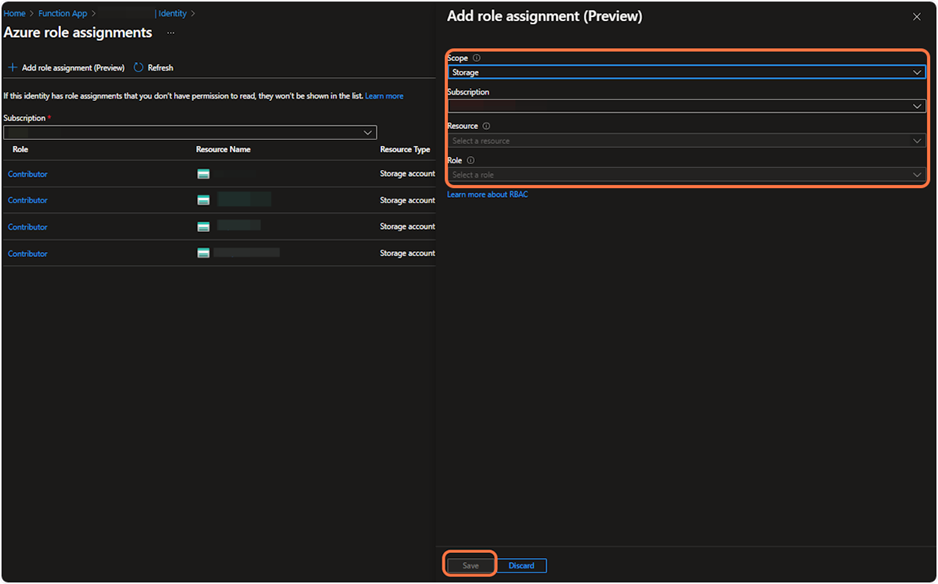
How to set up Autoscaling Storage Account File Share Size with FunctionApp.
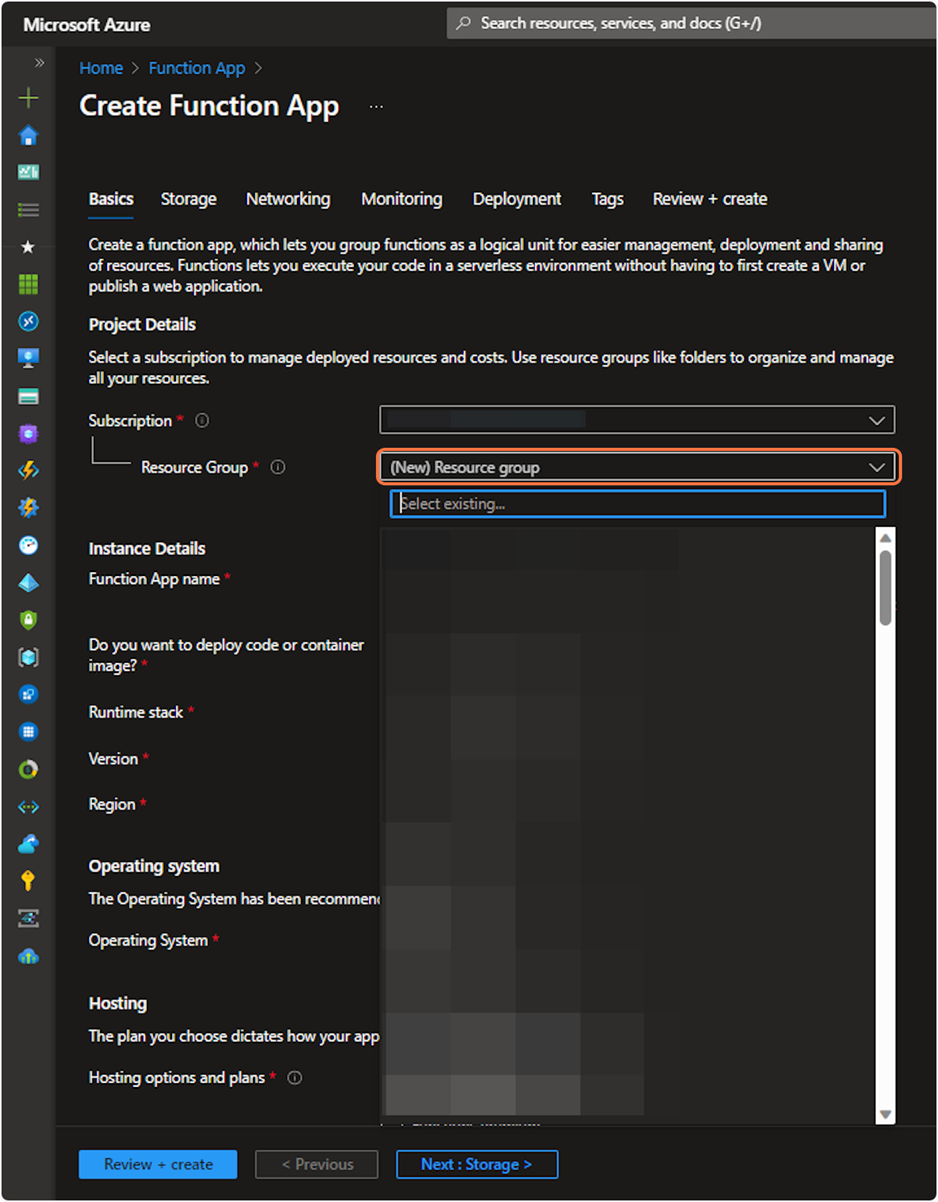
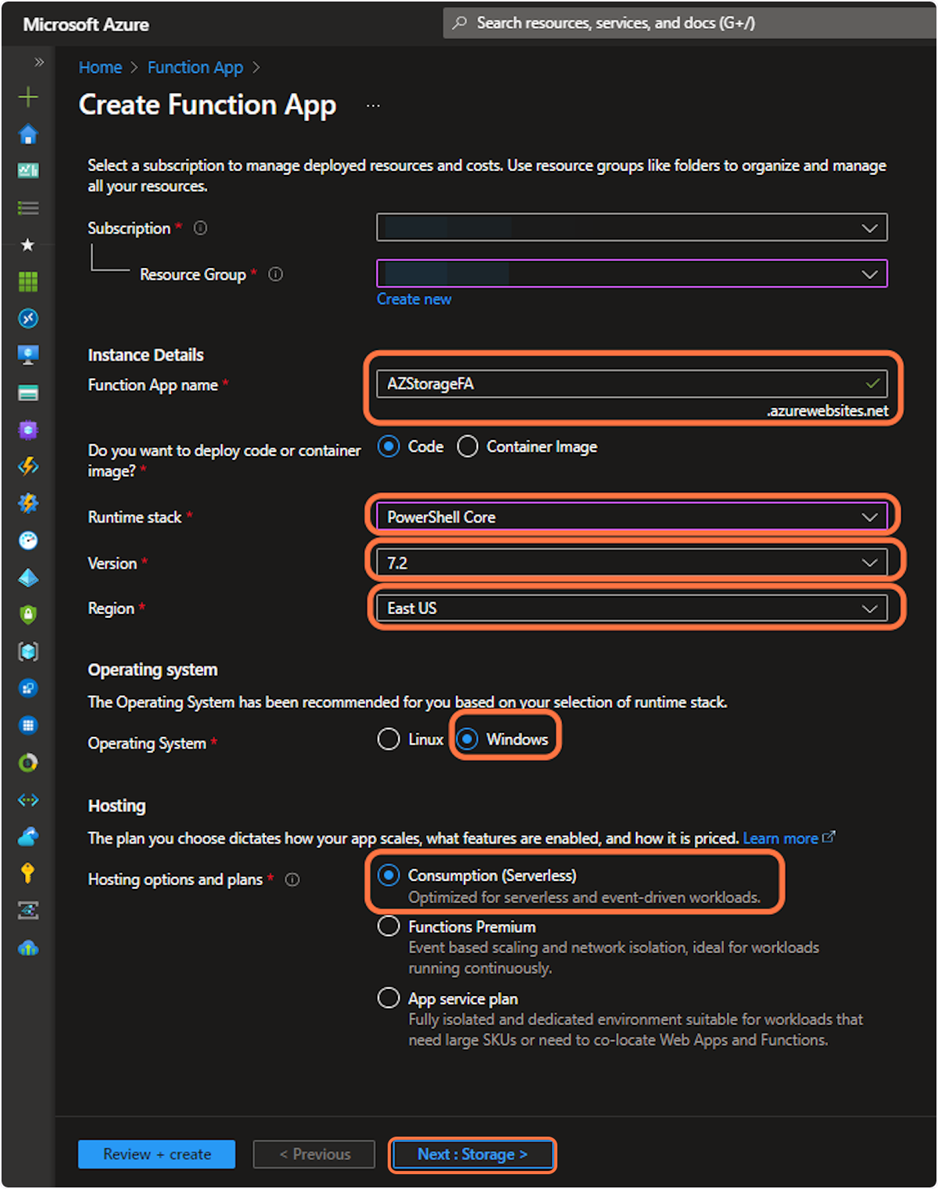
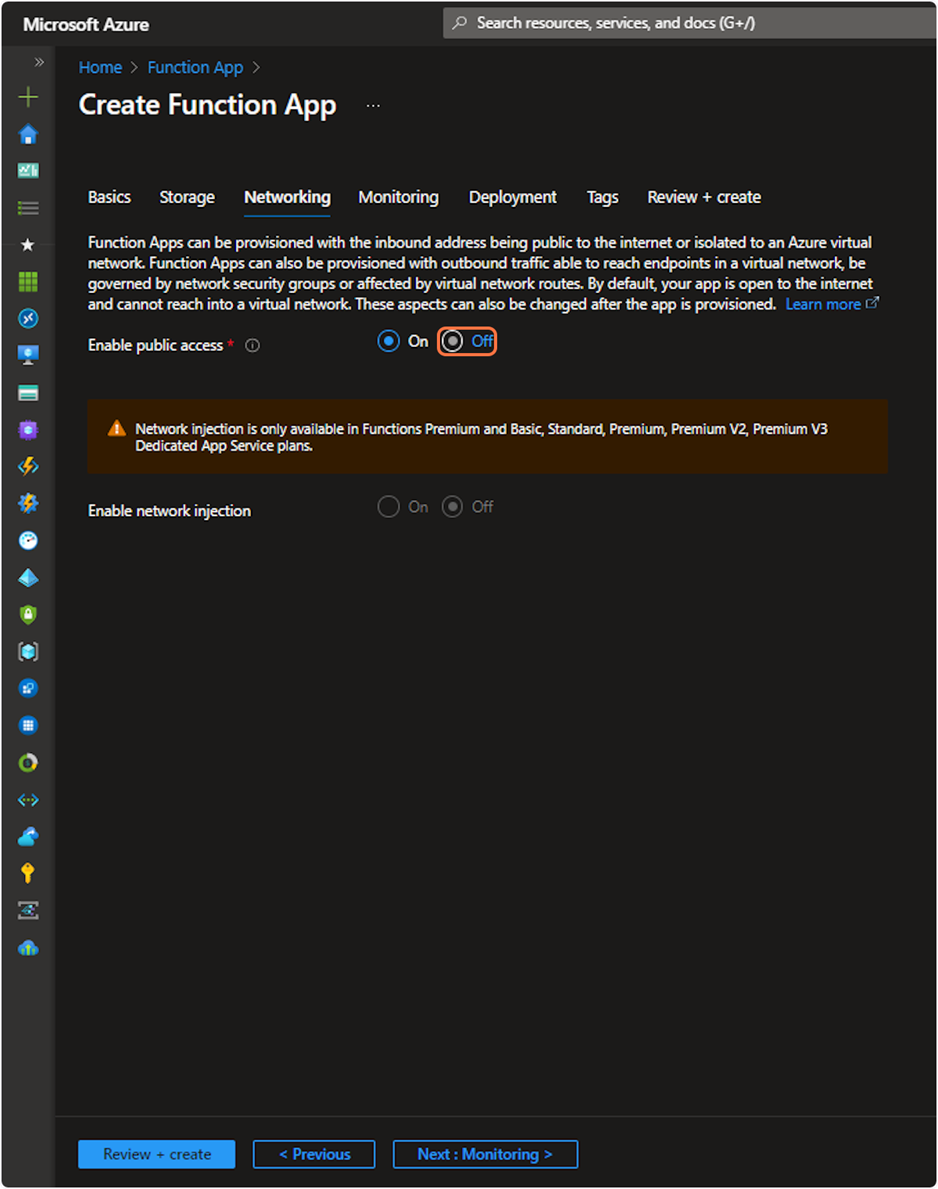
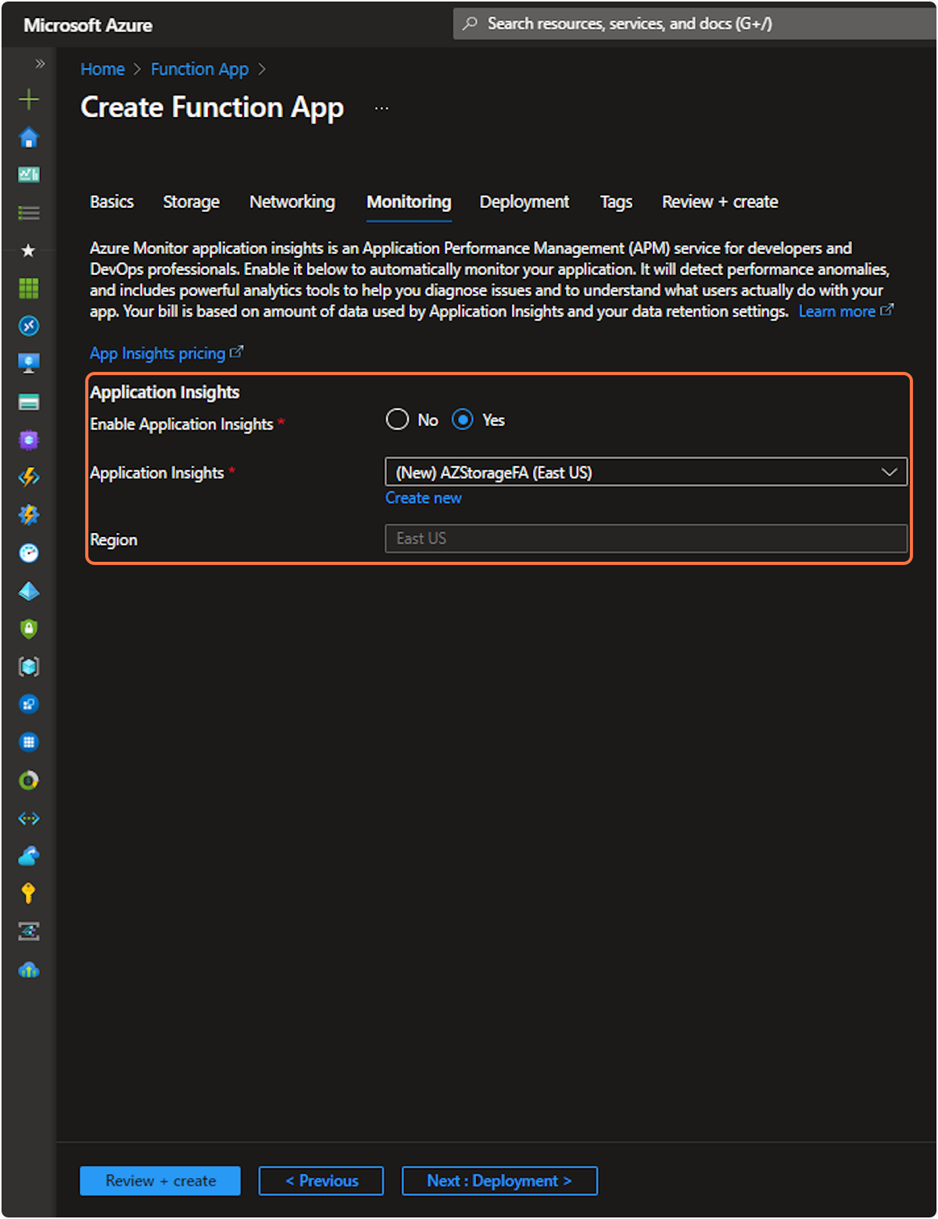
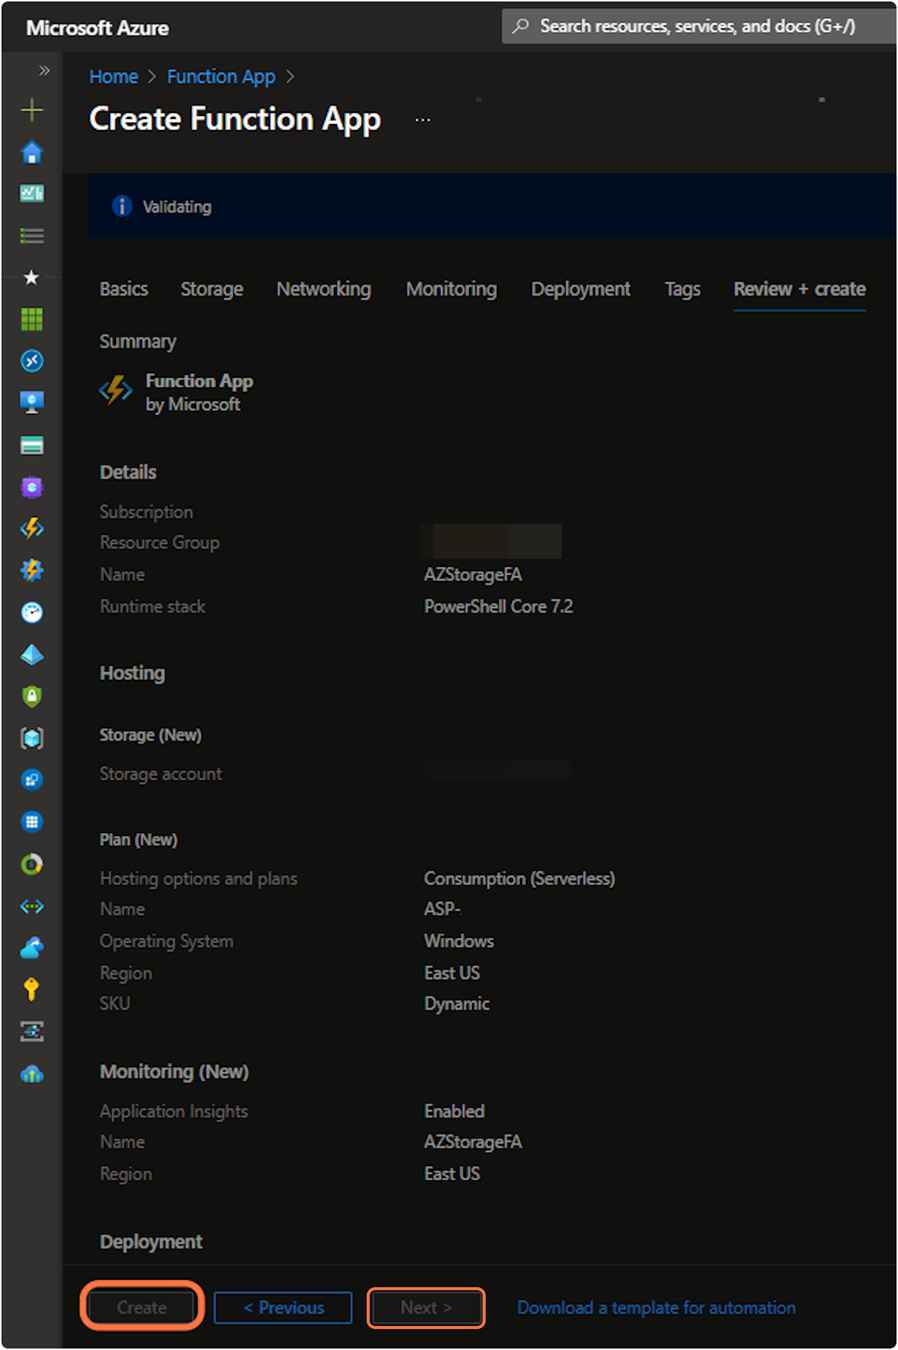
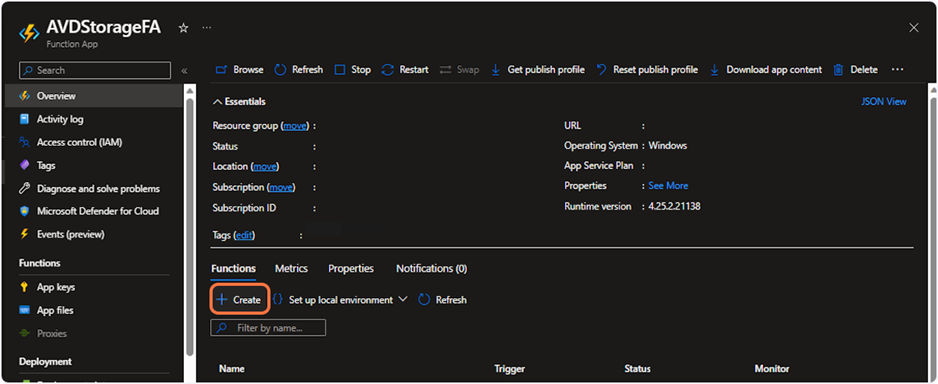
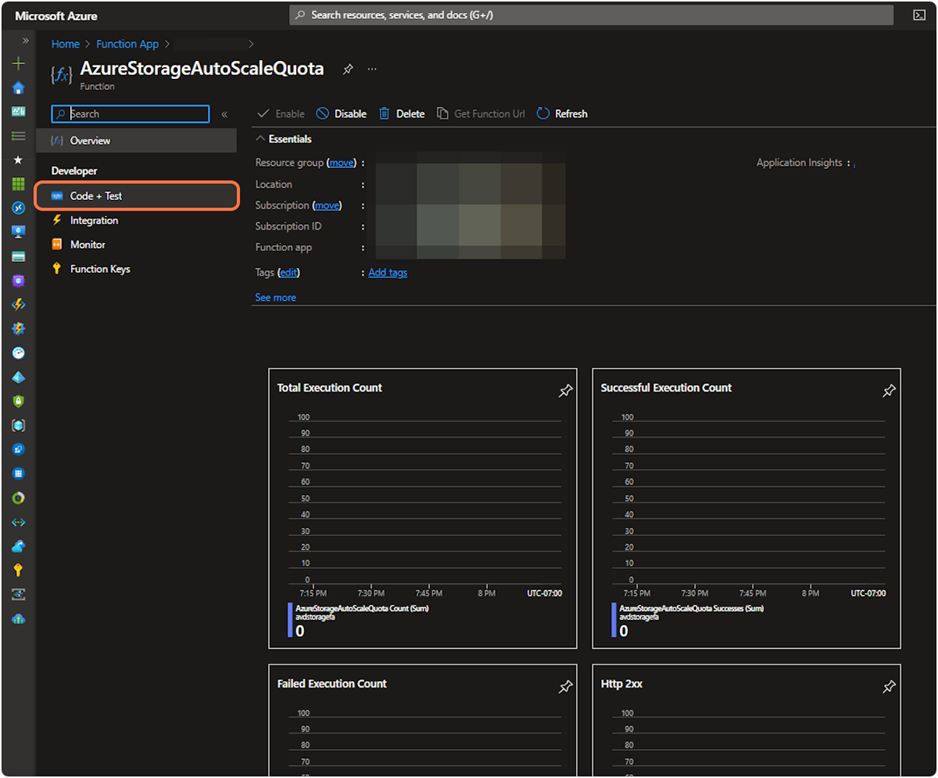
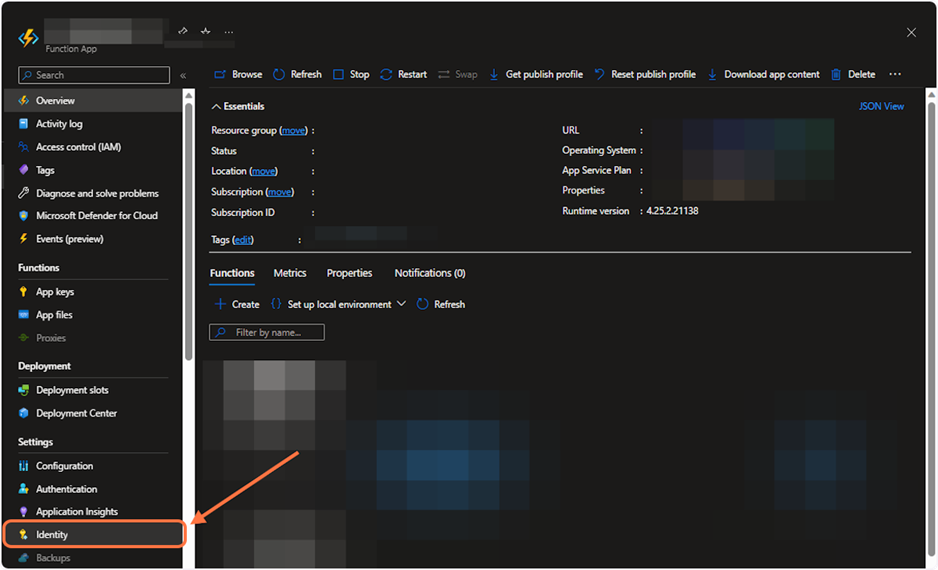
First you need to create a Function App. Additional information here: Create a function in Azure that runs on a schedule | Microsoft Learn Login to Azure Portal and go to Function App. Click Create.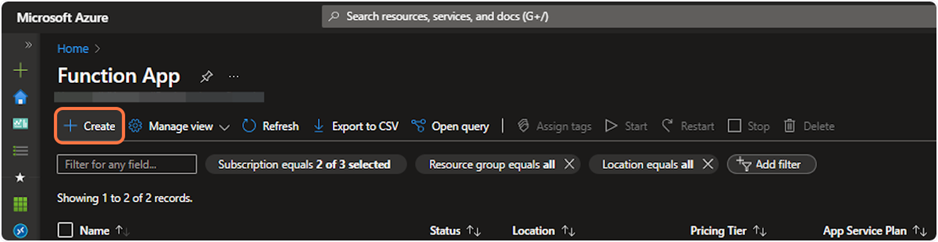


Pingback: AVD Community Newsletter – 4th April 2024 – AVD Community