
Installing VMware App Volumes Manager.
First I will go through the installation and configuration of VMware App Volumes and then show how it works with XenApp and XenDesktop 7.7
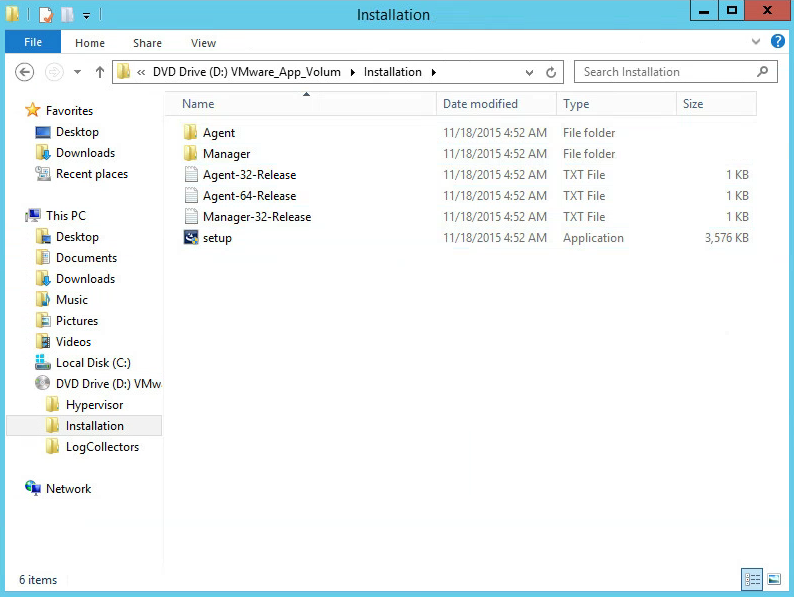
After downloading the VMware App Volumes, you can mount the ISO.
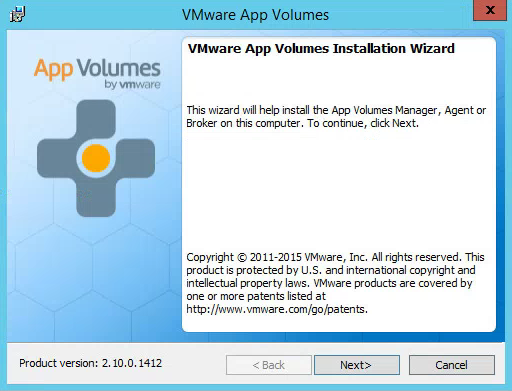
 Click Next to continue the installation process.
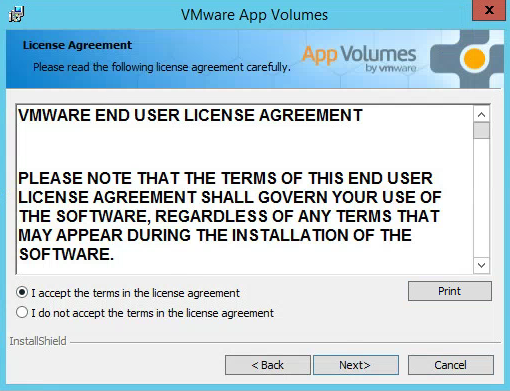
Select the button for “I accept the terms in the license agreement” and click Next.
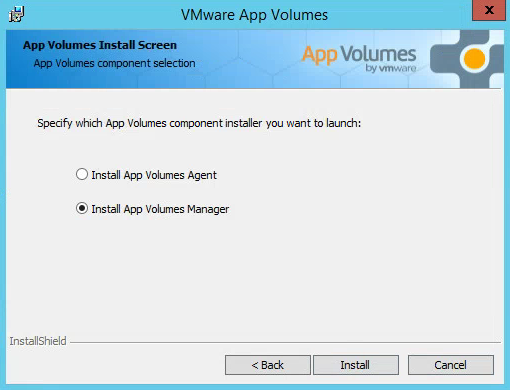
We need to install the App Volumes Manager first. Select Install App Volumes Manager and click Next.
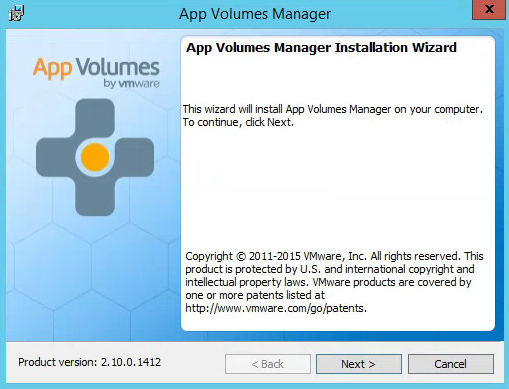
Click Next to start the App Volumes Manager Wizard.
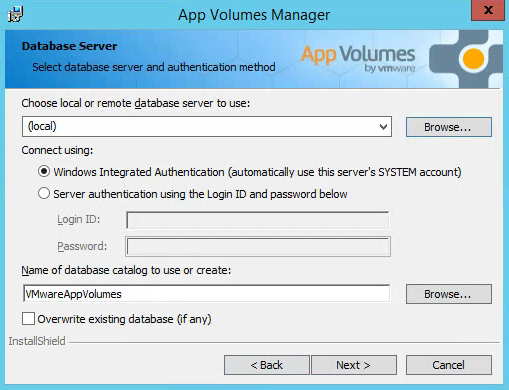
Select Connect to an existing SQL Server Database. Click Next.

Type in the Database Server name or Browse for your SQL Server. Choose Windows Integration Authentication and create a name for the database. Click Next to continue.
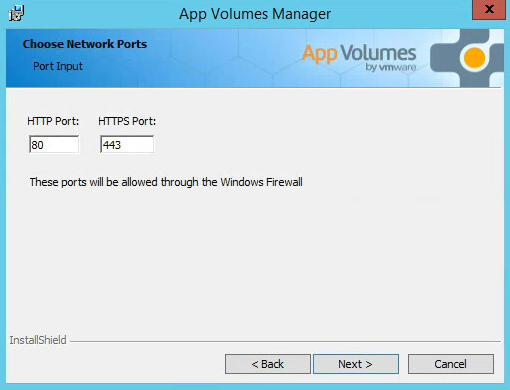
Leave the default ports and click Next.
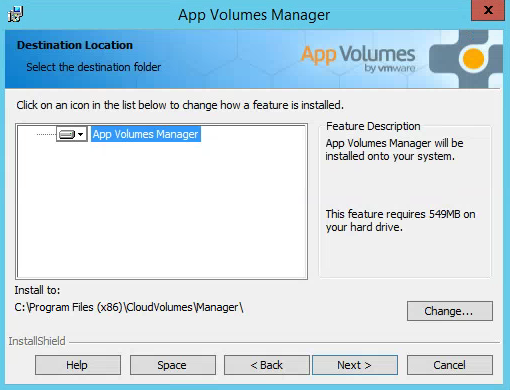
Verify the destination path is where you want to install App Volumes and click Next.
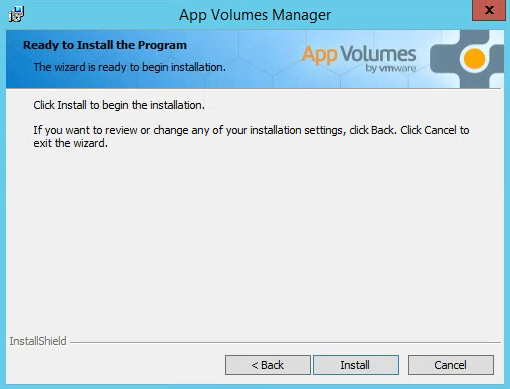
Click Install when your ready to start the process.
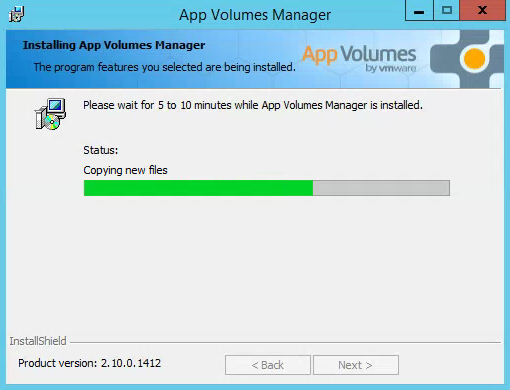
Wait for the installation to complete.
Click Finished when the installation has completed successfully.

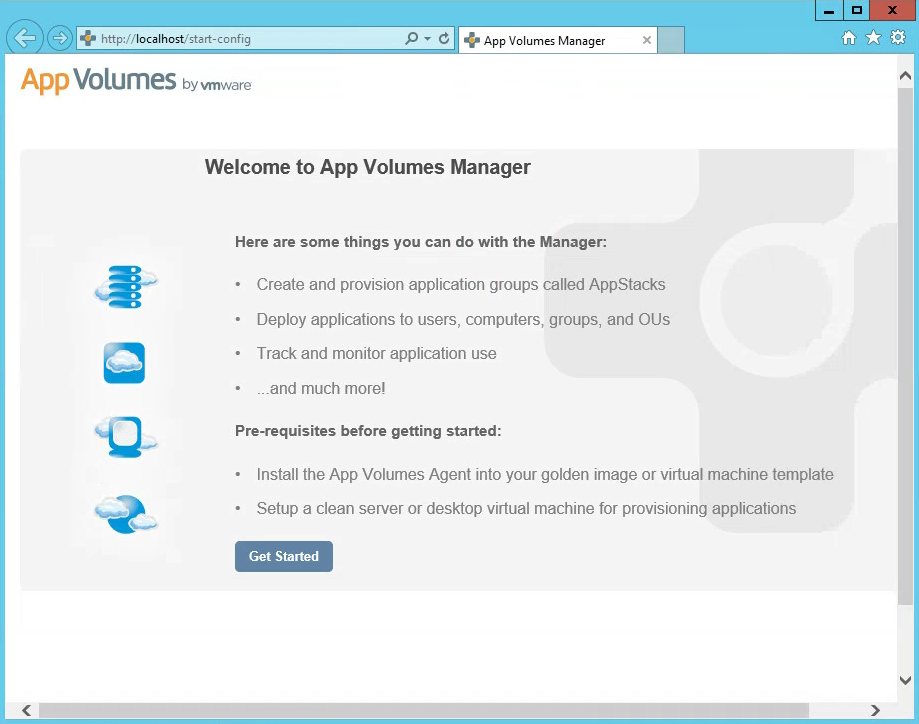
Launch App Volumes Manager by clicking on the desktop icon and click Get Started.
![]()
Part 2. Getting Started and Configuring App Volumes Manager.
