XenDesktop VM Hosted Applications
One of the last applications we had left to migrate off of our legacy XenApp 5 farms was Synapse. This is one of those really fun applications that only works one specific way and has ties into Internet Explore.
Since we already had the application installed in our base Window 7 XenDesktop Image and the application doesn’t work correctly with Windows Server 2008R2 we decided to do VM Hosted Apps. The staff wanted to be able to launch just the Application and not the full desktop.
I configured a Synapse / PACs VM hosted application and set Keywords:Auto to reduce time and clicks required to launch this application. We also had the icon on the desktop and Start Menu, but sometimes people just prefer a published application over a full desktop.
One of our top priorities is to provide the best user experience we can which ultimately increases end user productivity, reduces complaints and requires less end user training and troubleshooting.
To get started on configuring the Synapse VM hosted application follow the directions below.
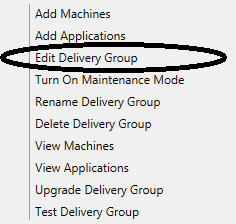
- Open Citrix Studio. Right Click on the delivery group that you want to present applications from and select Edit Delivery Group.
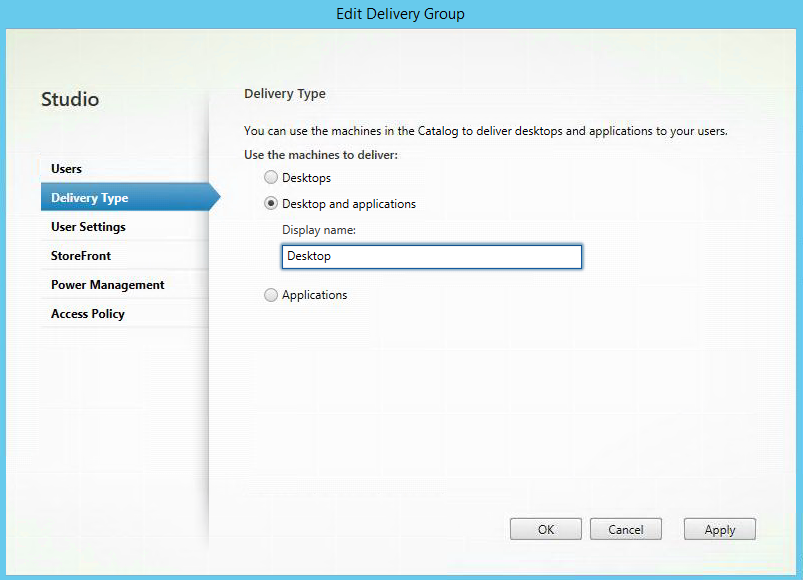
2. Change the Delivery Group Type to “Desktop and Applications”.
3. Next step is to right click on the delivery group and click Add Applications.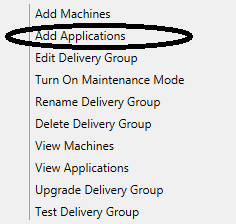
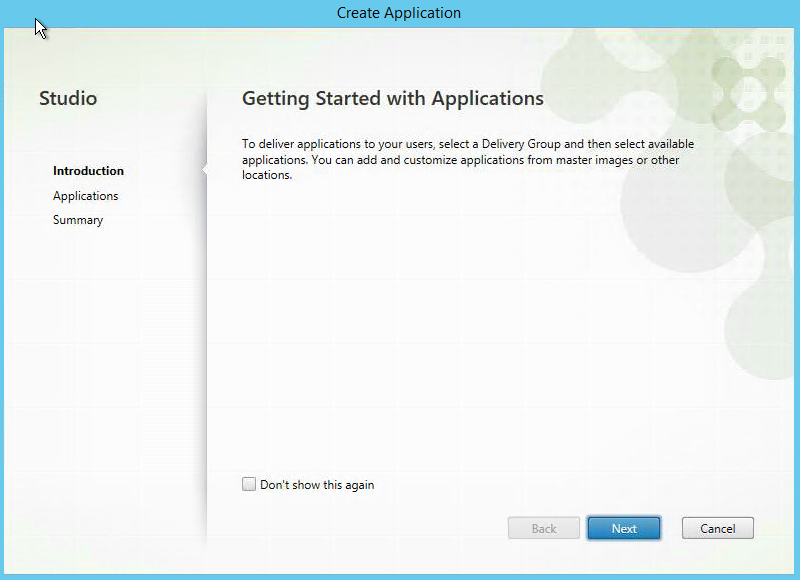
4. Click Next at the Getting Started with Applications window.
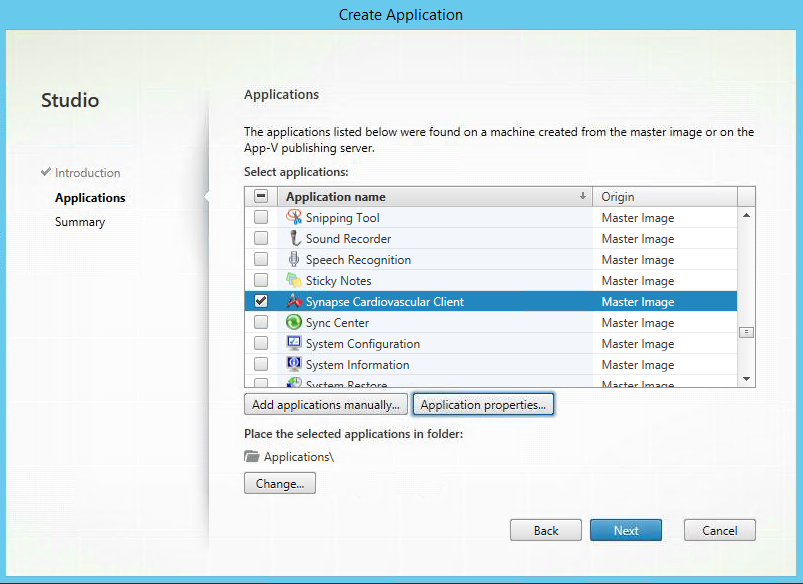
5. Select the application you want to publish from the list and then click on Application Properties.
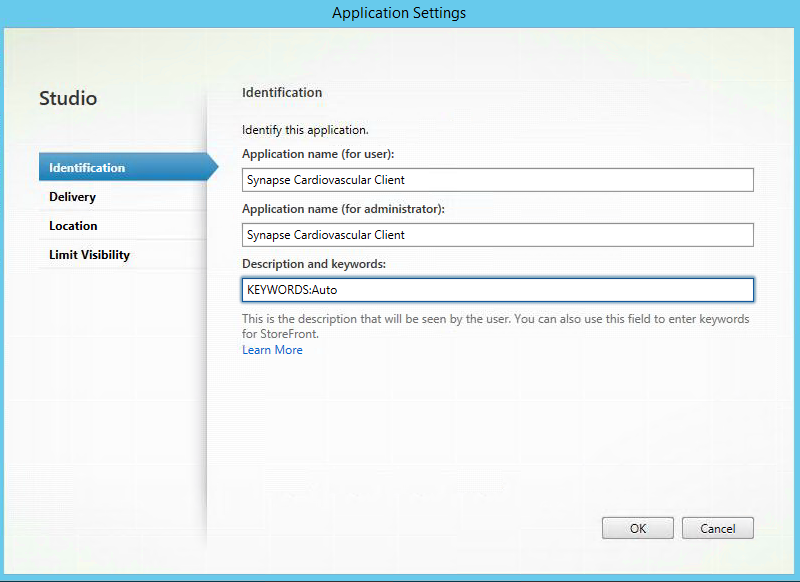
6. Modify the application properties. Description and Keywords, Application Name for the users, Application Name for Administrators. (Application Name for Administrators is a useful feature if you have multiple versions or the application configuration is different for other locations or departments and you want to be able differentiate them in the console view.)
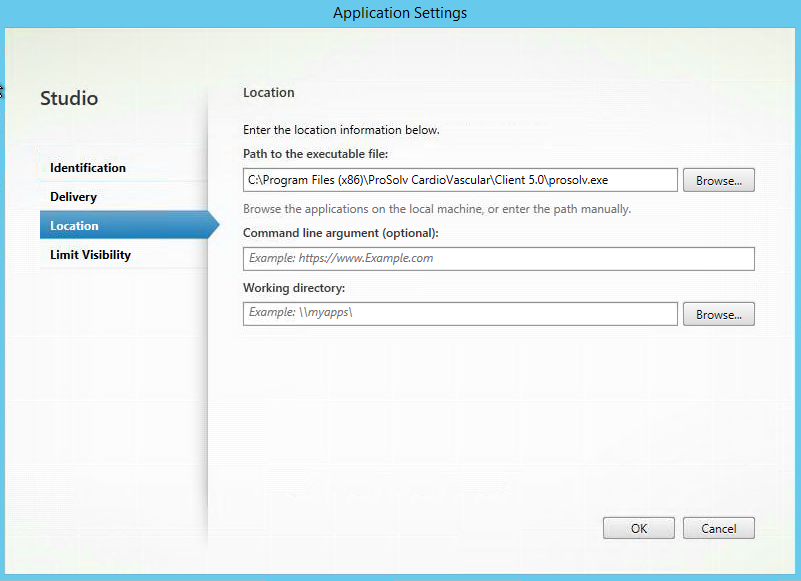
 7. Modify the Application Delivery Location Information- Path to the executable file, Command line argument, and working directory if needed.
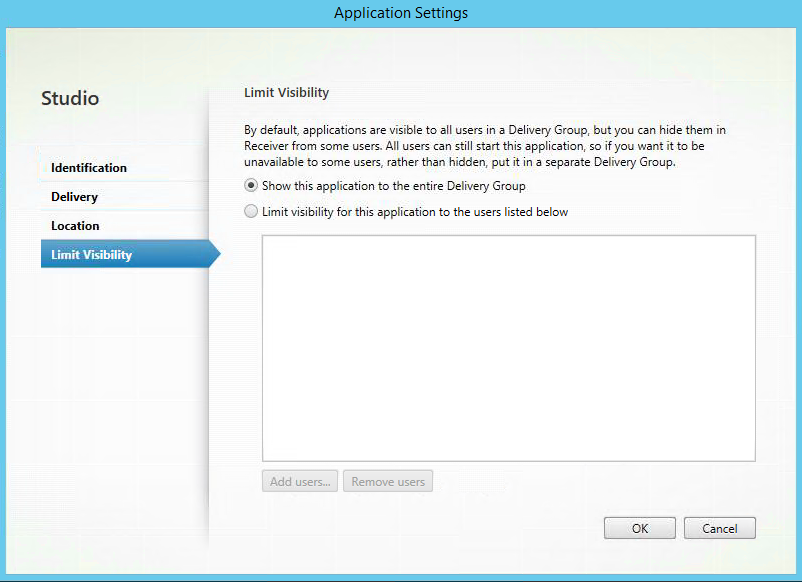
8. Change visibility if to the users or security group that needs access to the new Synapse published application. Click OK when finished with your changes.
9. If you have separate folders for your applications click change and select the folder you want to place the application in. When finished, click next to continue publishing the Synapse application.
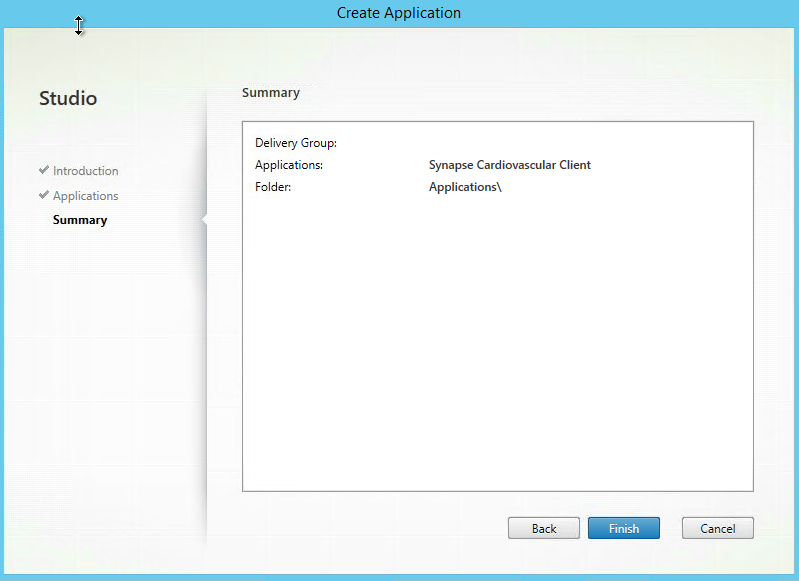
10. Verify all the information is correct in the summary and click Finish.
11. Open up a web browser, login to StoreFront and launch the Synapse Cardiovascular published application.