Citrix XenDesktop 7 PVD Image Update Monitoring Tool
If you want to view the status of your Citrix PVD Image updates there is a tool that Citrix provided on the XenDesktop installation media. It’s a GUI based tool that is very simple to use. The PVD Tool provides information for all your Citrix Machine Catalogs and gives you insight into the following items: Errors, Low Disk Space, Completed/Updated, Updates In Progress, and Pending Updates.
The Citrix PVD Image Update Monitoring tool also logs all the information into 2 text files in the directory that you launched the tool from.
Two files are created after launching the tool.
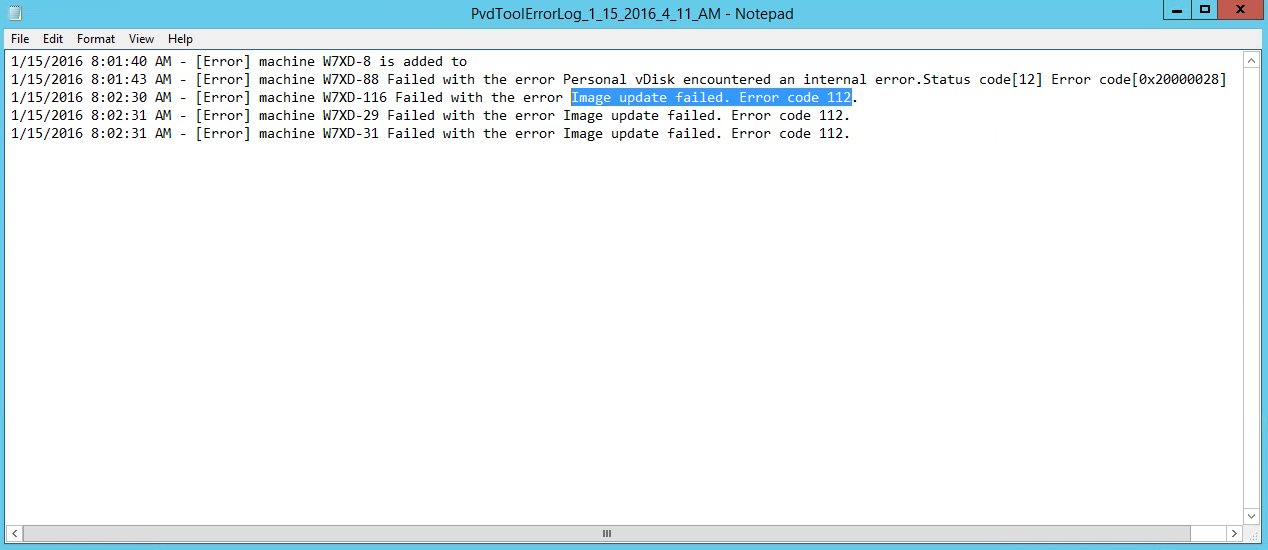 PVDToolLog.txtPvdToolErrorLog.txt
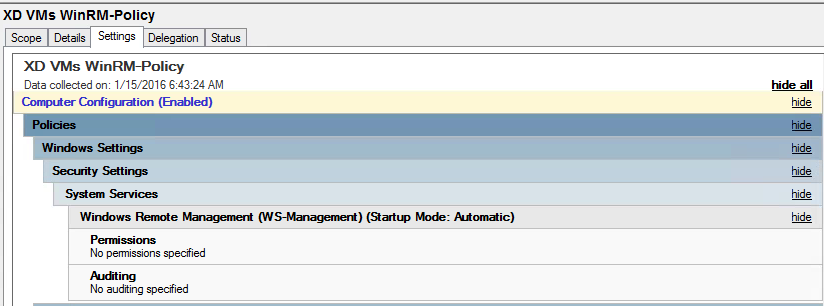
Before you start using the Citrix PVD Image Update Monitoring Tool, verify WinRM is enabled. If you need to enable it on your XenDesktop VM’s you can create a GPO.
Configure WinRM using Group Policy and Link the GPO to the correct OU.
- Set the WinRM service to auto start:
a. In the Group Policy Editor, navigate to Computer Configuration> Policies > Windows Settings > Security Settings> System Services.
b. Double-click Windows Remote Management (WS-Management) and set it to Automatic.
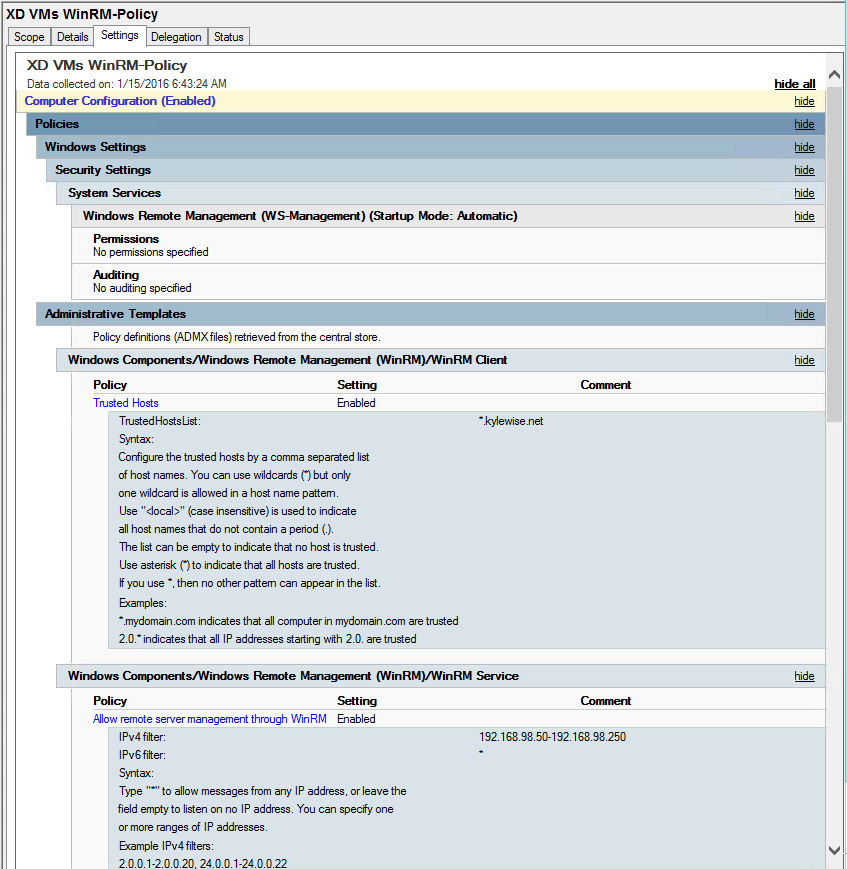
- Create the WinRM listener:
a. In the Group Policy Editor, navigate to Computer Configuration >Policies > Administrative Templates > Windows Components > Windows Remote Management (WinRM) > WinRM Service.
b. Double-click Allow automatic configuration of listeners and configure the IPv4 filter to *.
- Create a firewall exception for WinRM:
a. In the Group Policy Editor, navigate to Computer Configuration> Policies > Windows Settings > Security Settings> Windows Firewall with Advanced Security.
b. Create an Inbound Rule for WinRM for port 5985. - After configuring the preceding three group policies, restart the server to update the group policies and start the WinRM service.
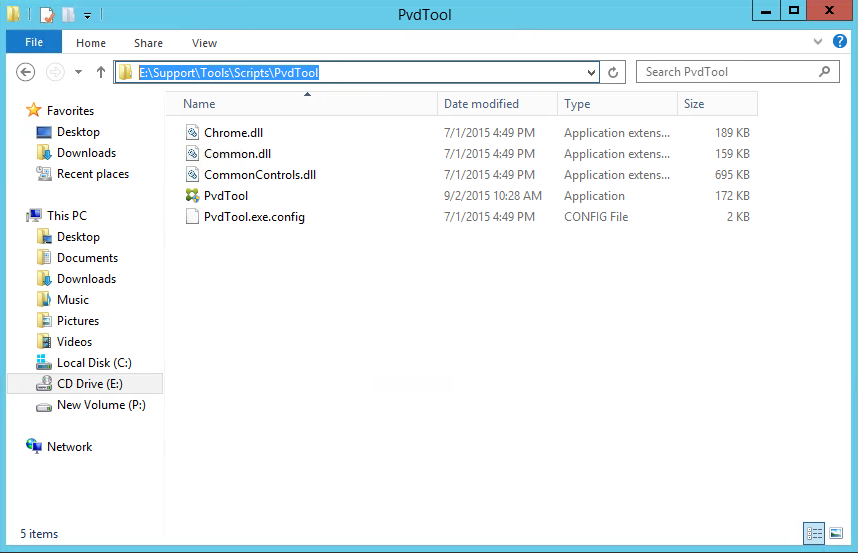
To start using the tool, navigate to the Support\Tools\Scripts\PVDTool folder and copy the files or folder to your Citrix Delivery Controller.
Launch the PVDTool.exe and click on the Machine Catalog that your updating to start viewing update status.
Machine PVD Errors Tab View- Machines that failed during the image update process.
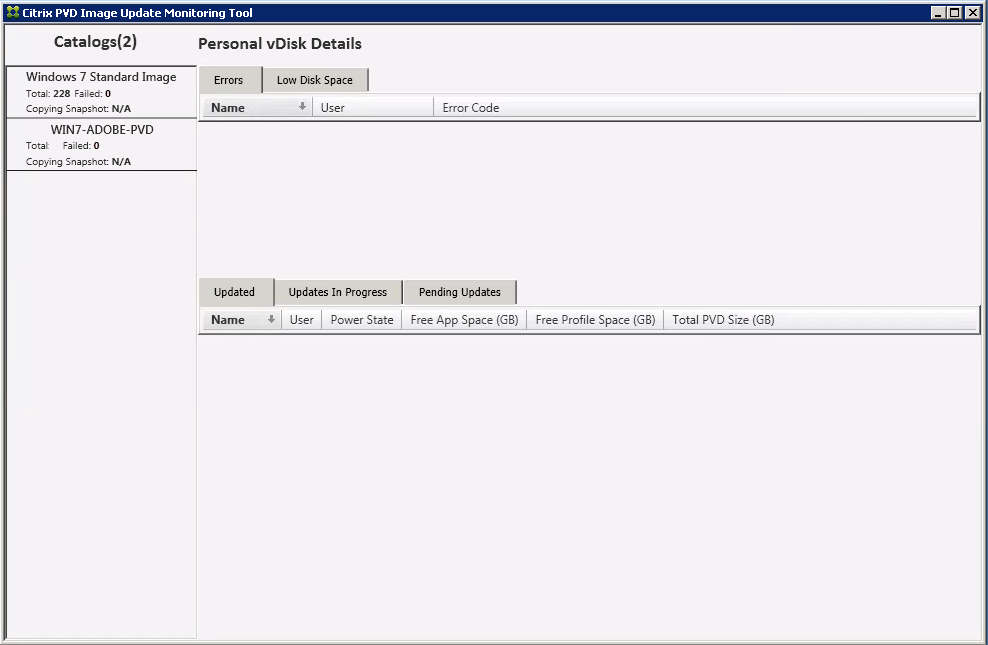 Updated Tab View- Machines that have been successfully updated
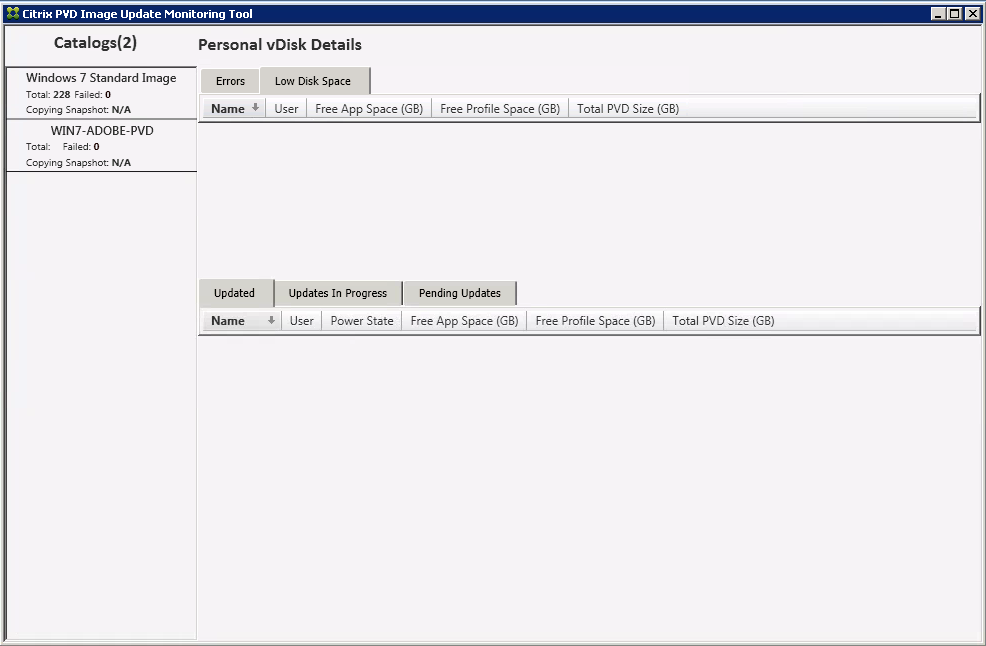 Low Disk Space Errors Tab View- Machines that have not have failed yet but have less than 1GB of space remaining.
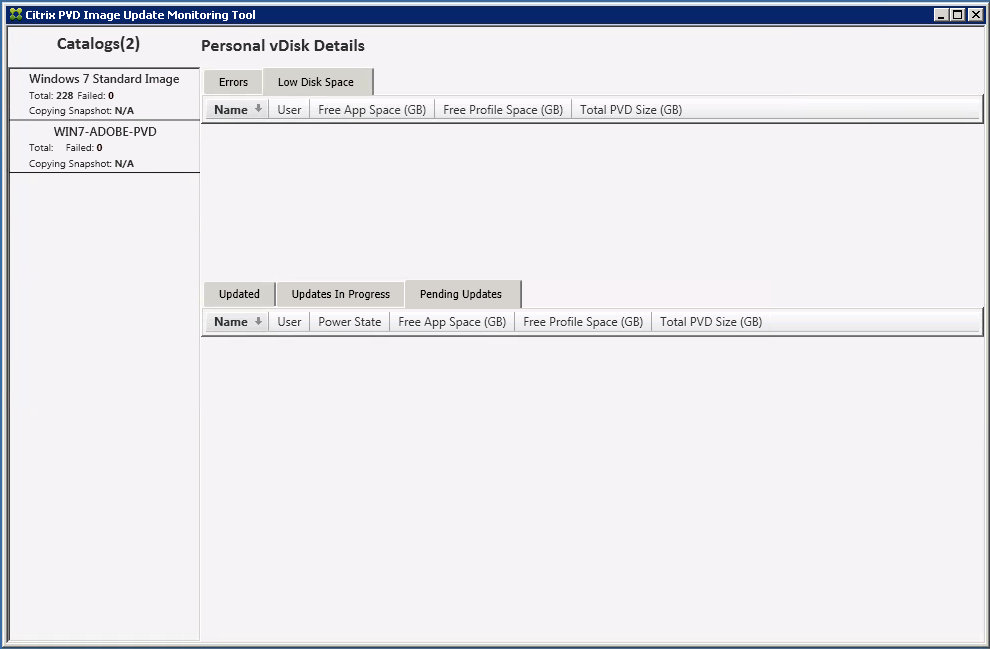
Pending Updates In Progress Tab View- Machines with an image update pending. The Citrix Delivery controller is waiting for the VMs to start up.
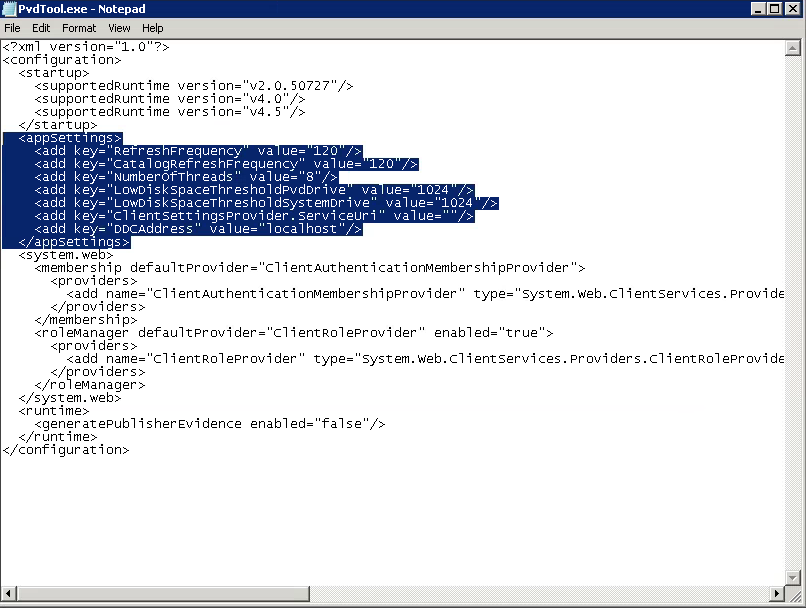
If you want to adjust any thresholds you can edit the PVDTool.exe.config file with notepad.
<appSettings>
<add key=”RefreshFrequency” value=”120″/>
<add key=”CatalogRefreshFrequency” value=”120″/>
<add key=”NumberOfThreads” value=”8″/>
<add key=”LowDiskSpaceThresholdPvdDrive” value=”1024″/>
<add key=”LowDiskSpaceThresholdSystemDrive” value=”1024″/>
<add key=”ClientSettingsProvider.ServiceUri” value=””/>
<add key=”DDCAddress” value=”localhost”/>
</appSettings>