
Installing specific print drivers on your XenApp servers might be required when printer redirection fails or you aren’t able to configure specific printer settings or functions. Here’s how to install print drivers on your Citrix XenApp servers without running the print driver full installation package.
Step one is to install the Print and Document Services Tool.
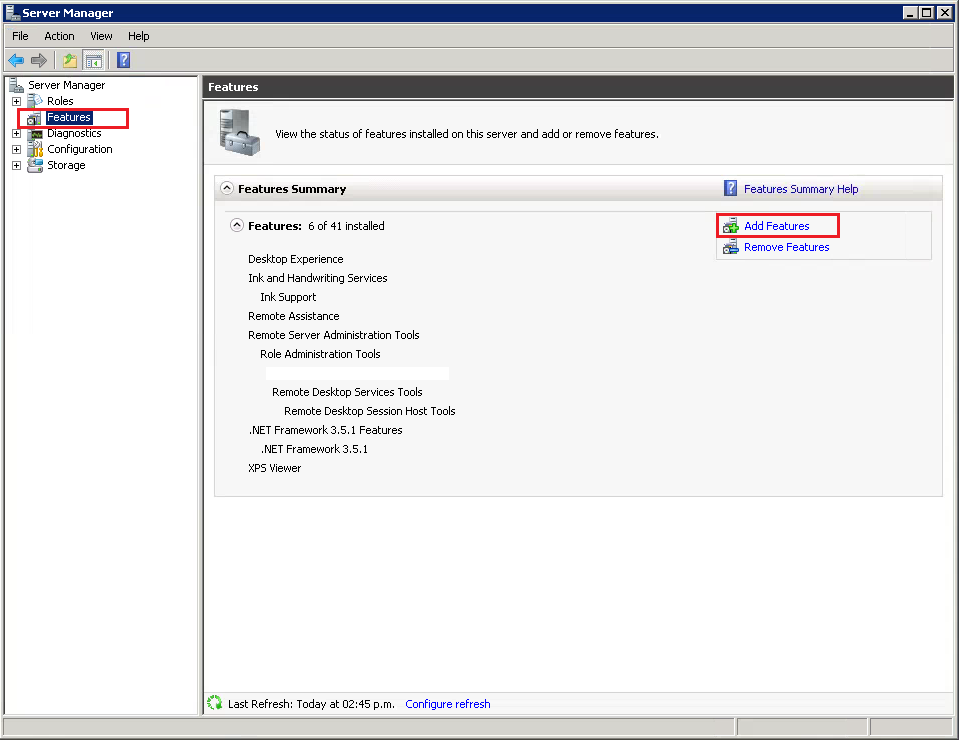
Open Server Manager on the XenApp Server. Select the Features Node and Click Add Features.
Select Print and Document Services Tool and click Next.

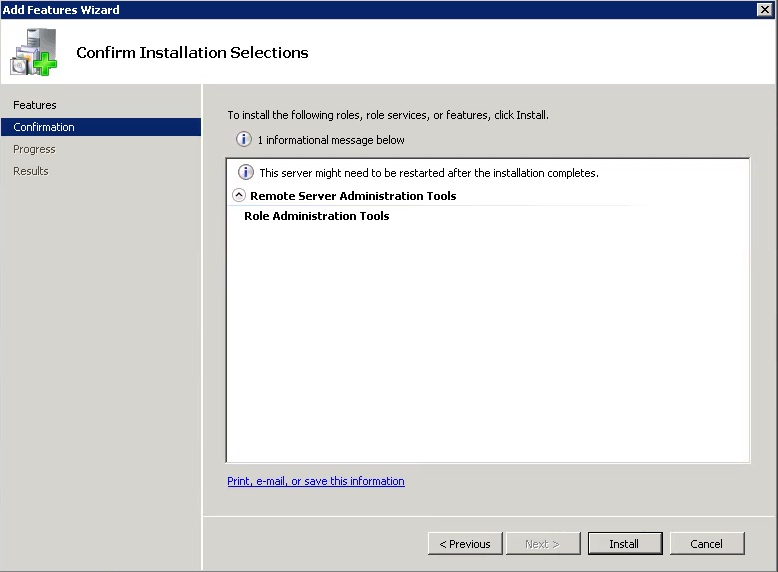
Confirm Installation Selection and Click Install.
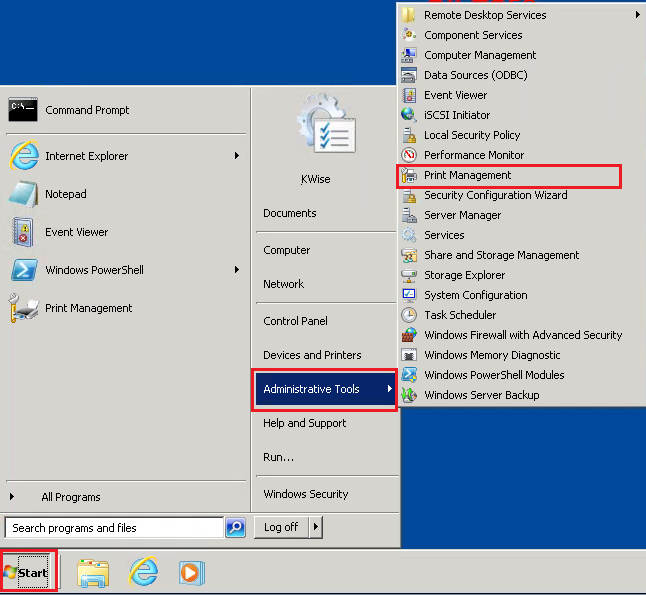
Go to the Start Menu > Administration Tools and click on Print Management.
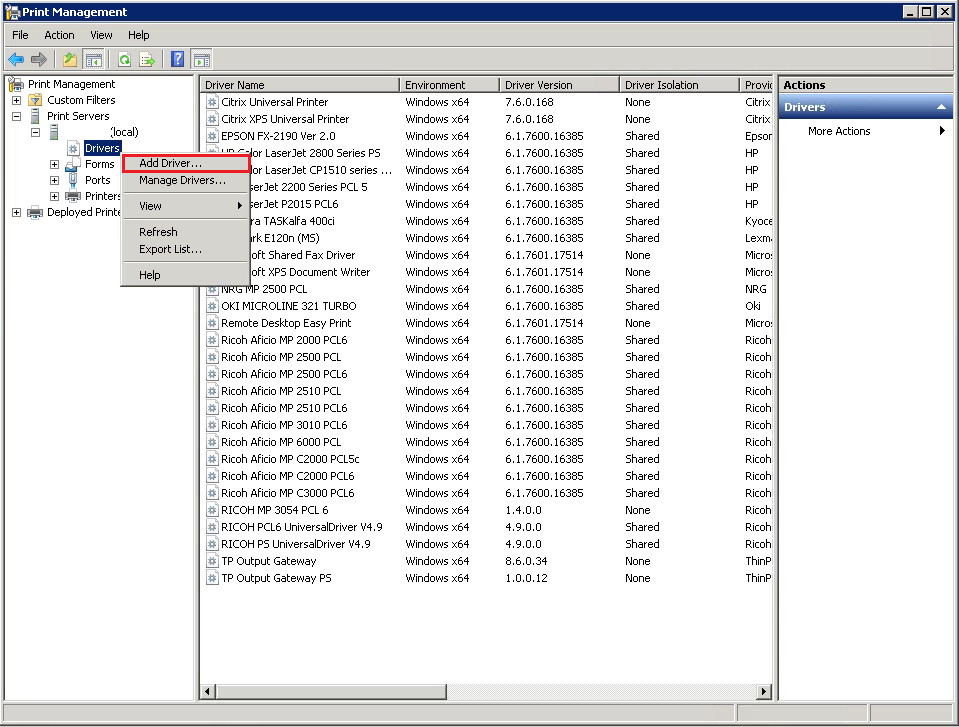
Expand the Print Servers node and right click Drivers. Click on Add Driver.
Click Next to continue.
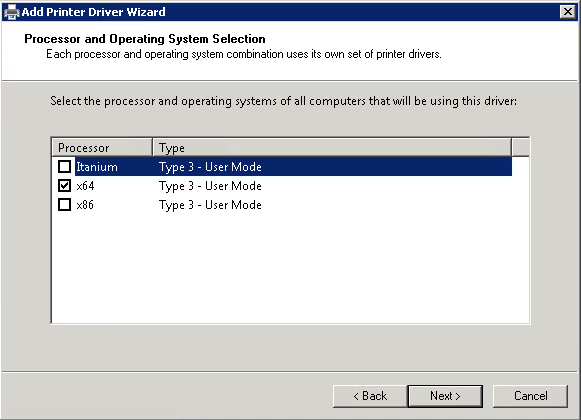
Select x64 Type 3 – User Mode and click Next.
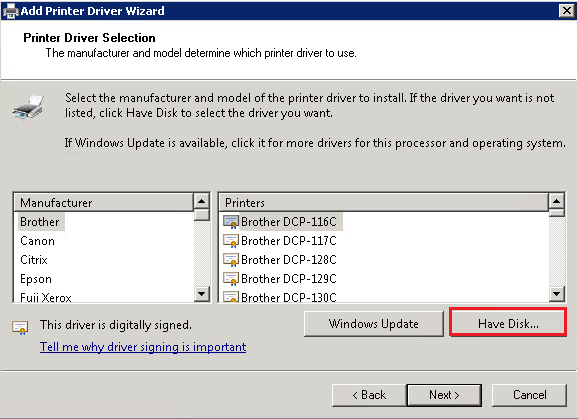
Click on Have Disk.
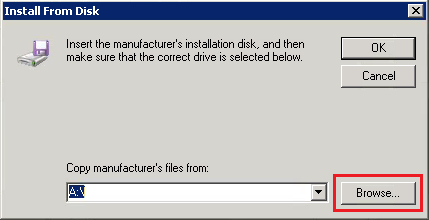
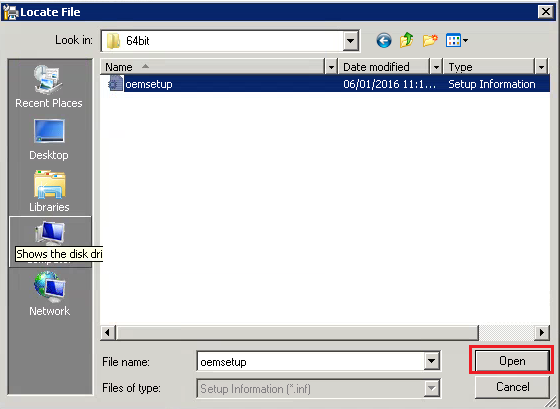
Click Browse to locate the inf file.
Locate the inf file for the print driver that you want added to your Citrix XenApp Server. Select the inf file and click Open.
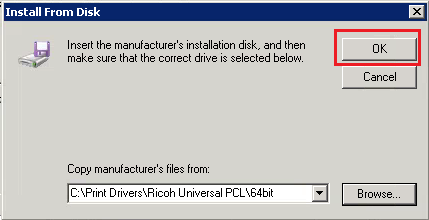
Click OK to continue.
Select the Printer and click Next.

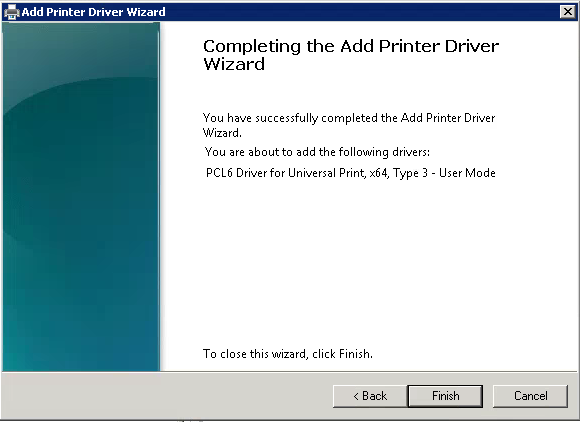
Click Finish to complete the process.
Final step is to launch a Citrix XenApp published desktop or application and verify the printer redirection works correctly and you are able to configure printer settings.
